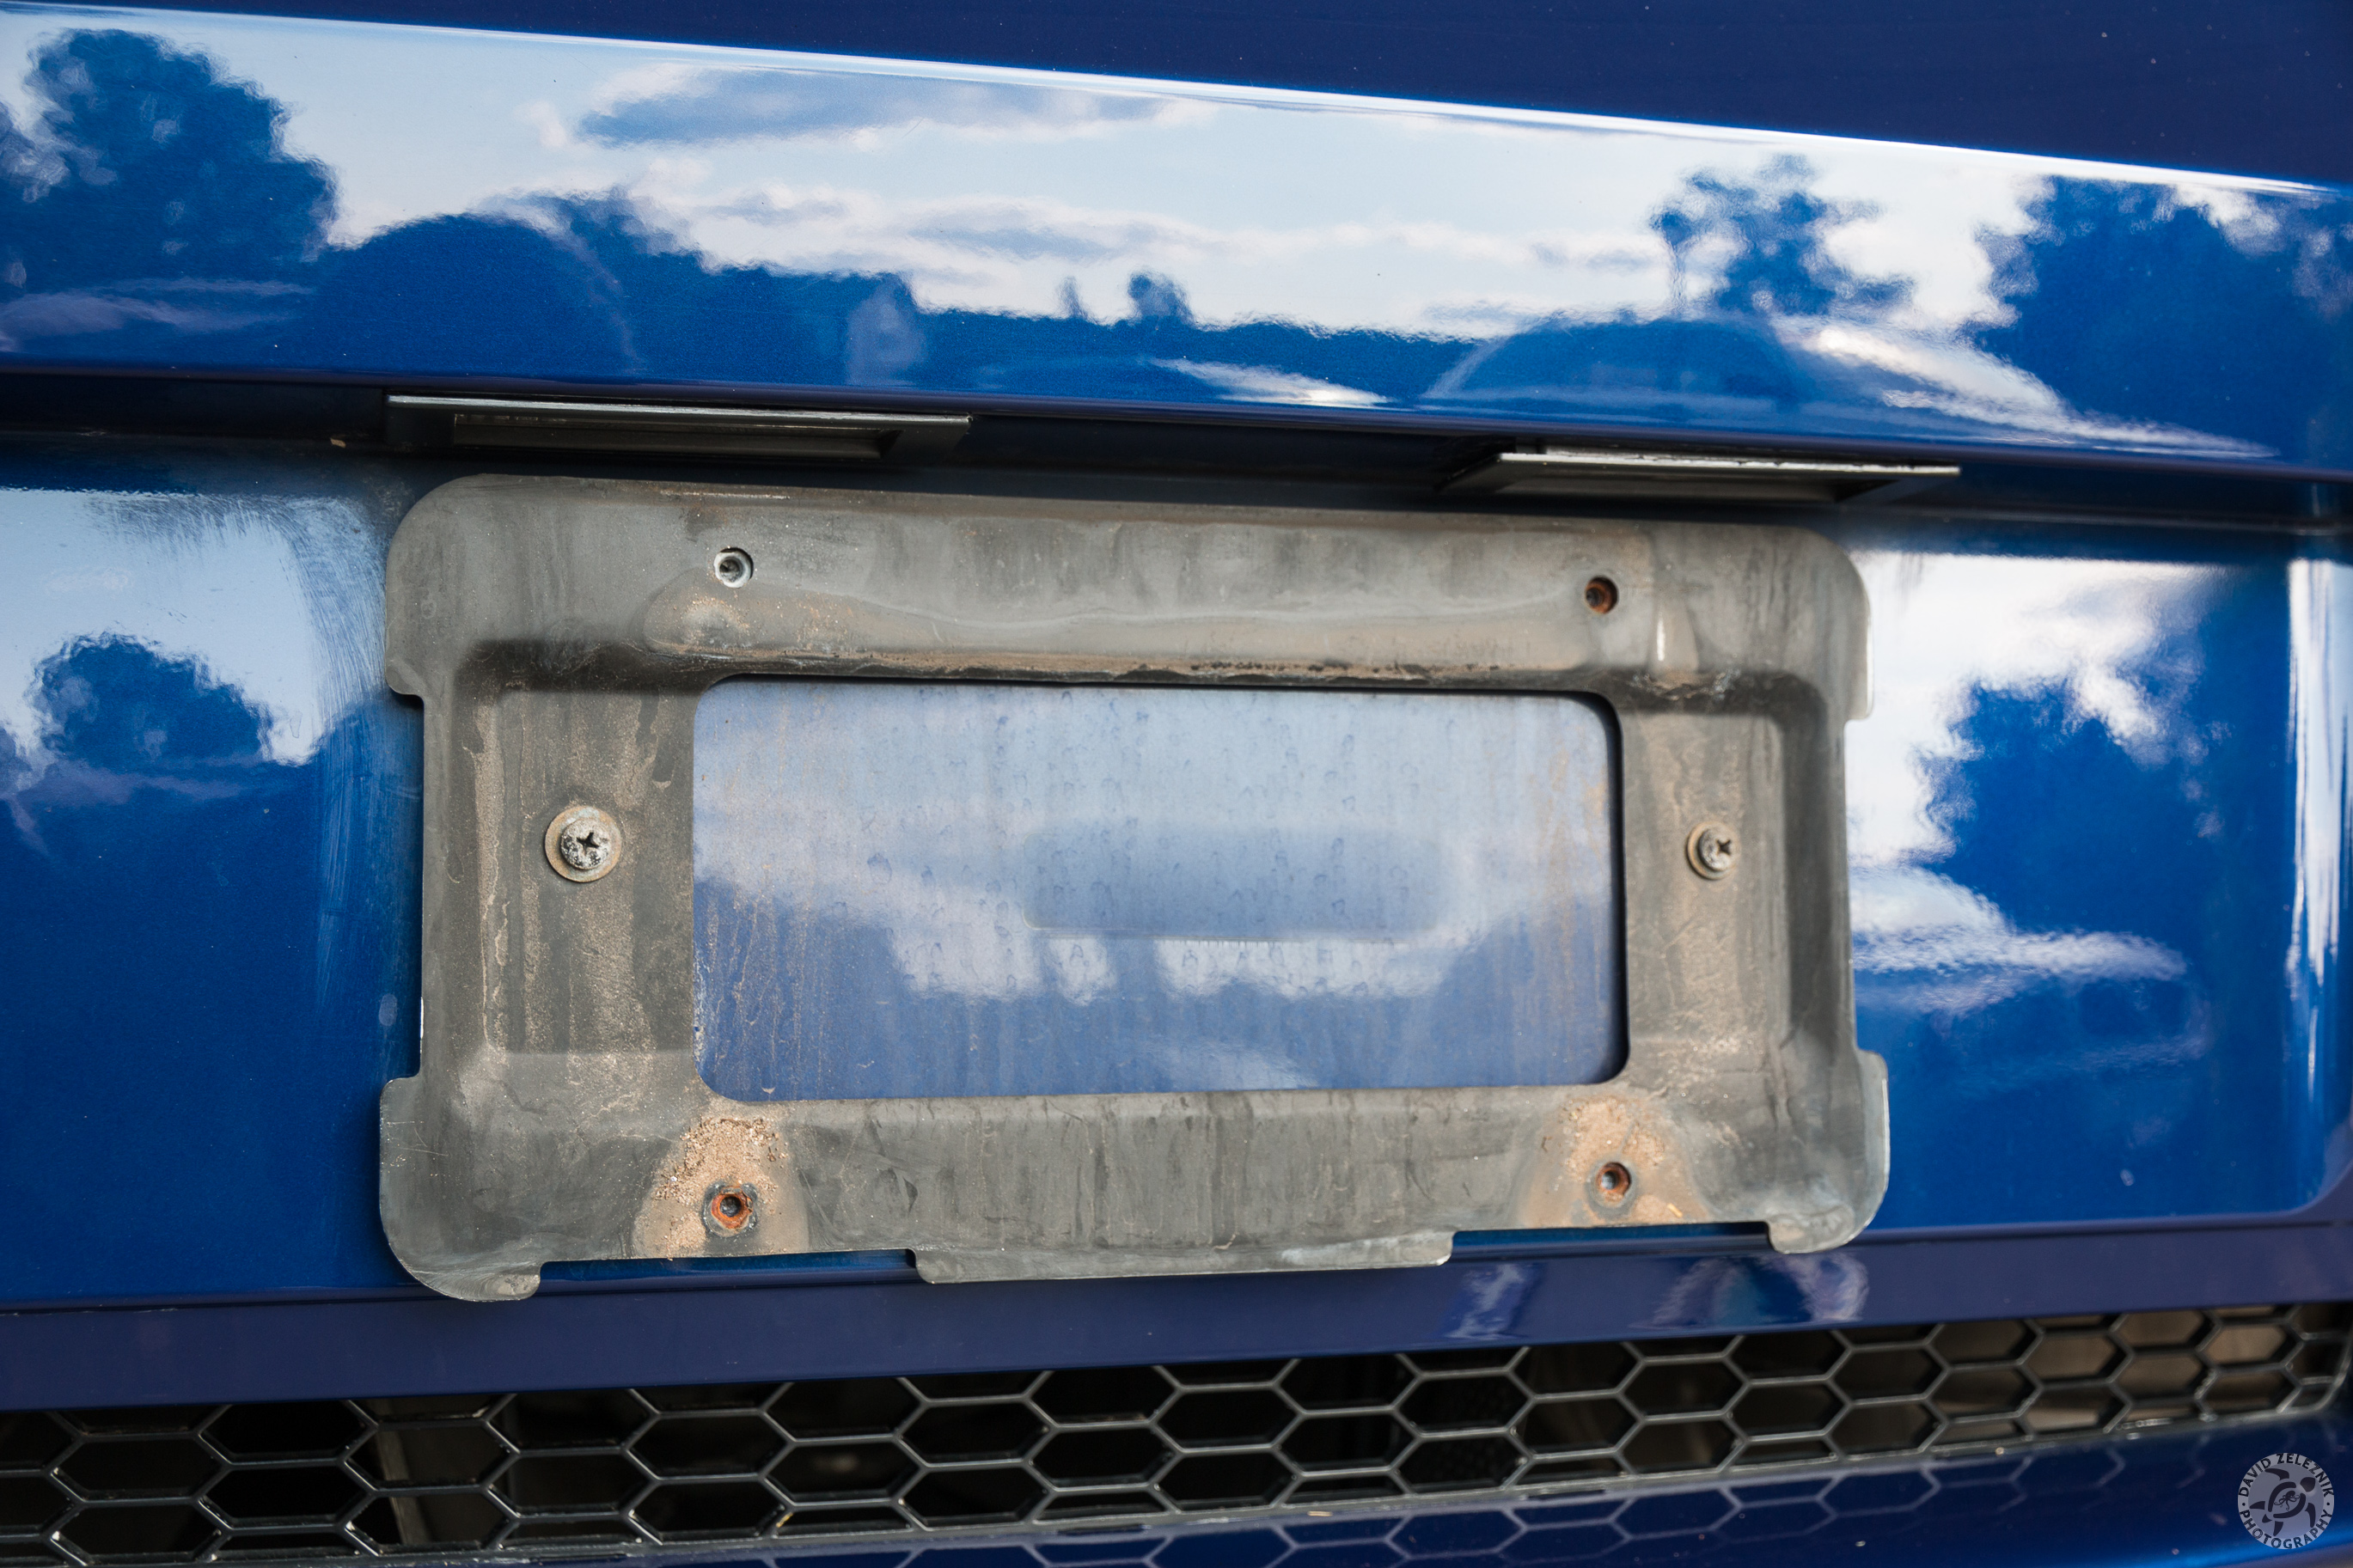
1 First step is to remove the rear license plate
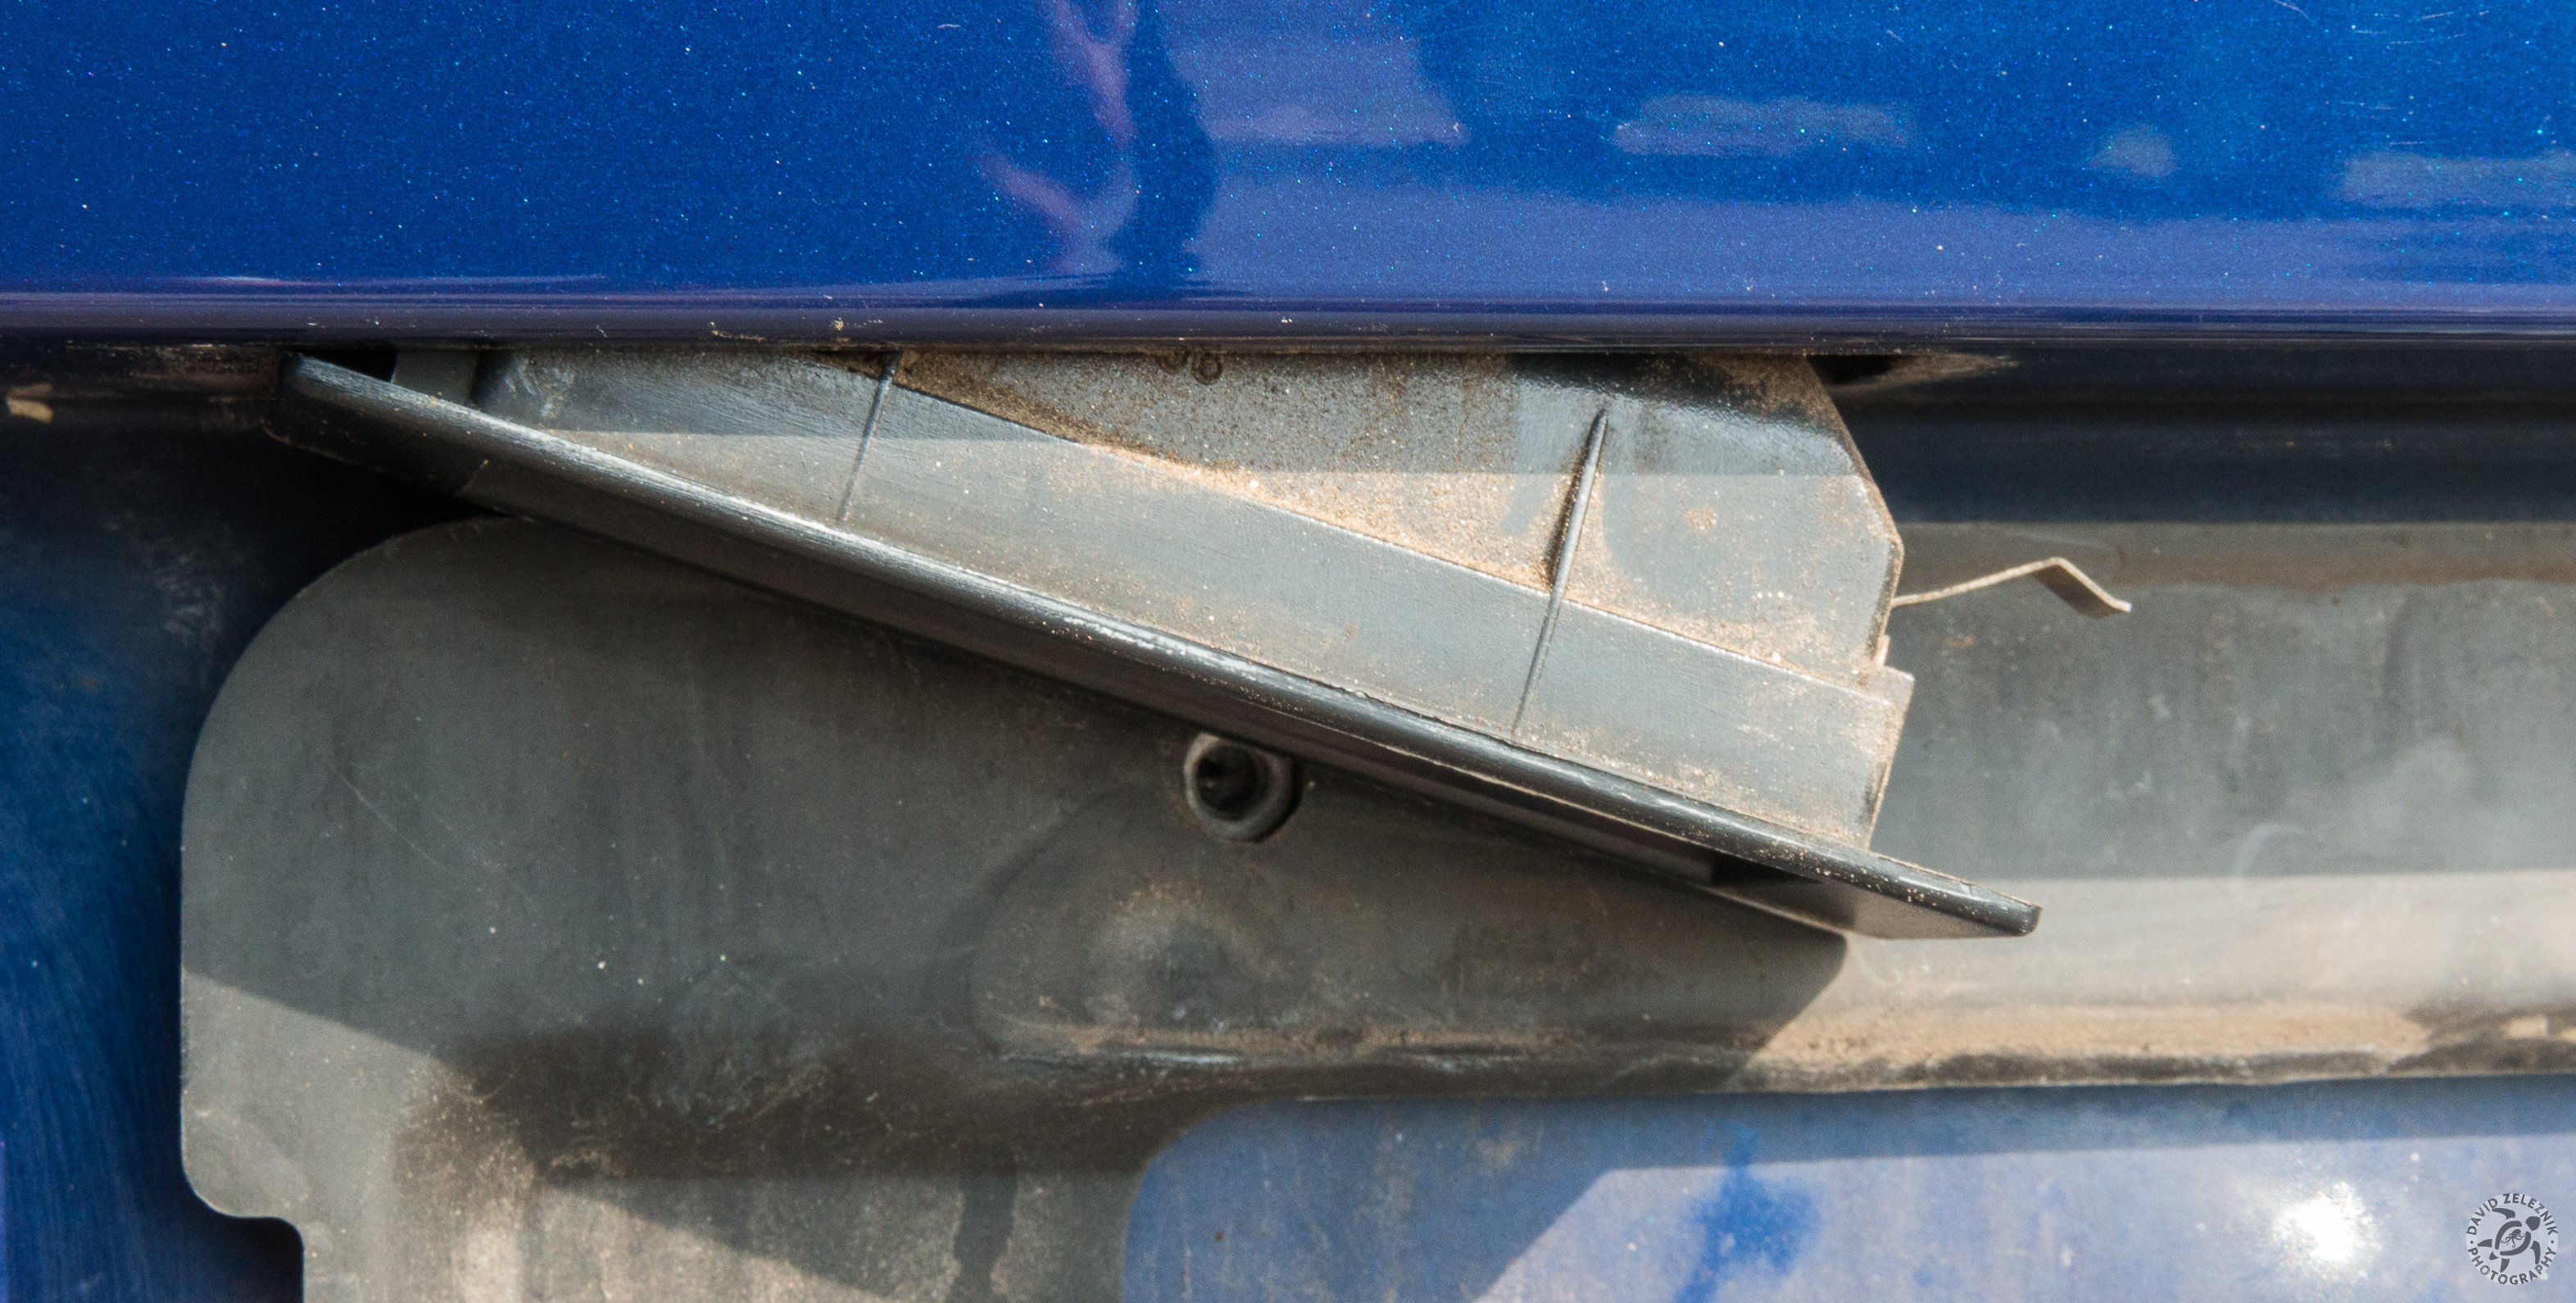
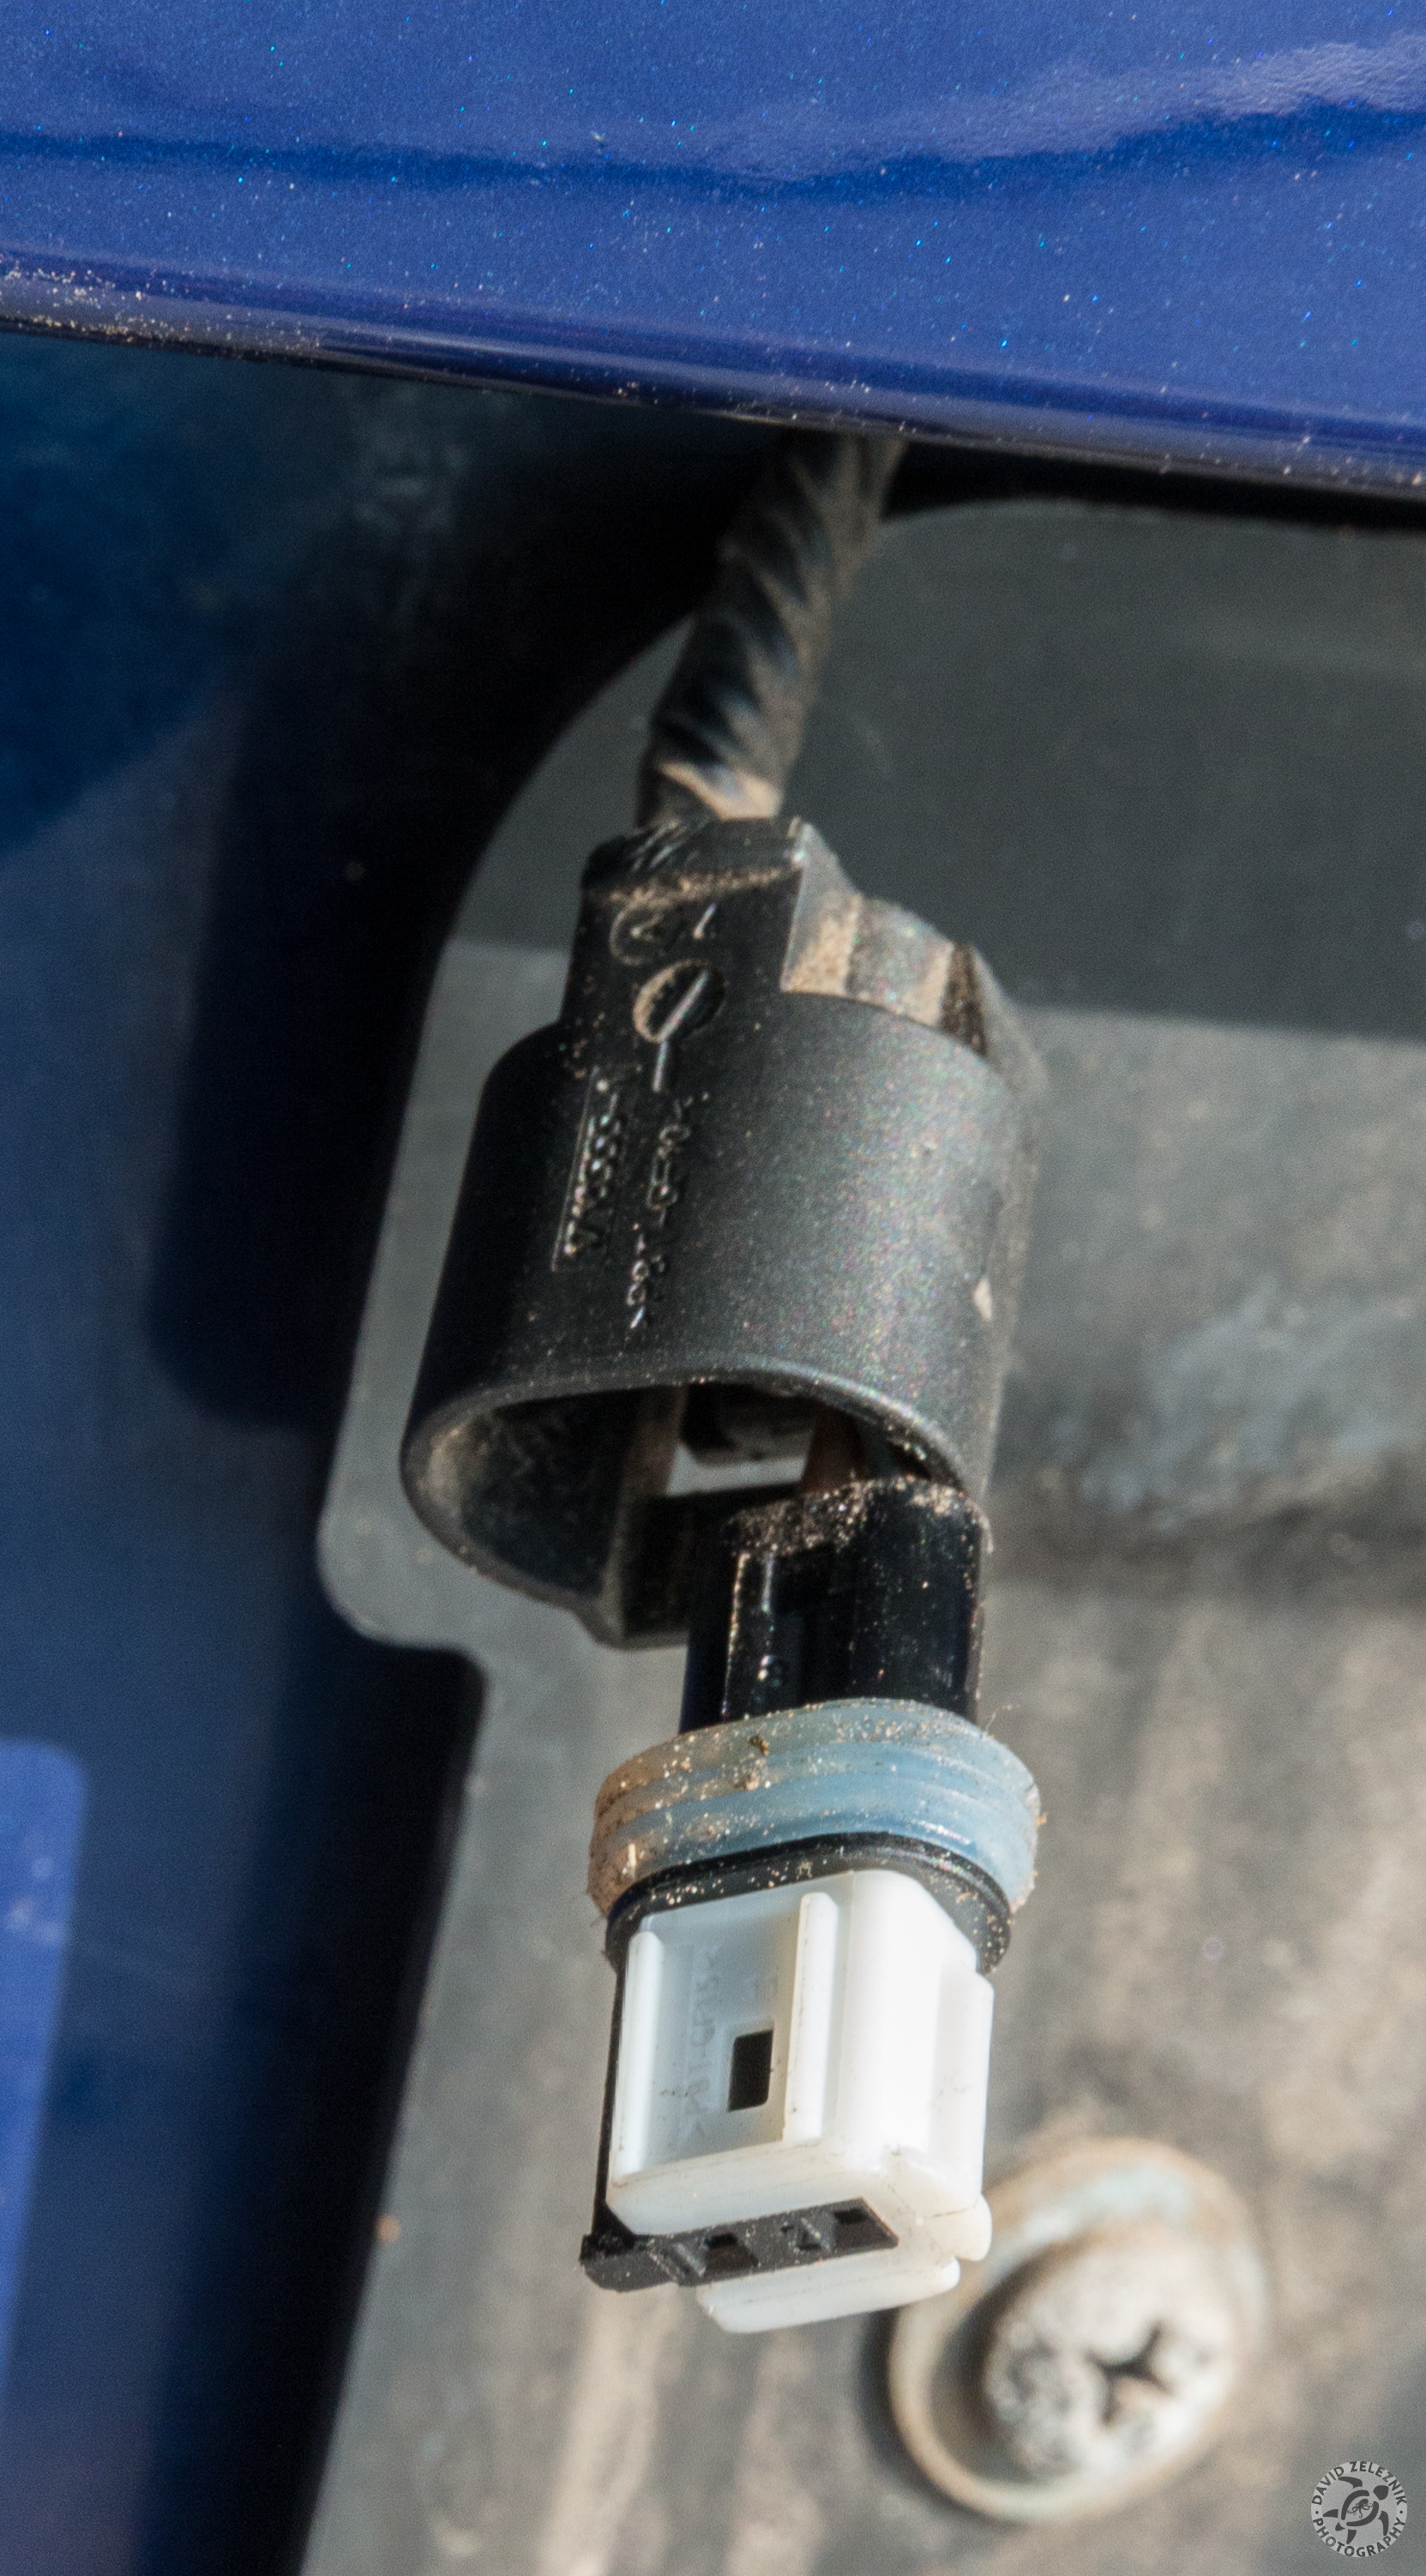
2 Each license plate light is held by a spring clip on one side and notches on the other. To remove, you need to use a non-marring pry tool (in my case, a nylon trim removal tool), press in on the spring clip, and pull down. It does take a bit of force to pop the light out of the bumper.

3 On my car, the spring clips were on the right side of the light and the notches were on the left side.
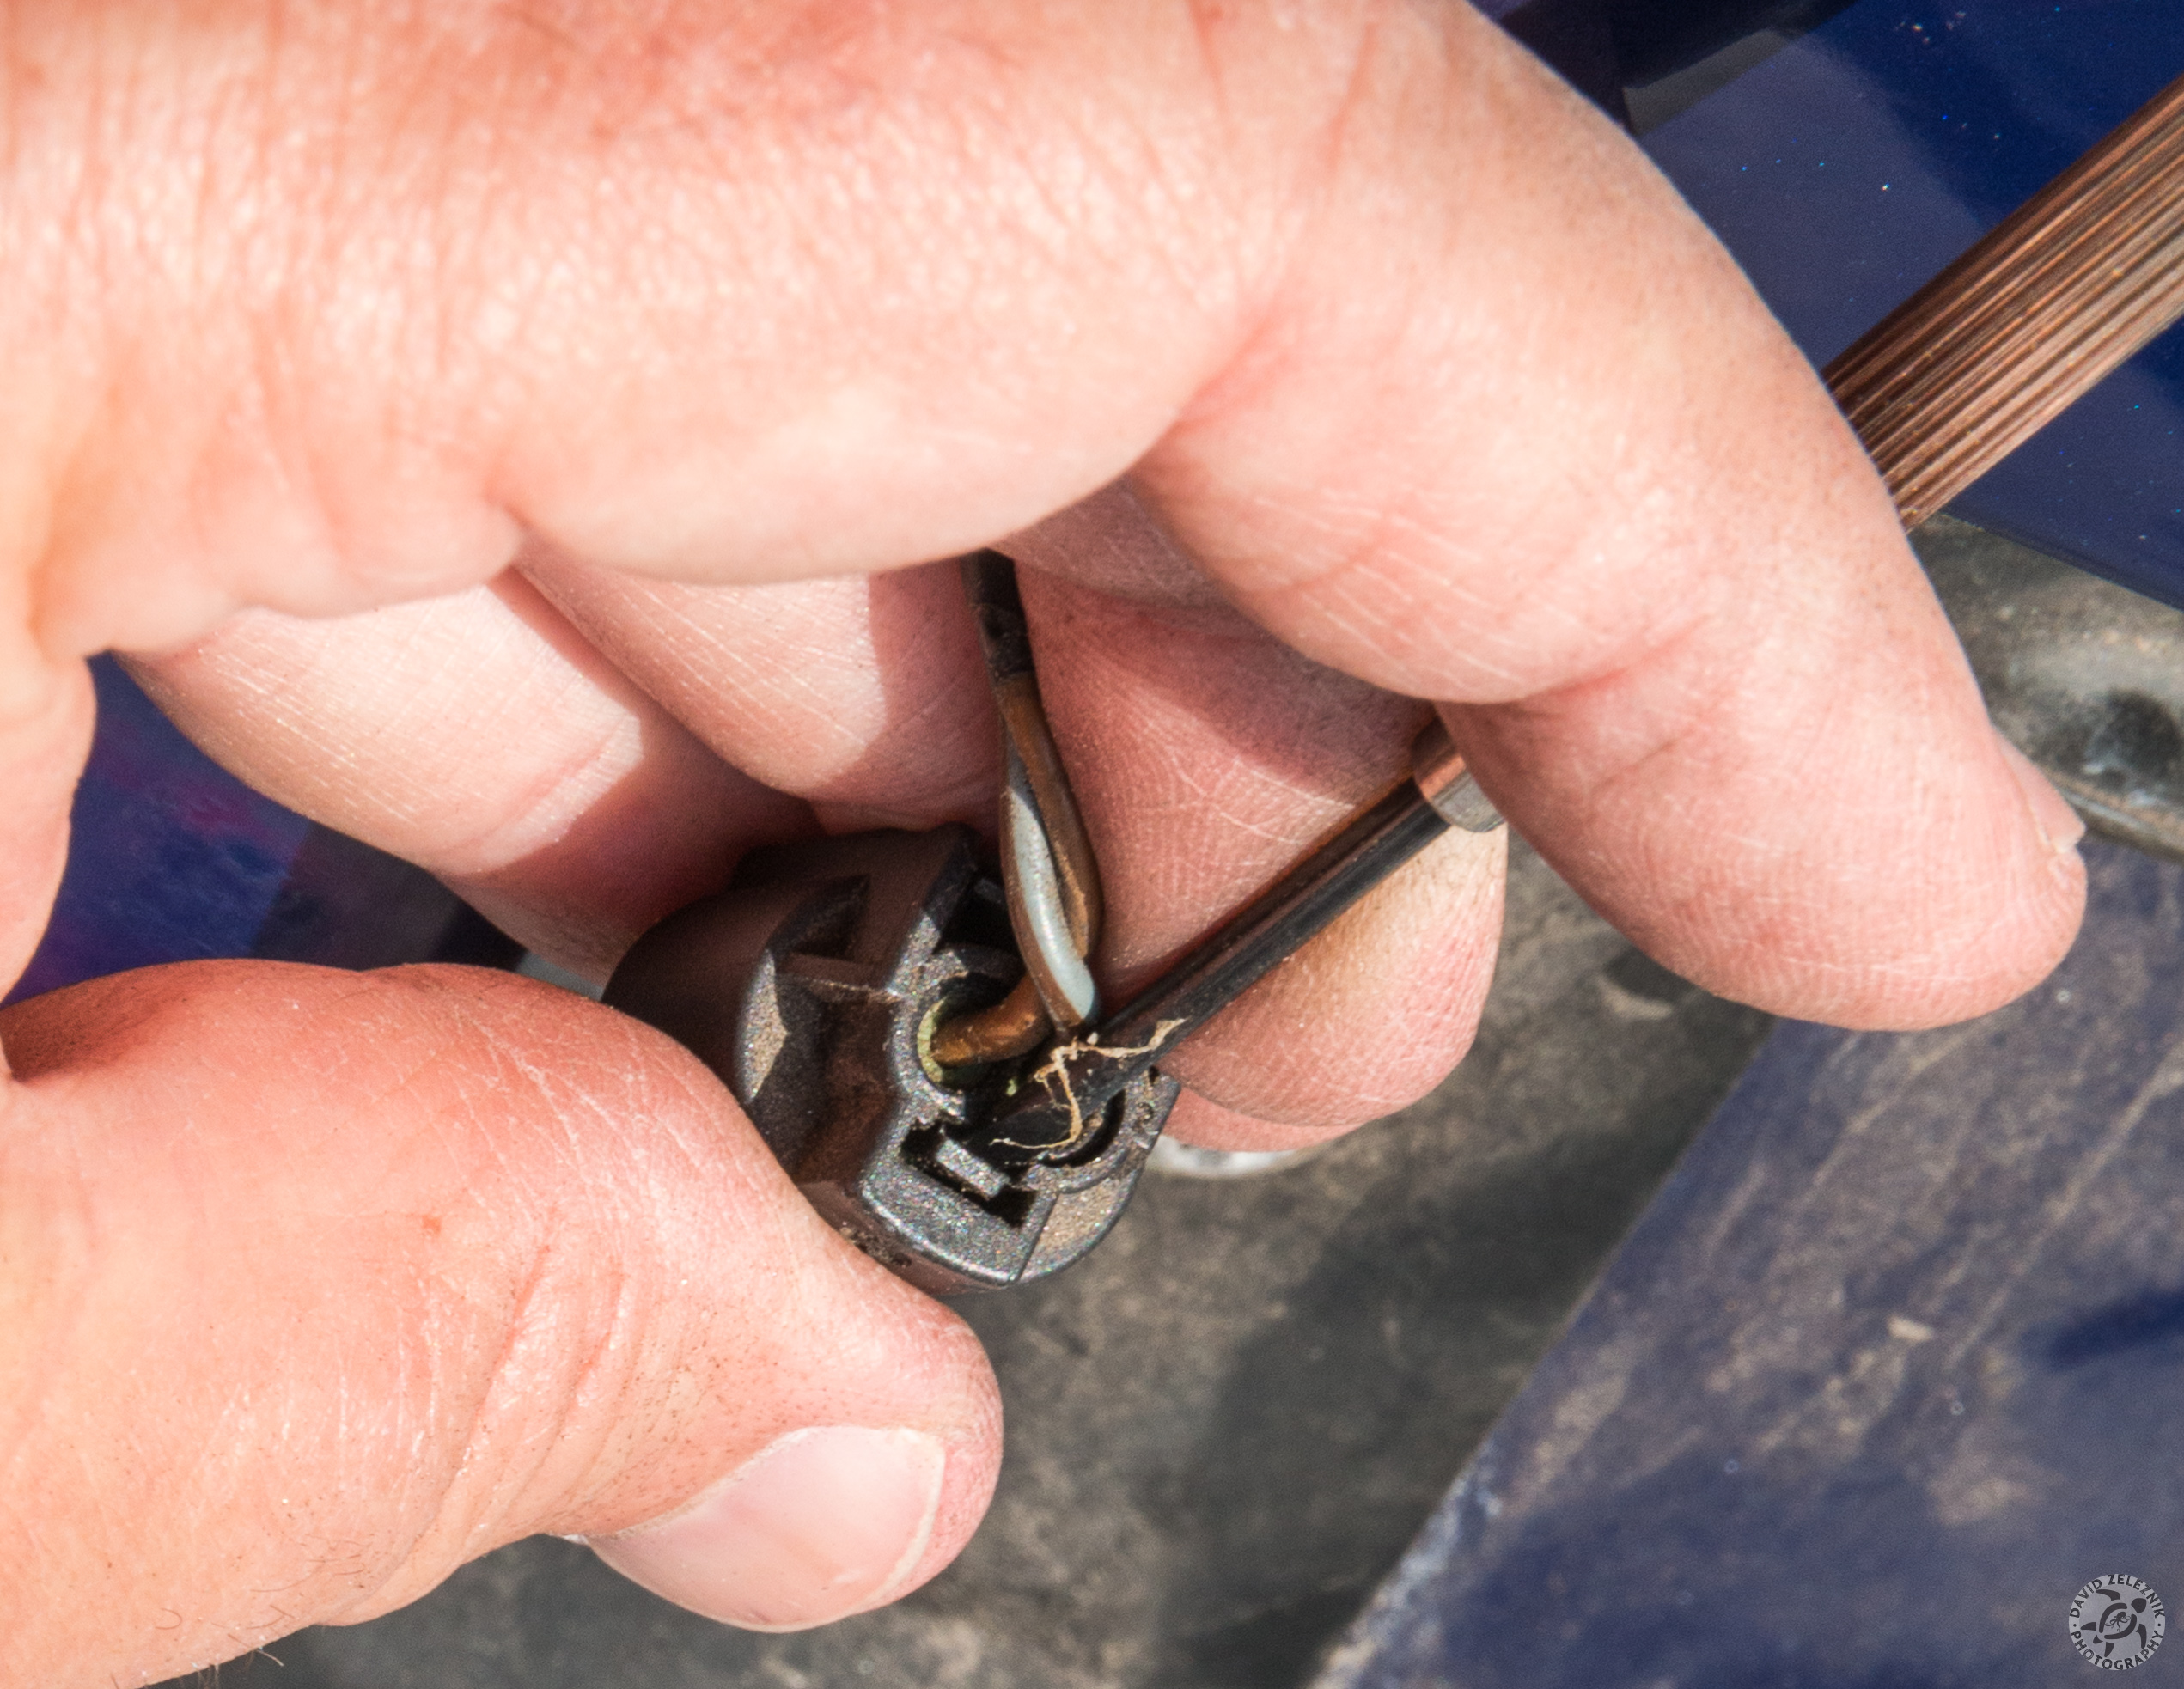
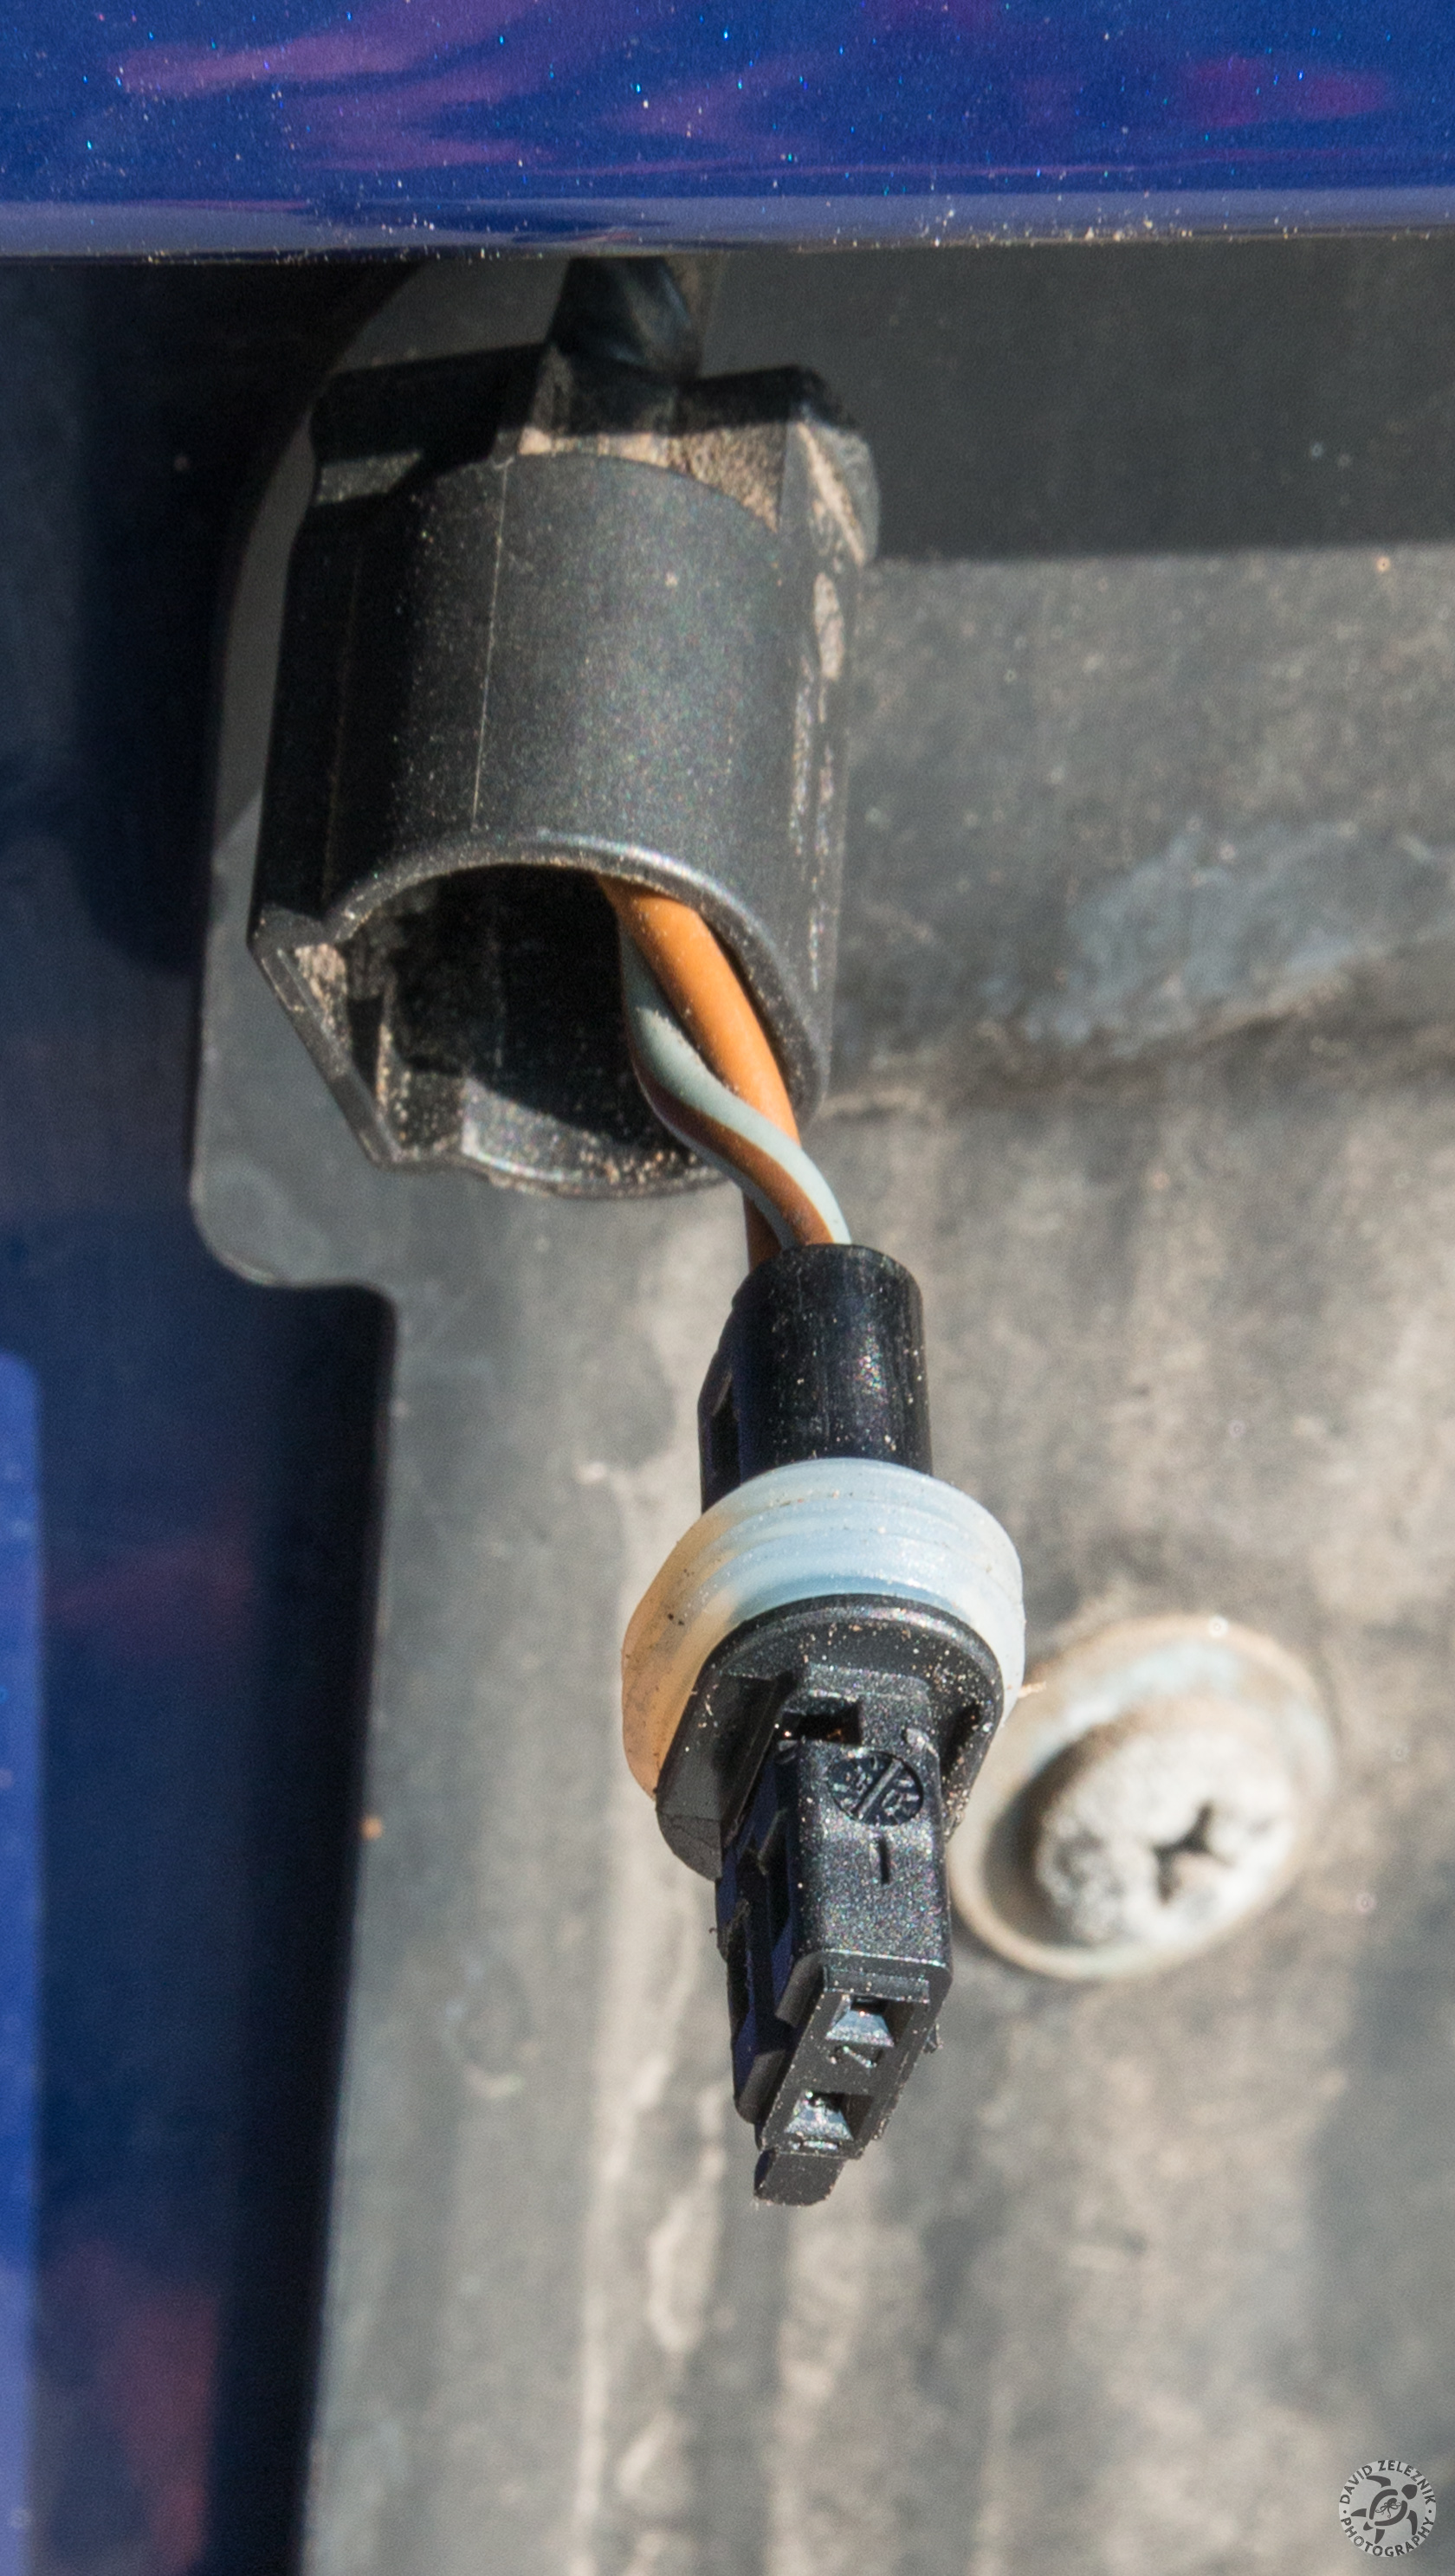
4 After you disconnect the wire harness from the light, you need to disassemble the connector itself. To remove the outer shell of the connector, use a jeweler screwdriver to pry the latching tab outwards on the rear of the connector.
5 You should then be able to slide the outer shell of the connector up the cable. The next step is to completely remove the white u-shaped inner cover by prying it off with a jeweler screwdriver.
6 Once the outer shell and the white inner cover are out of the way, it is possible to remove the wire pins from the connector. Using the tiniest jeweler screwdriver, you press down on each pin's latching tab that is exposed through a small window on the side of the connector.
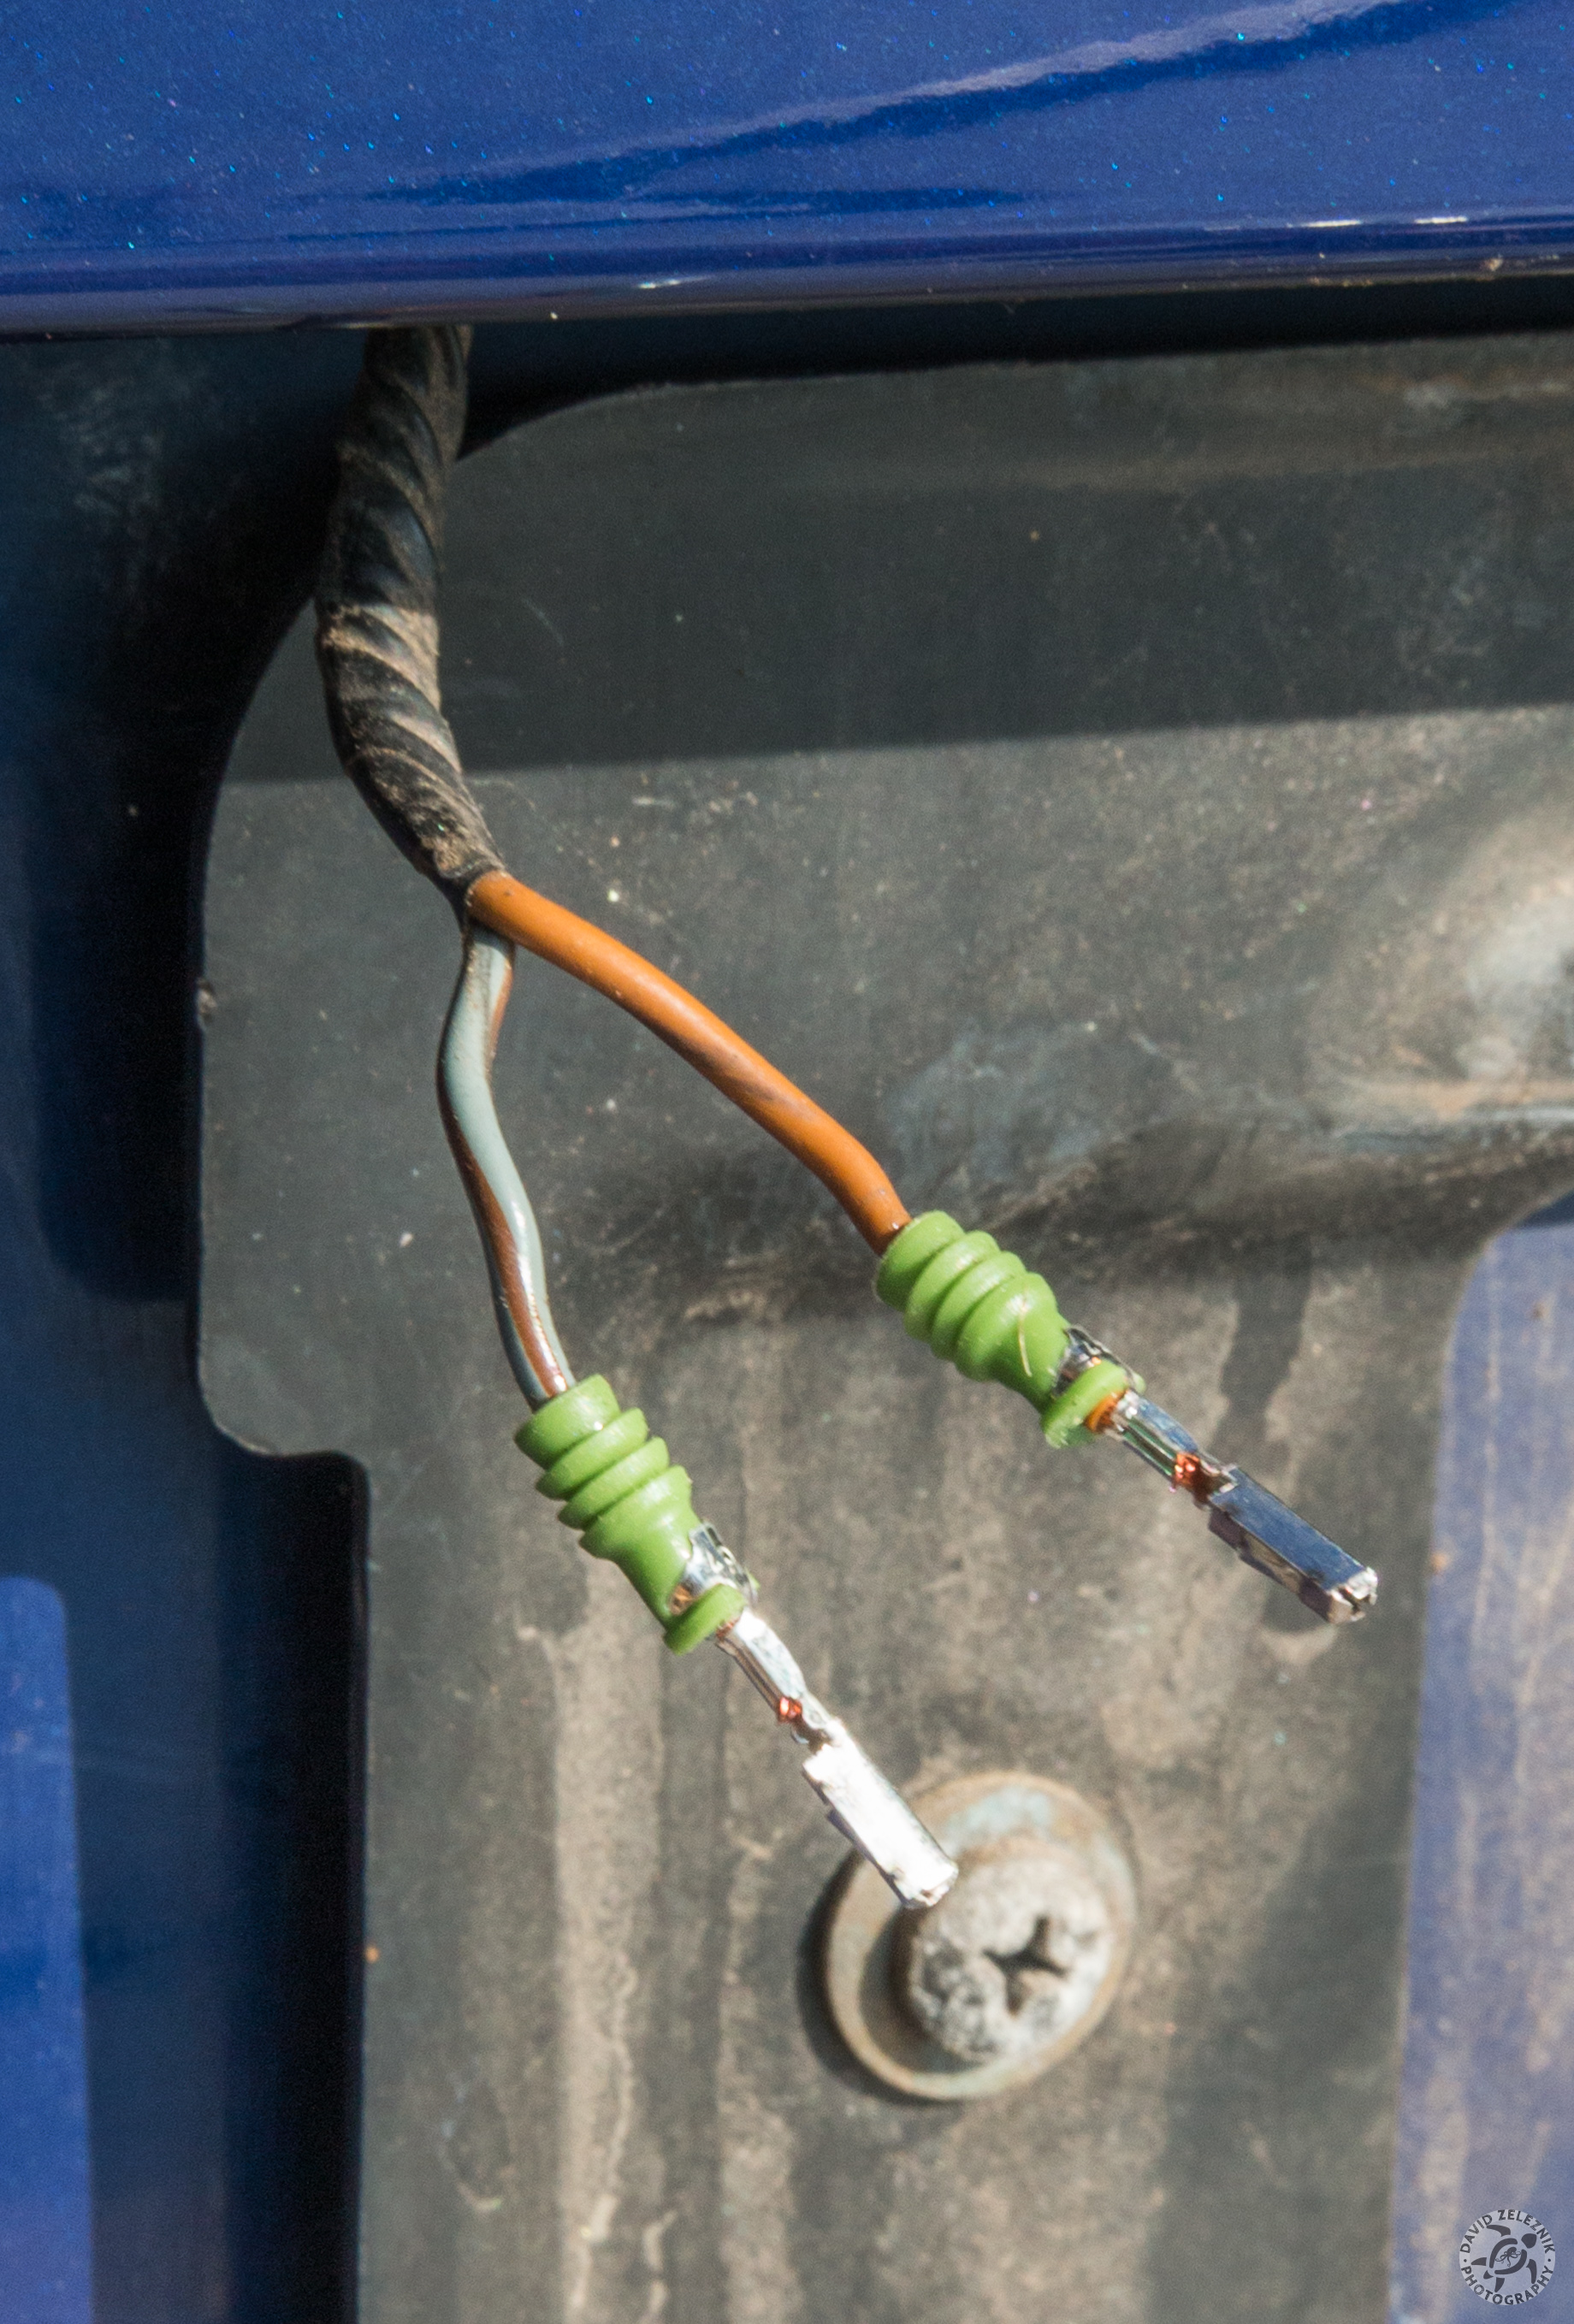
7 As you press down on each pin's latching tab, you can pull it out from the connector. With both pins removed, you can slide the outer shell off and remove it.
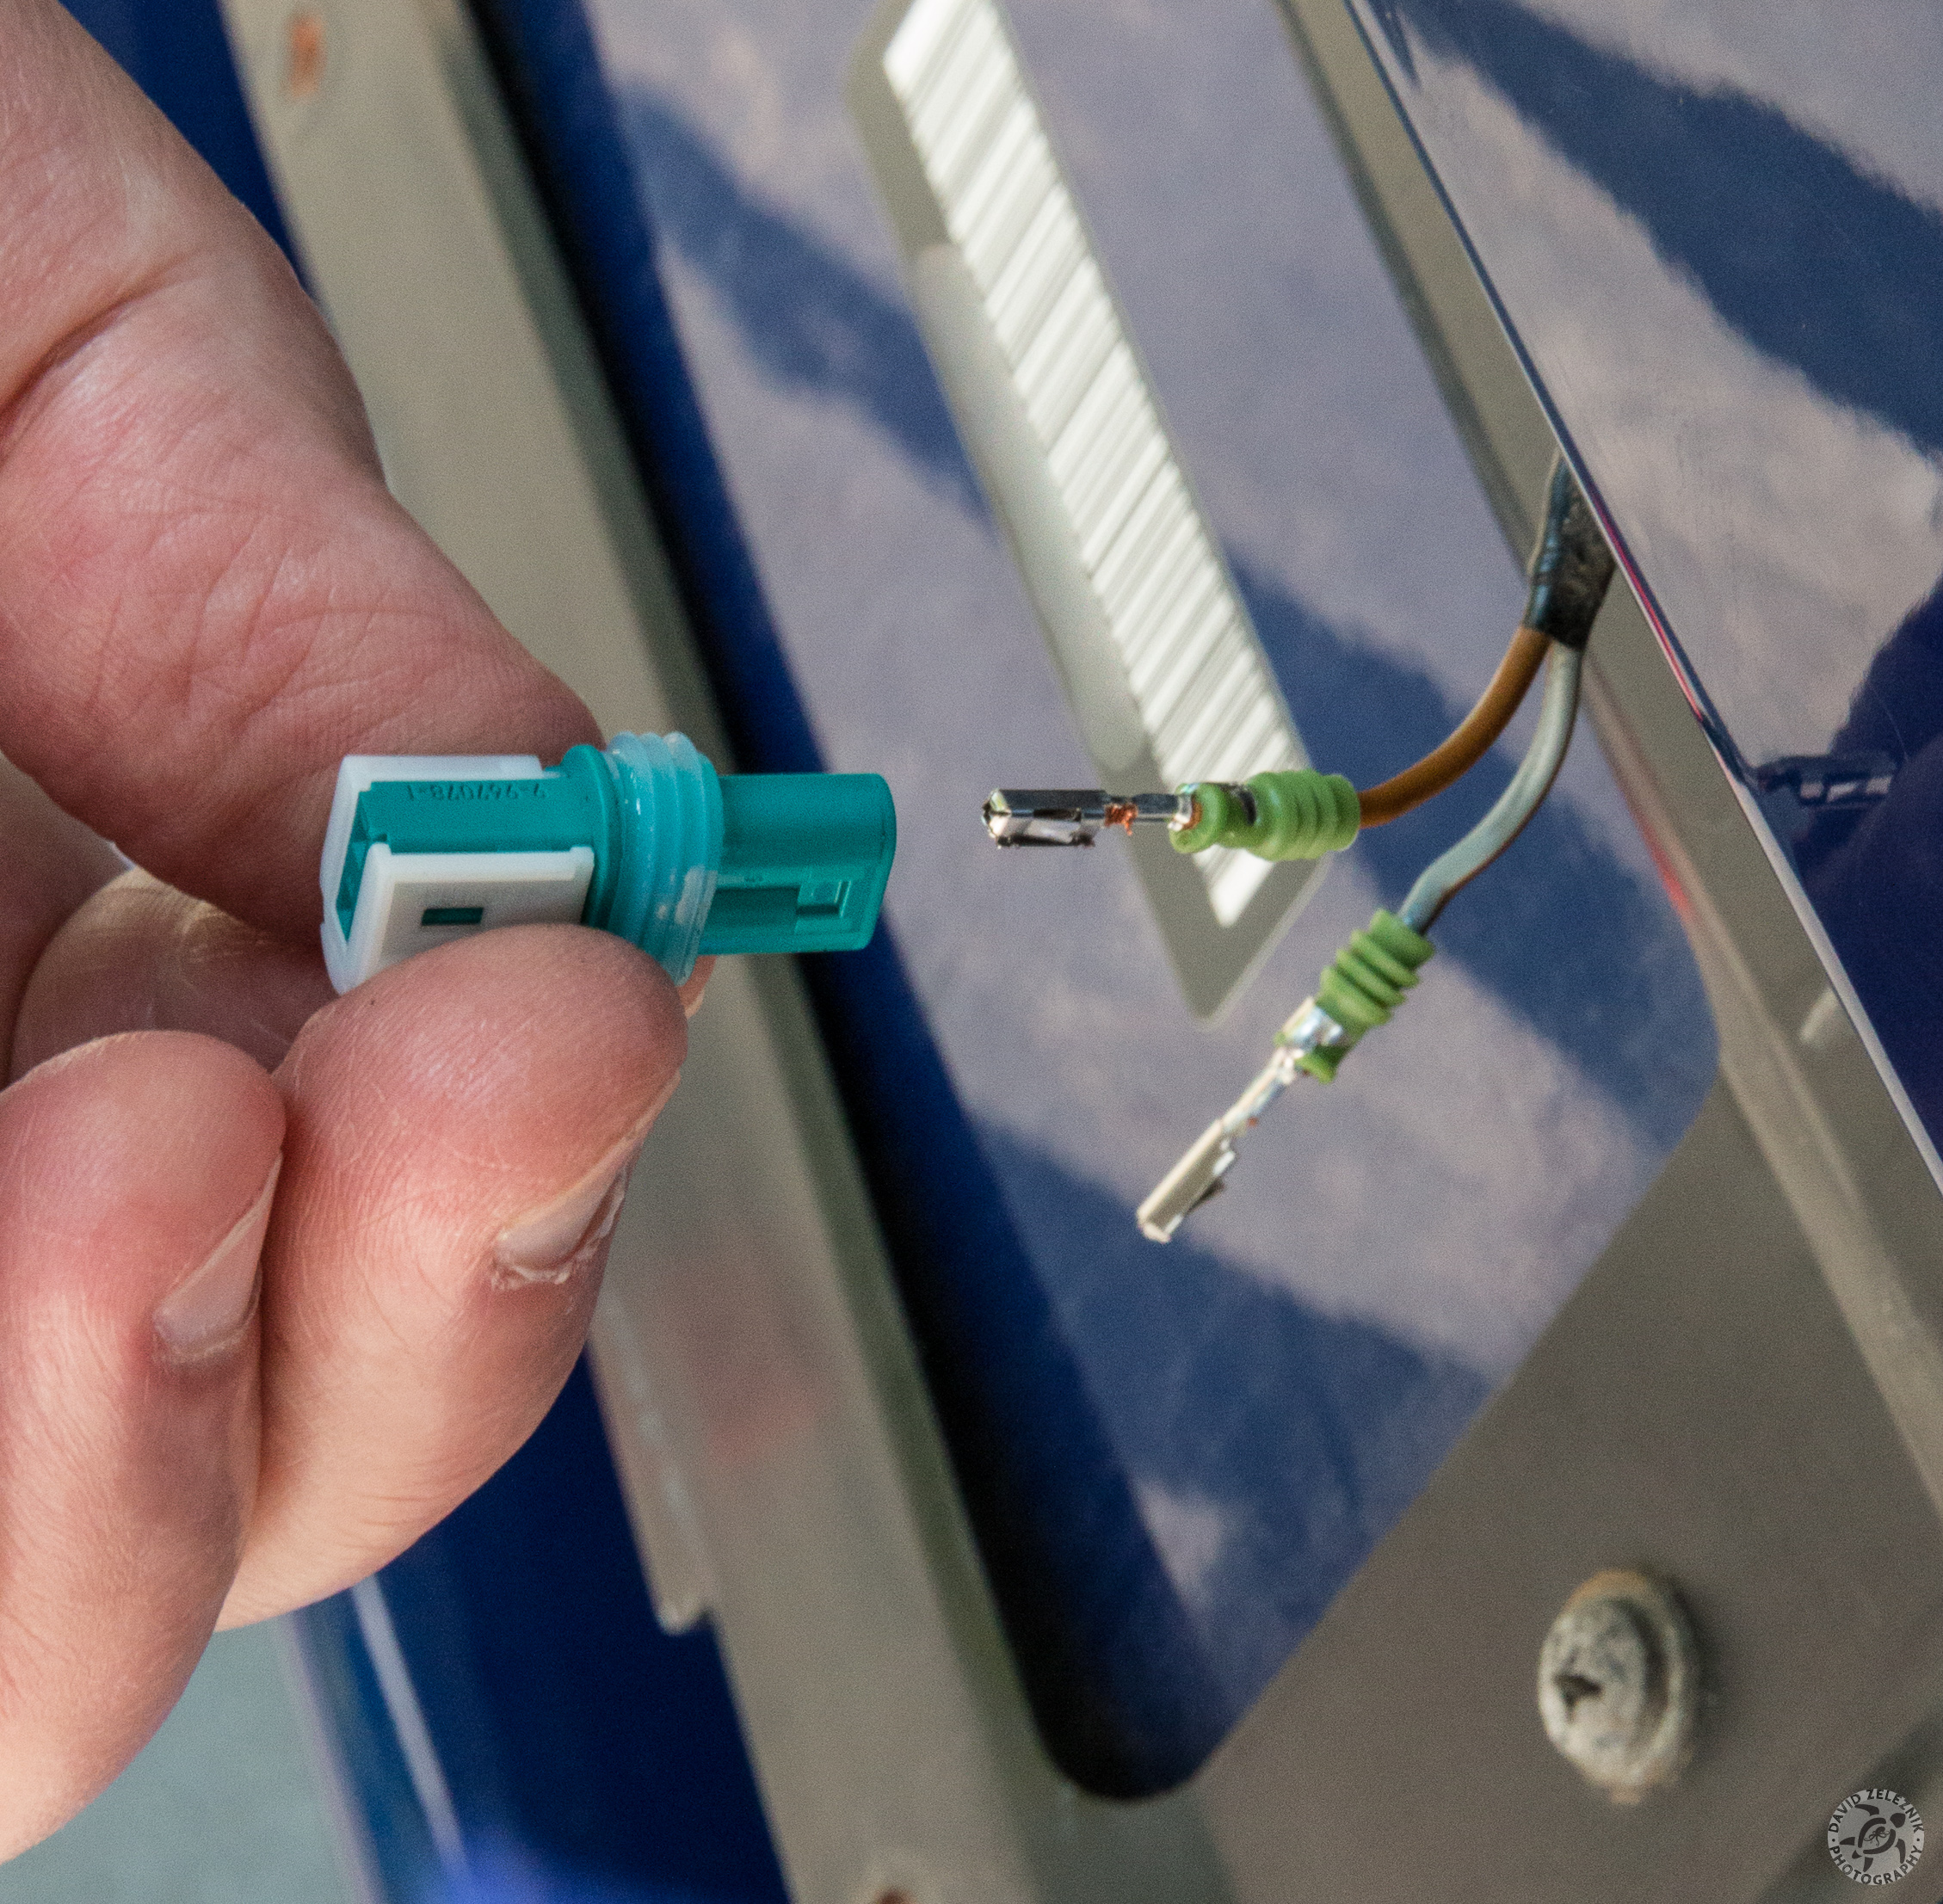
8 The solid brown wire is ground and goes to pin 1 of the new connector. The grey striped wire is switched power and goes to pin 2 of the new connector. First make sure that you have slid the new outer shell over the wires. Then if you hold the new connector with the white u-shaped inner cover up / flat side of the connector to the right, you can insert the pins with their latching tabs also facing to the right.

9 Slide the outer shell down and snap the new connector together.
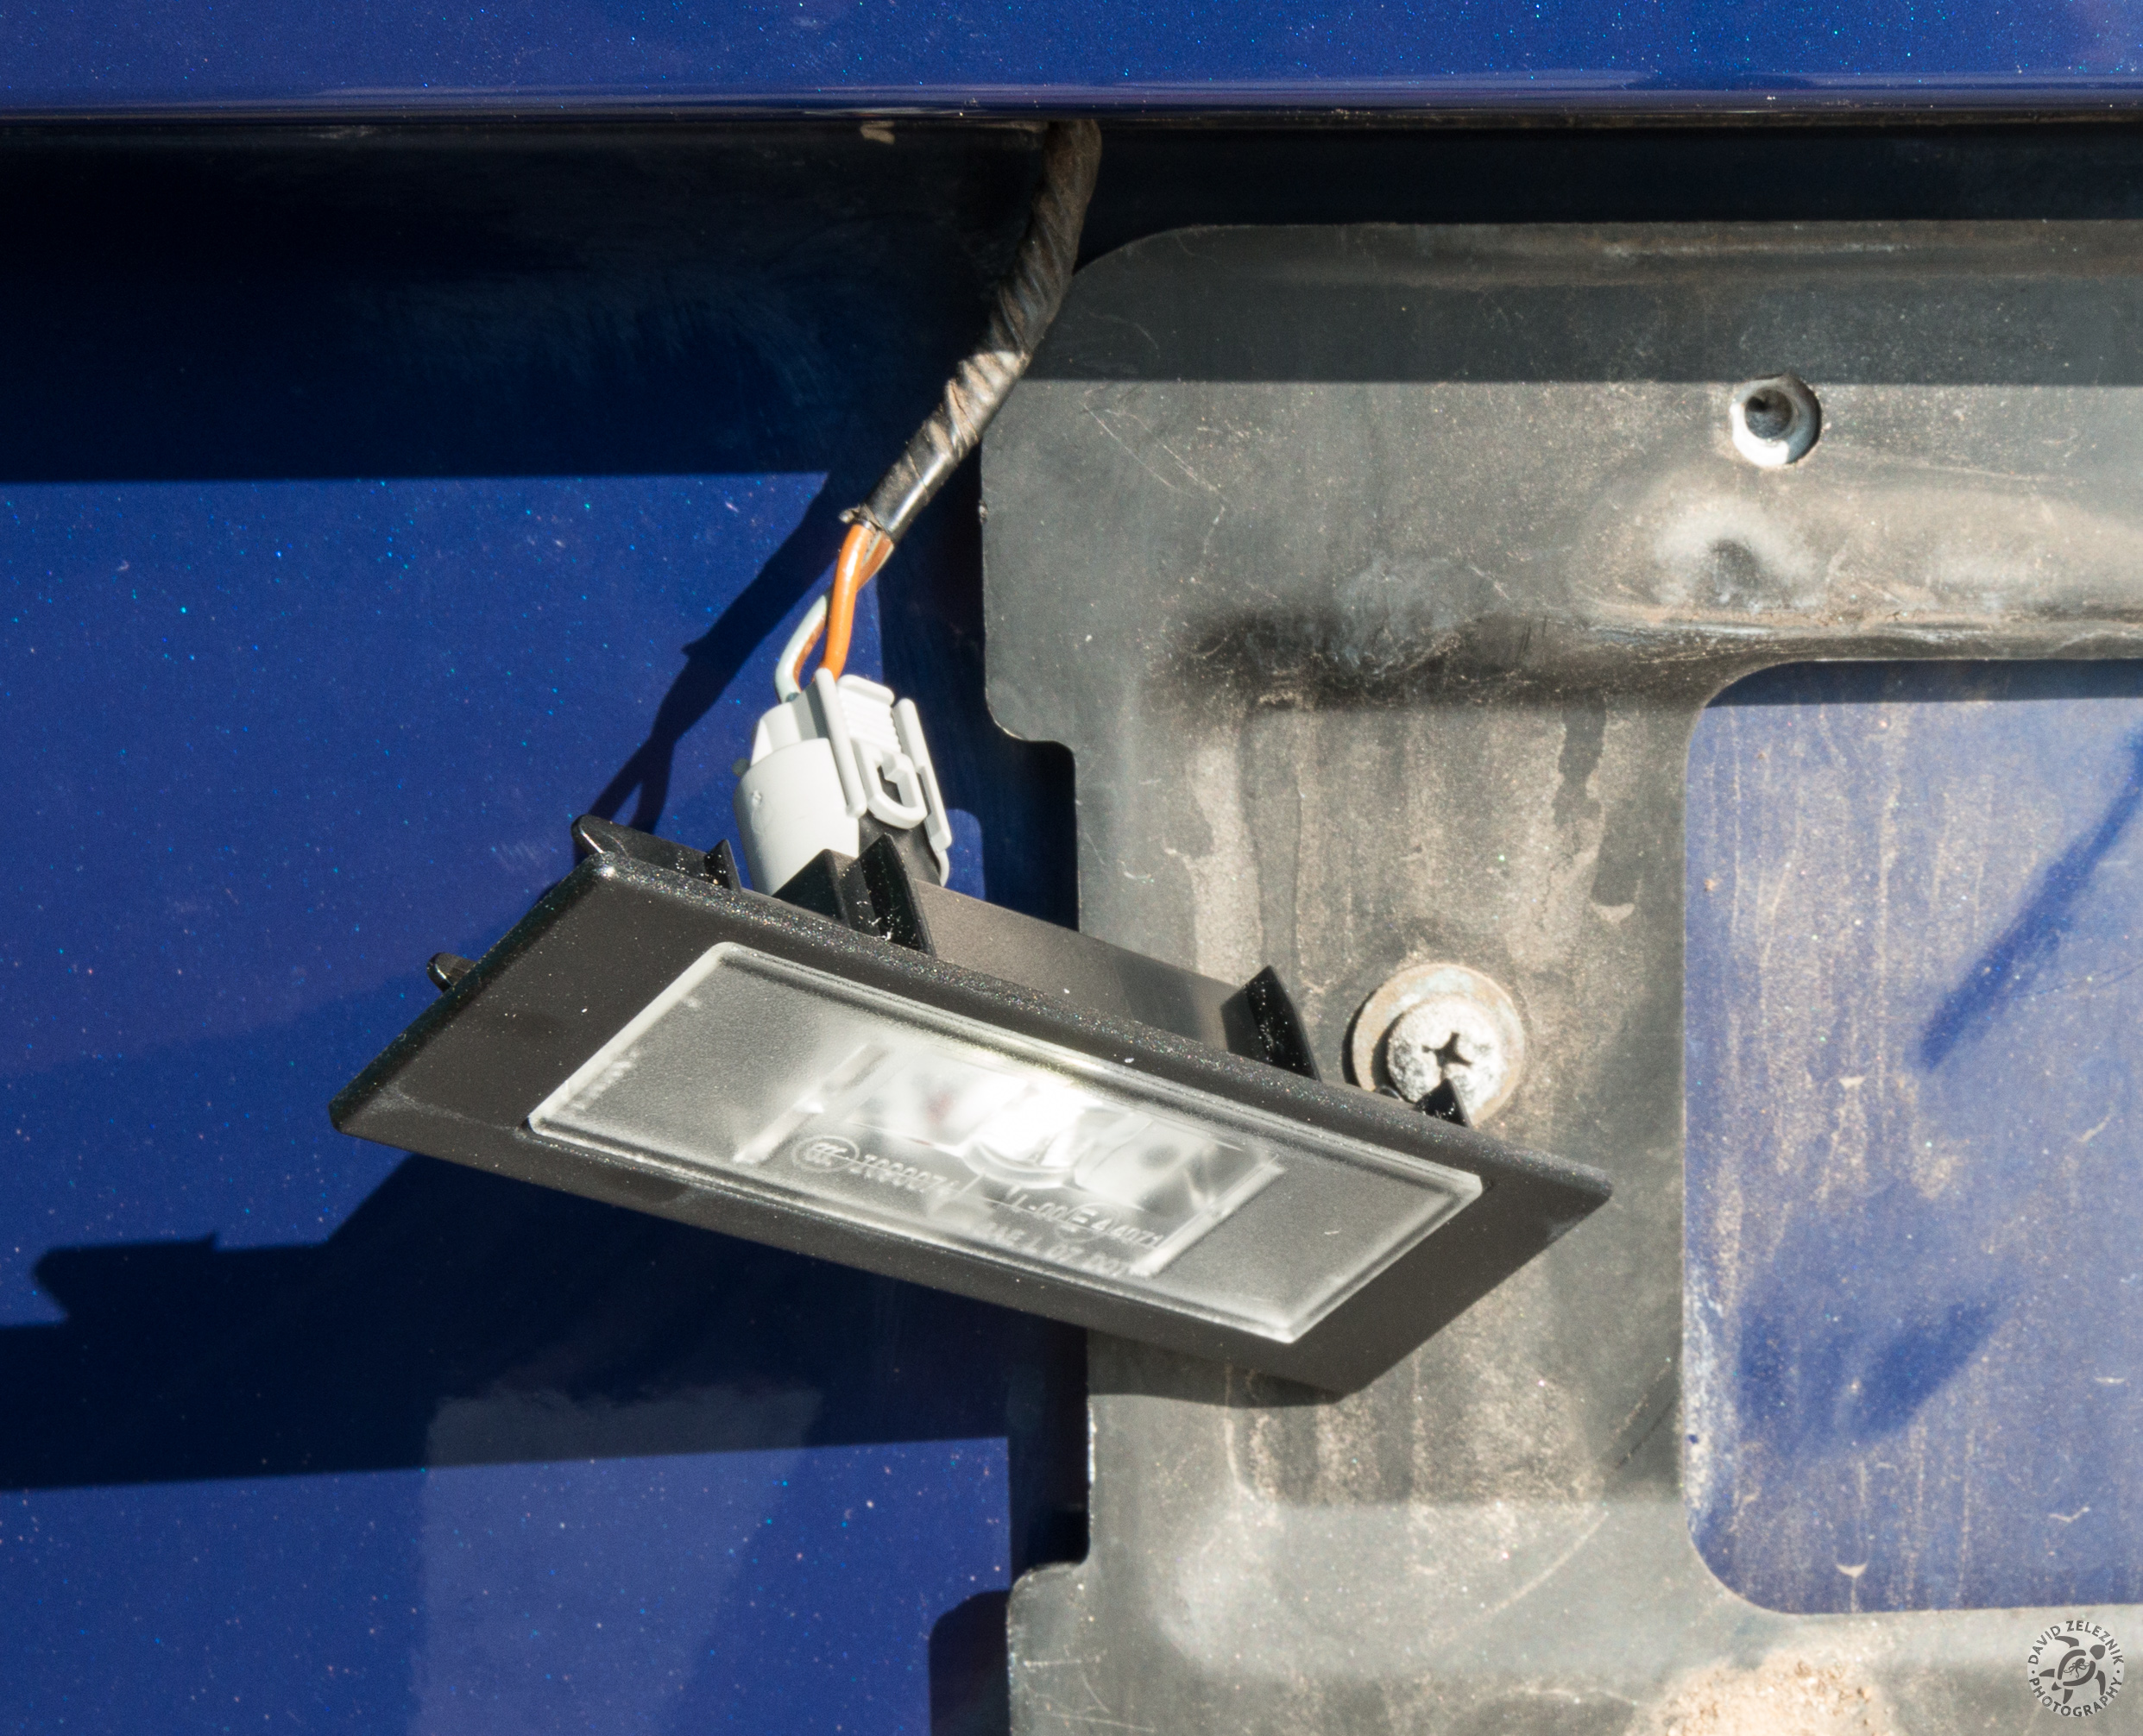
10 Connect the wire harness to the LED light assembly and test that everything works
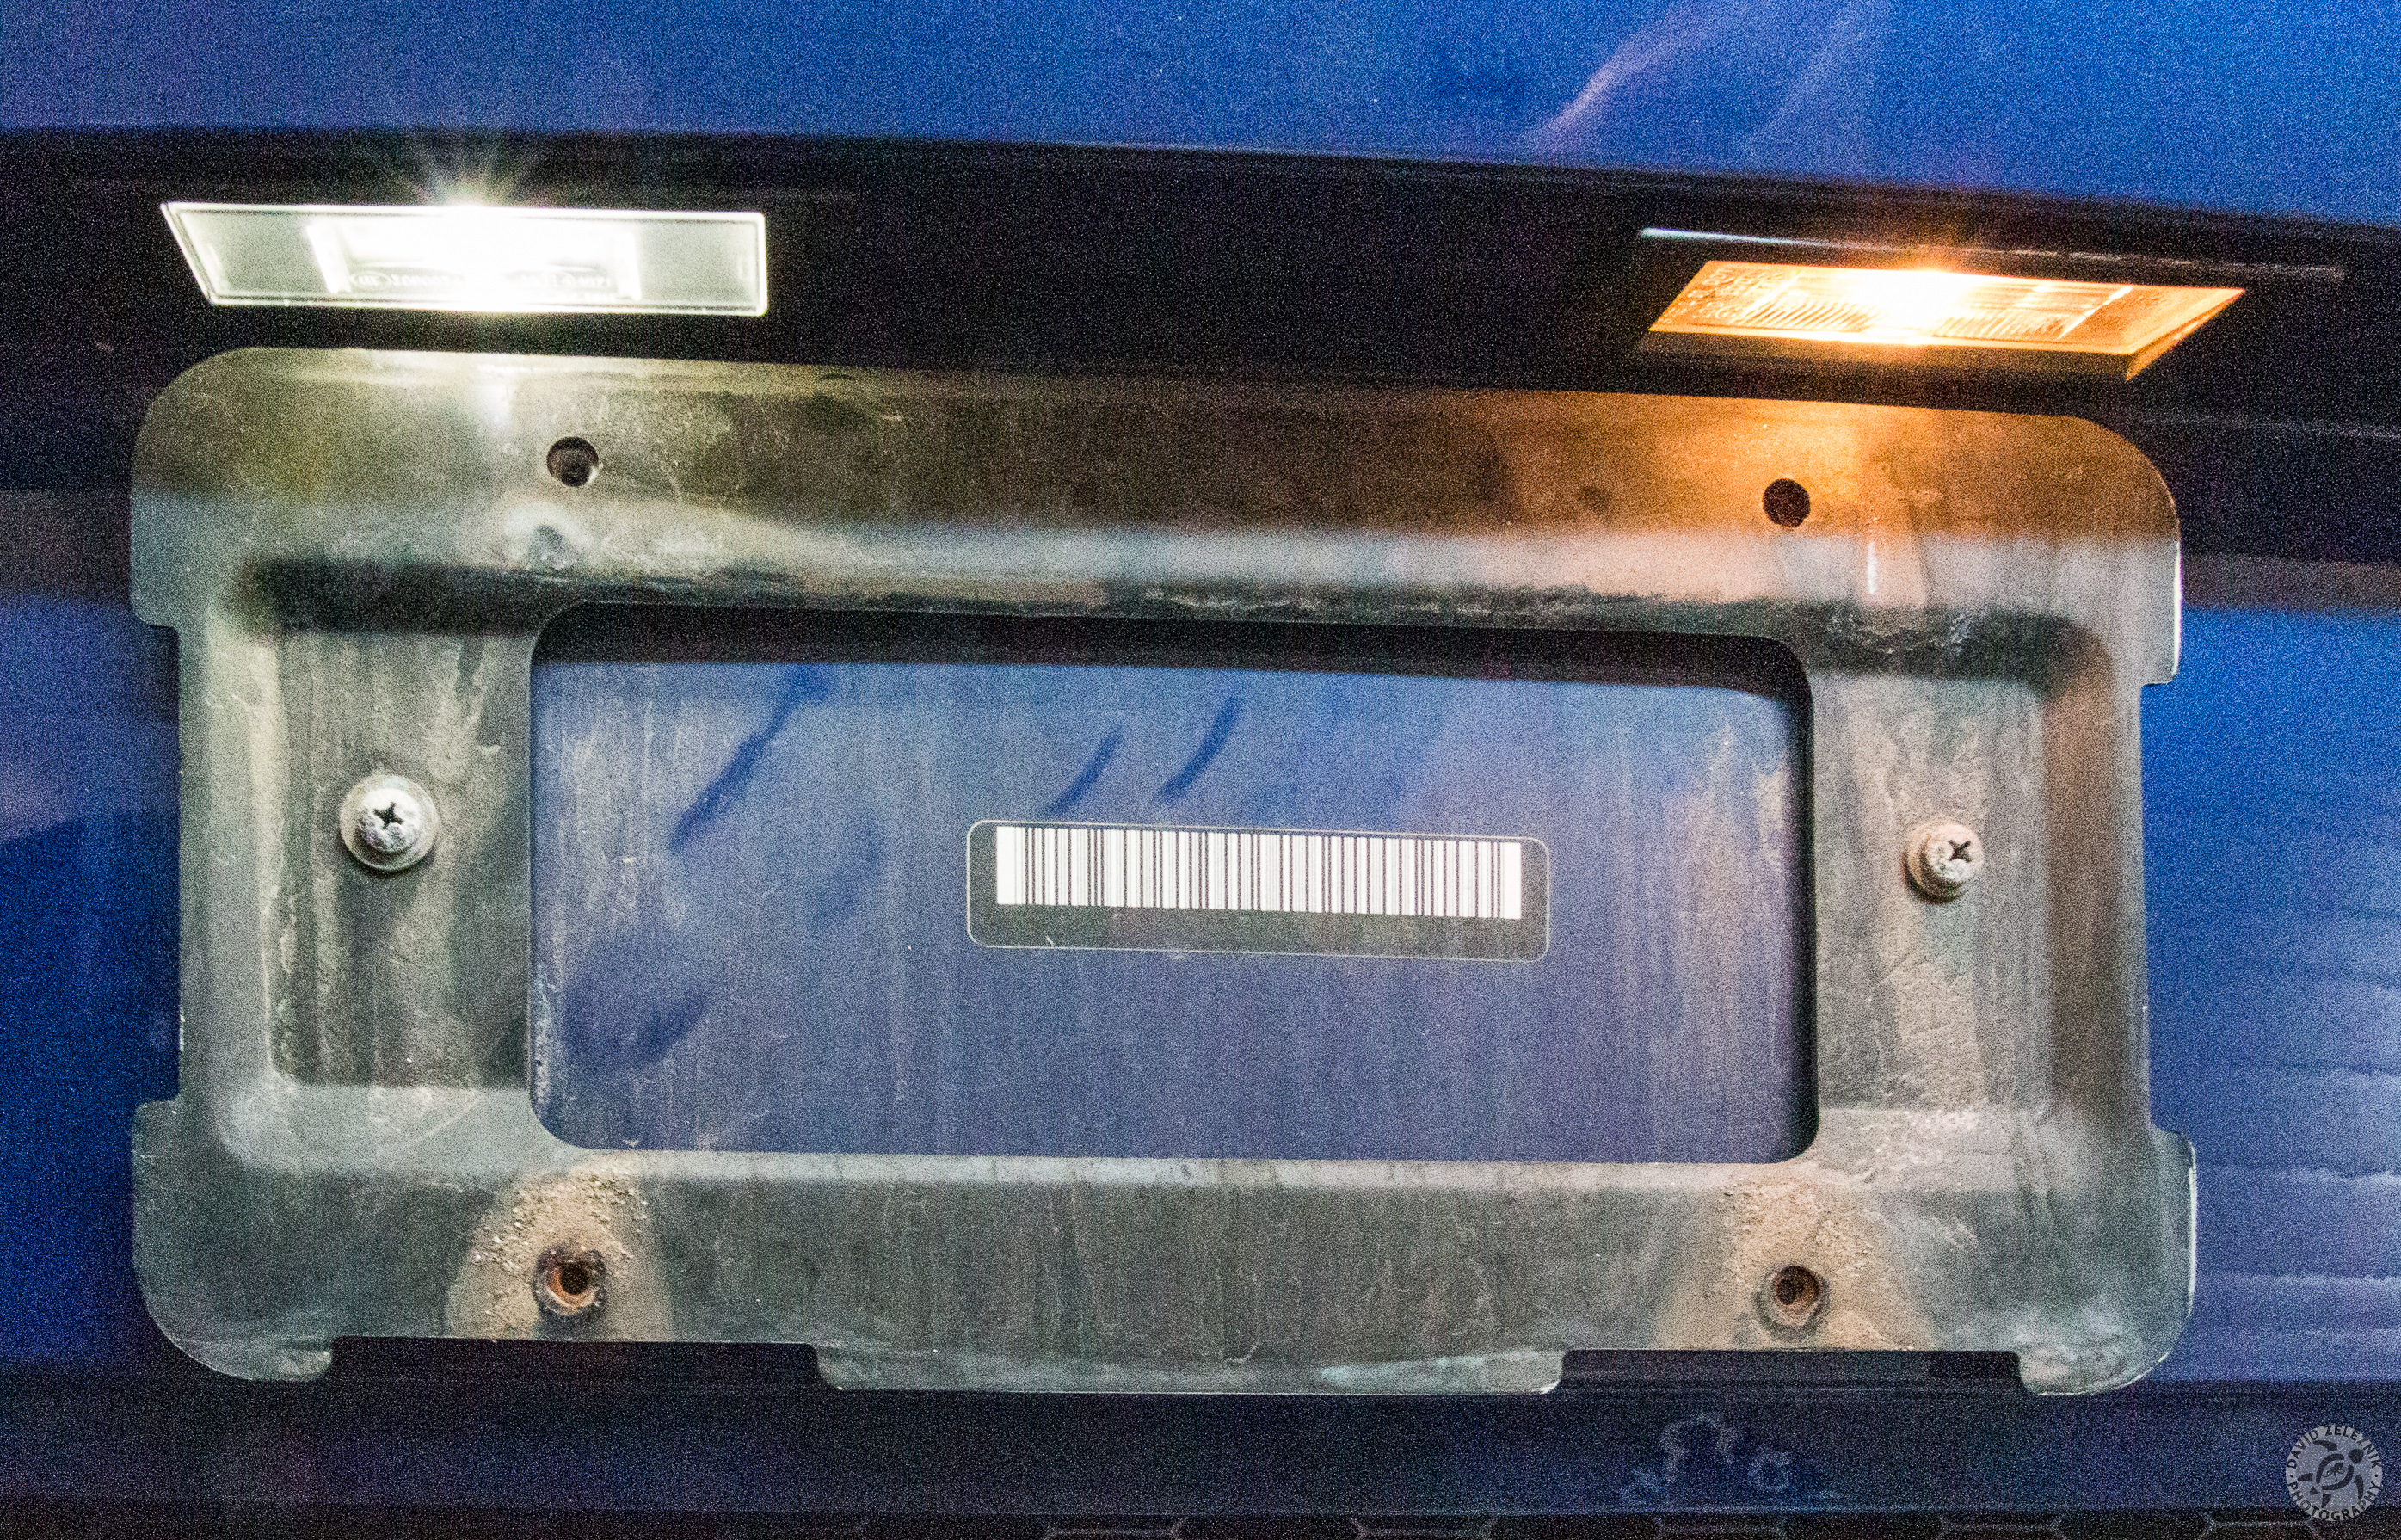
11 One light completed, repeat for the second. Here is a comparison shot showing the LED light on the left and the factory halogen bulb on the right.
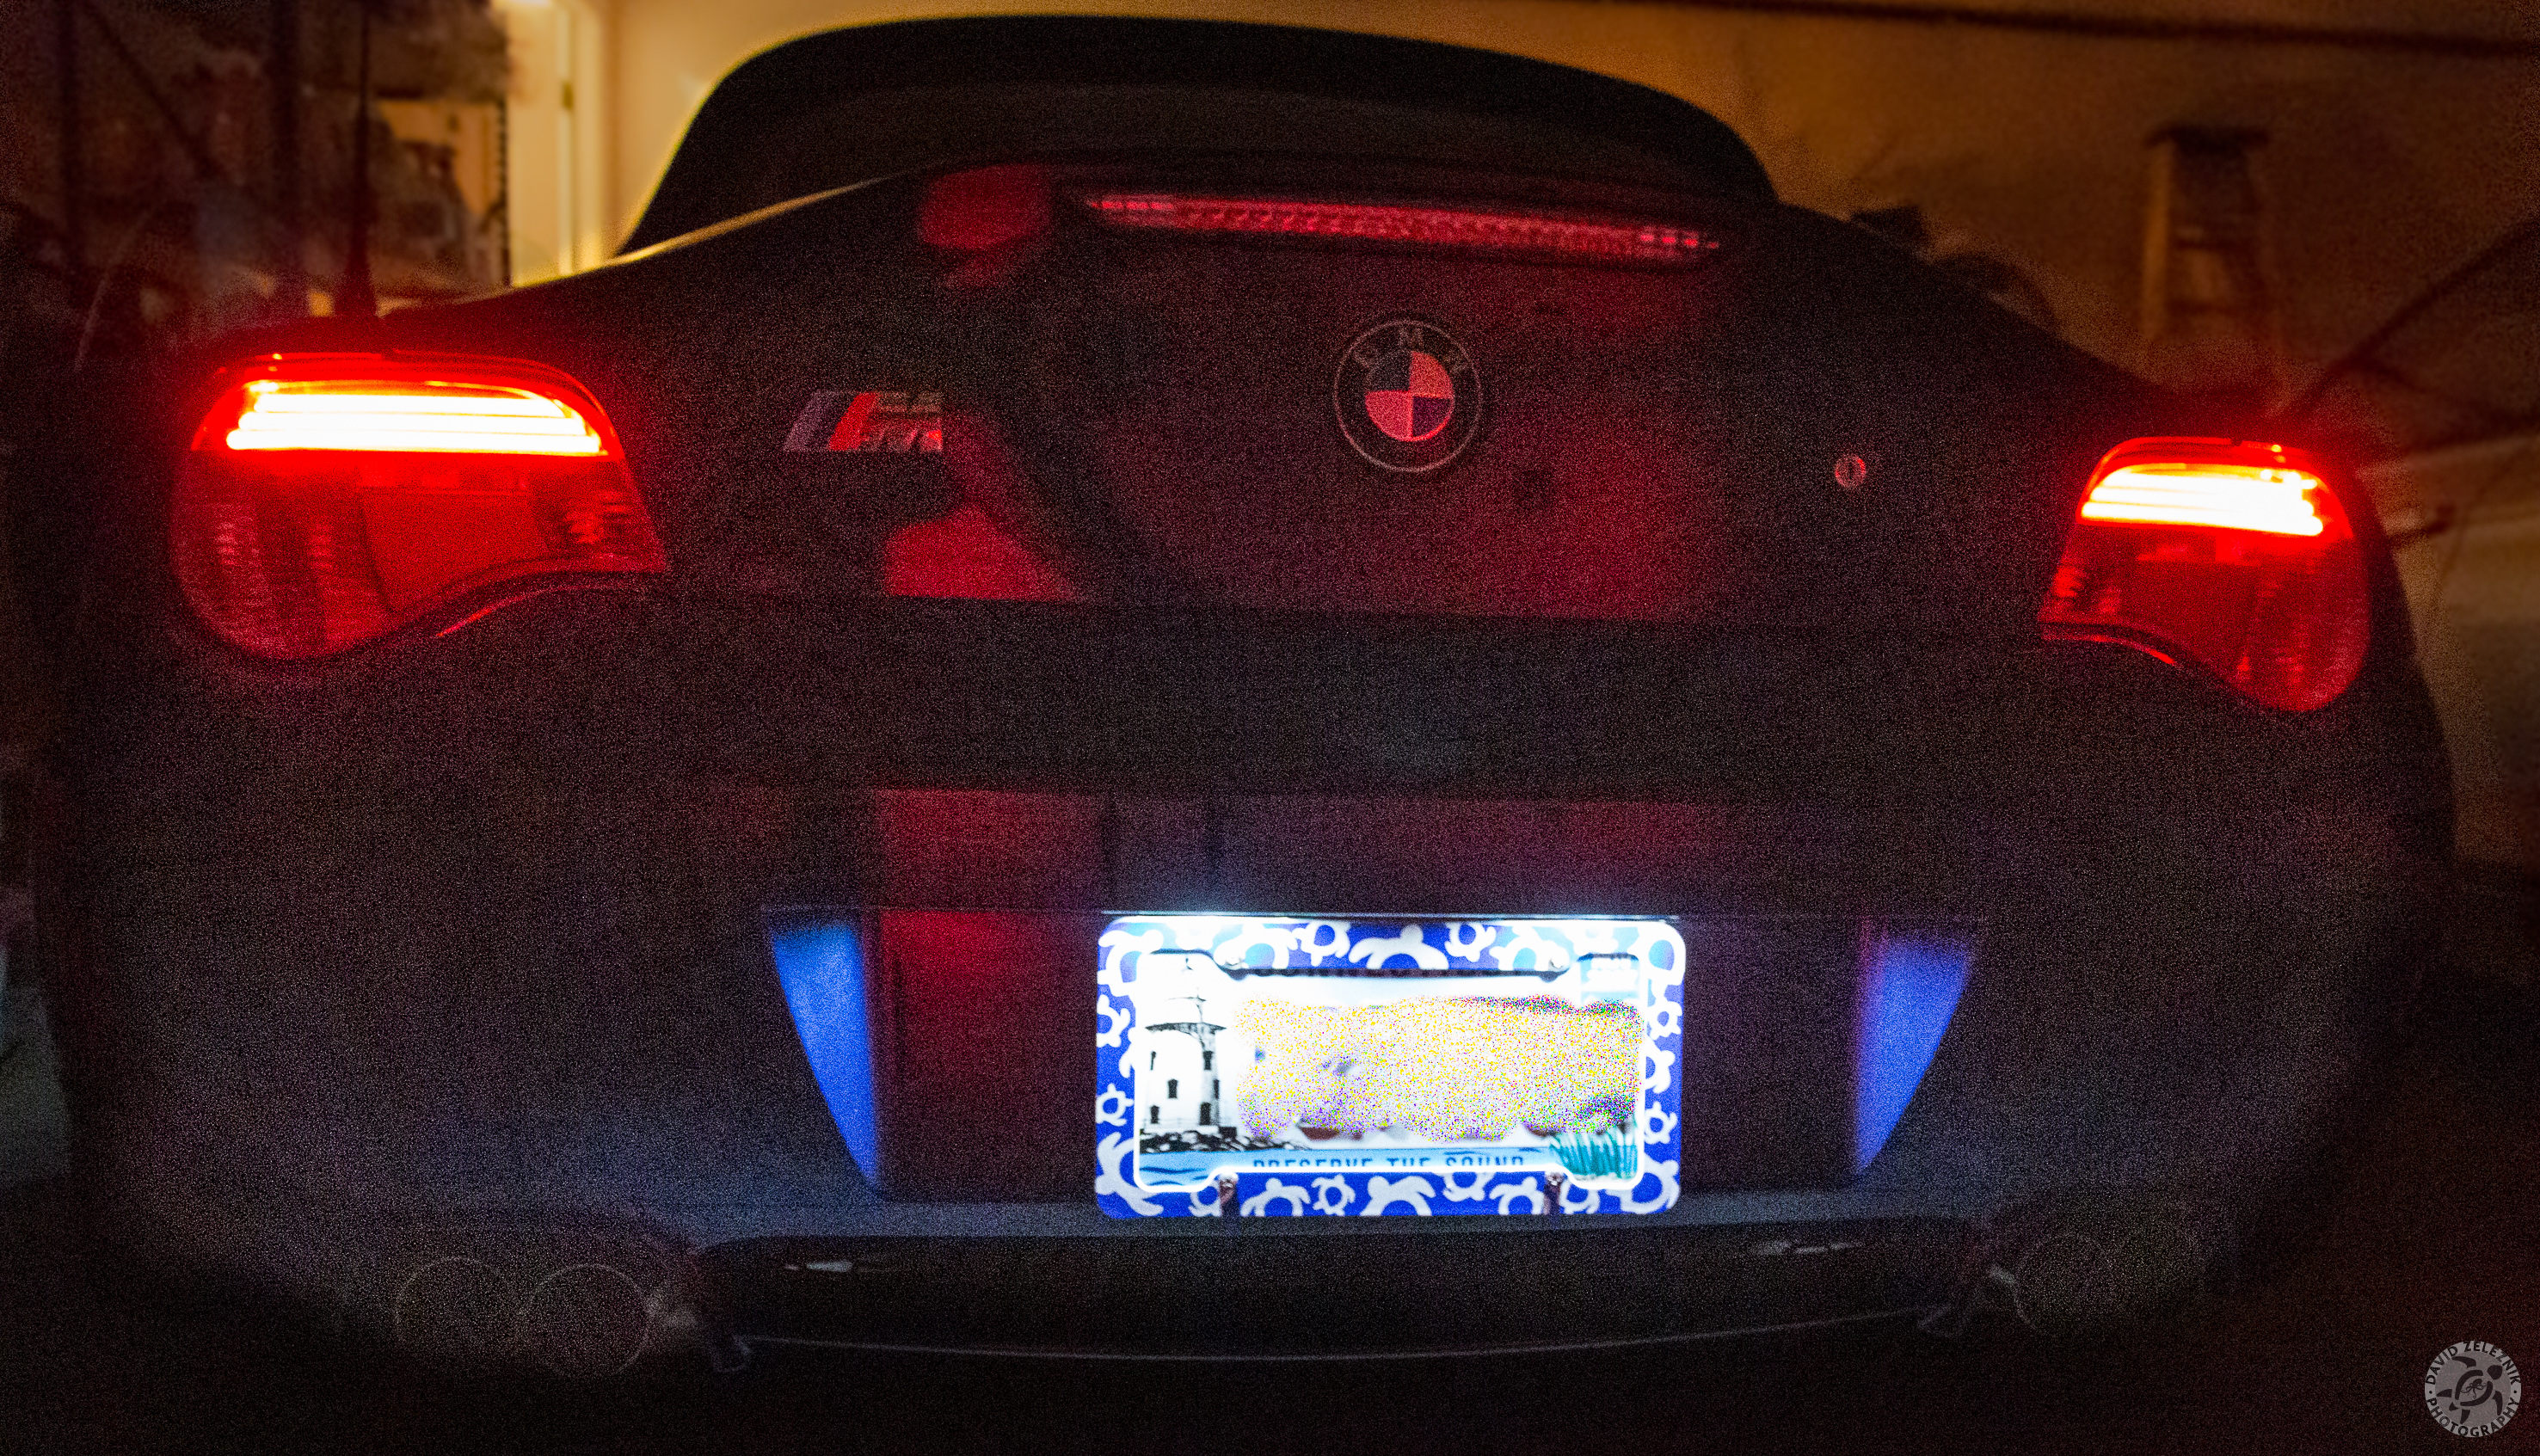
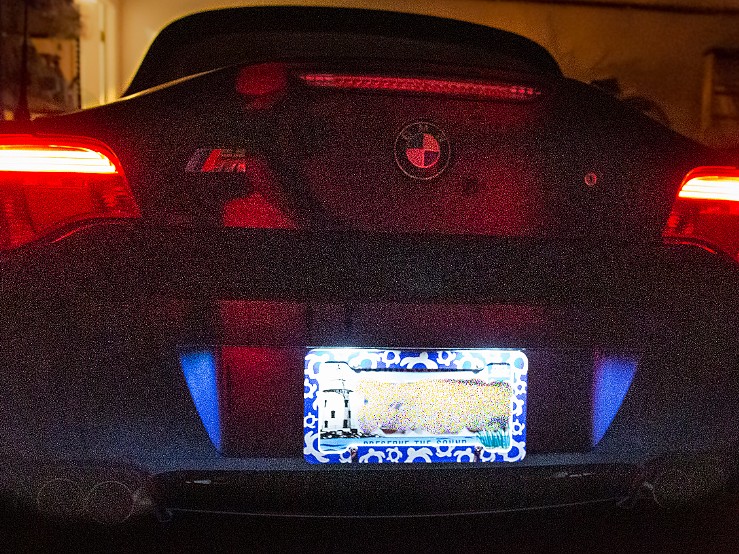
12 End result with both bulb assemblies swapped out for the LeatherZ LED License Plate Lights