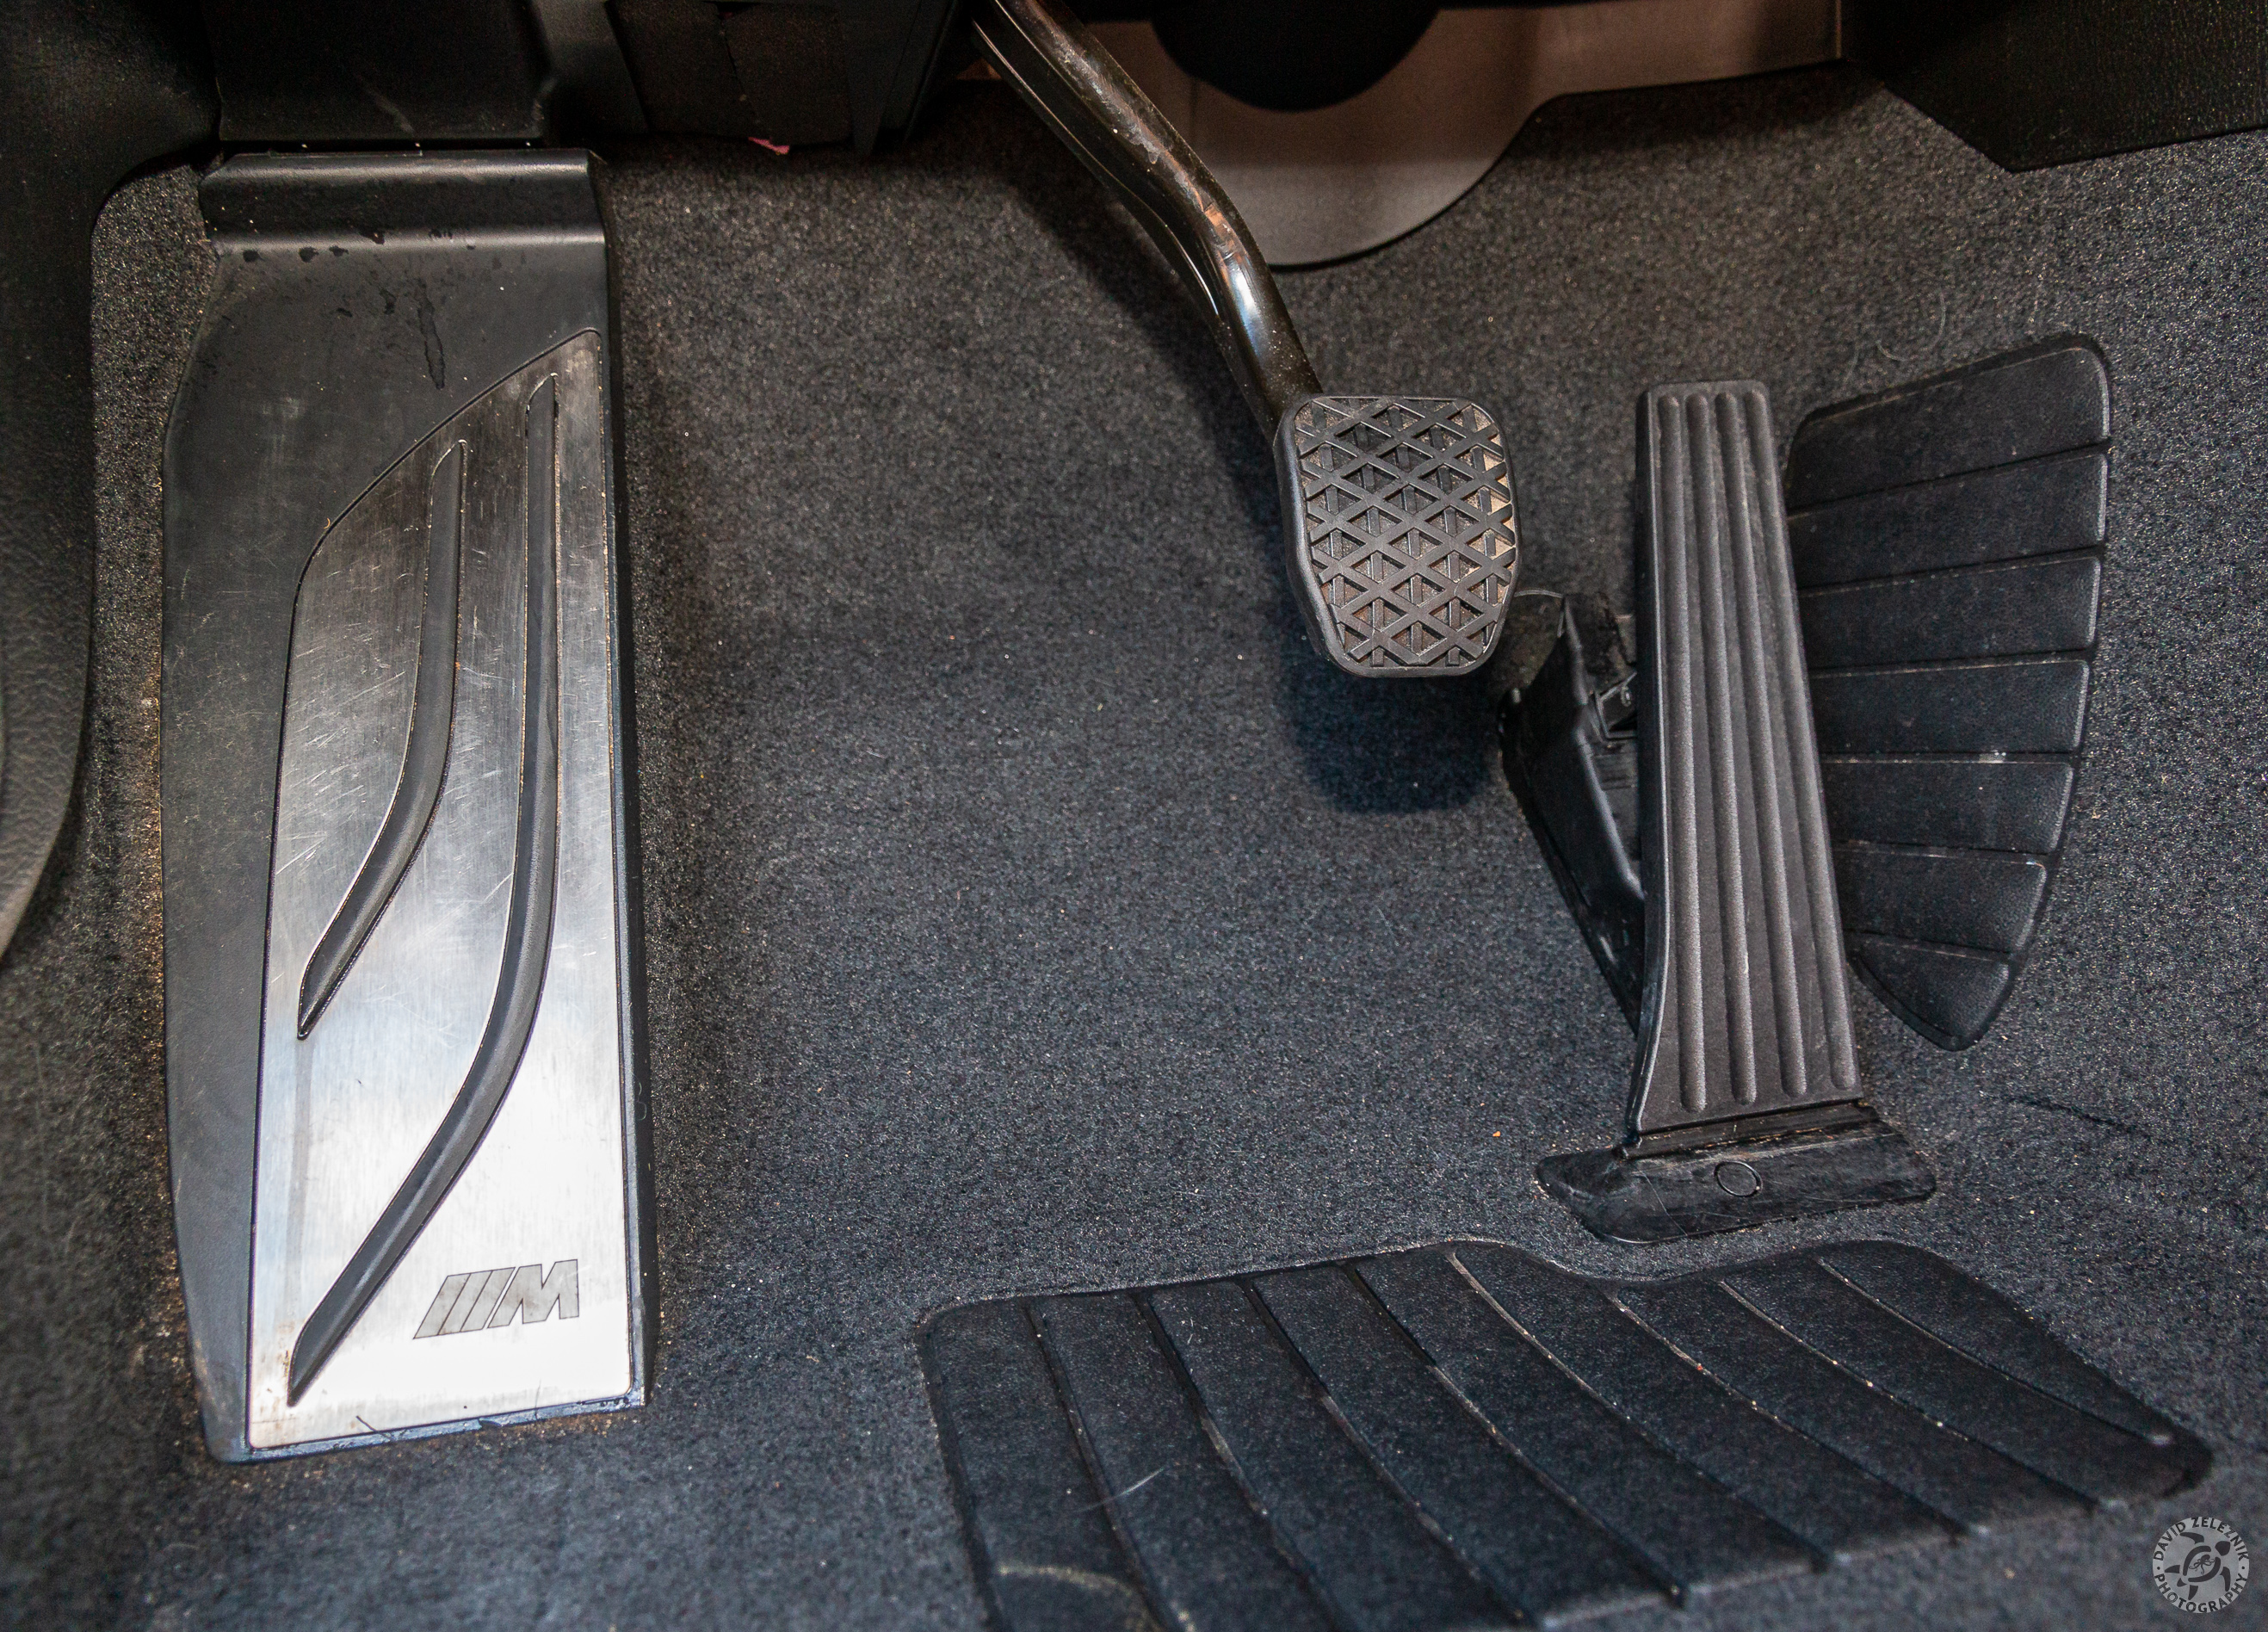
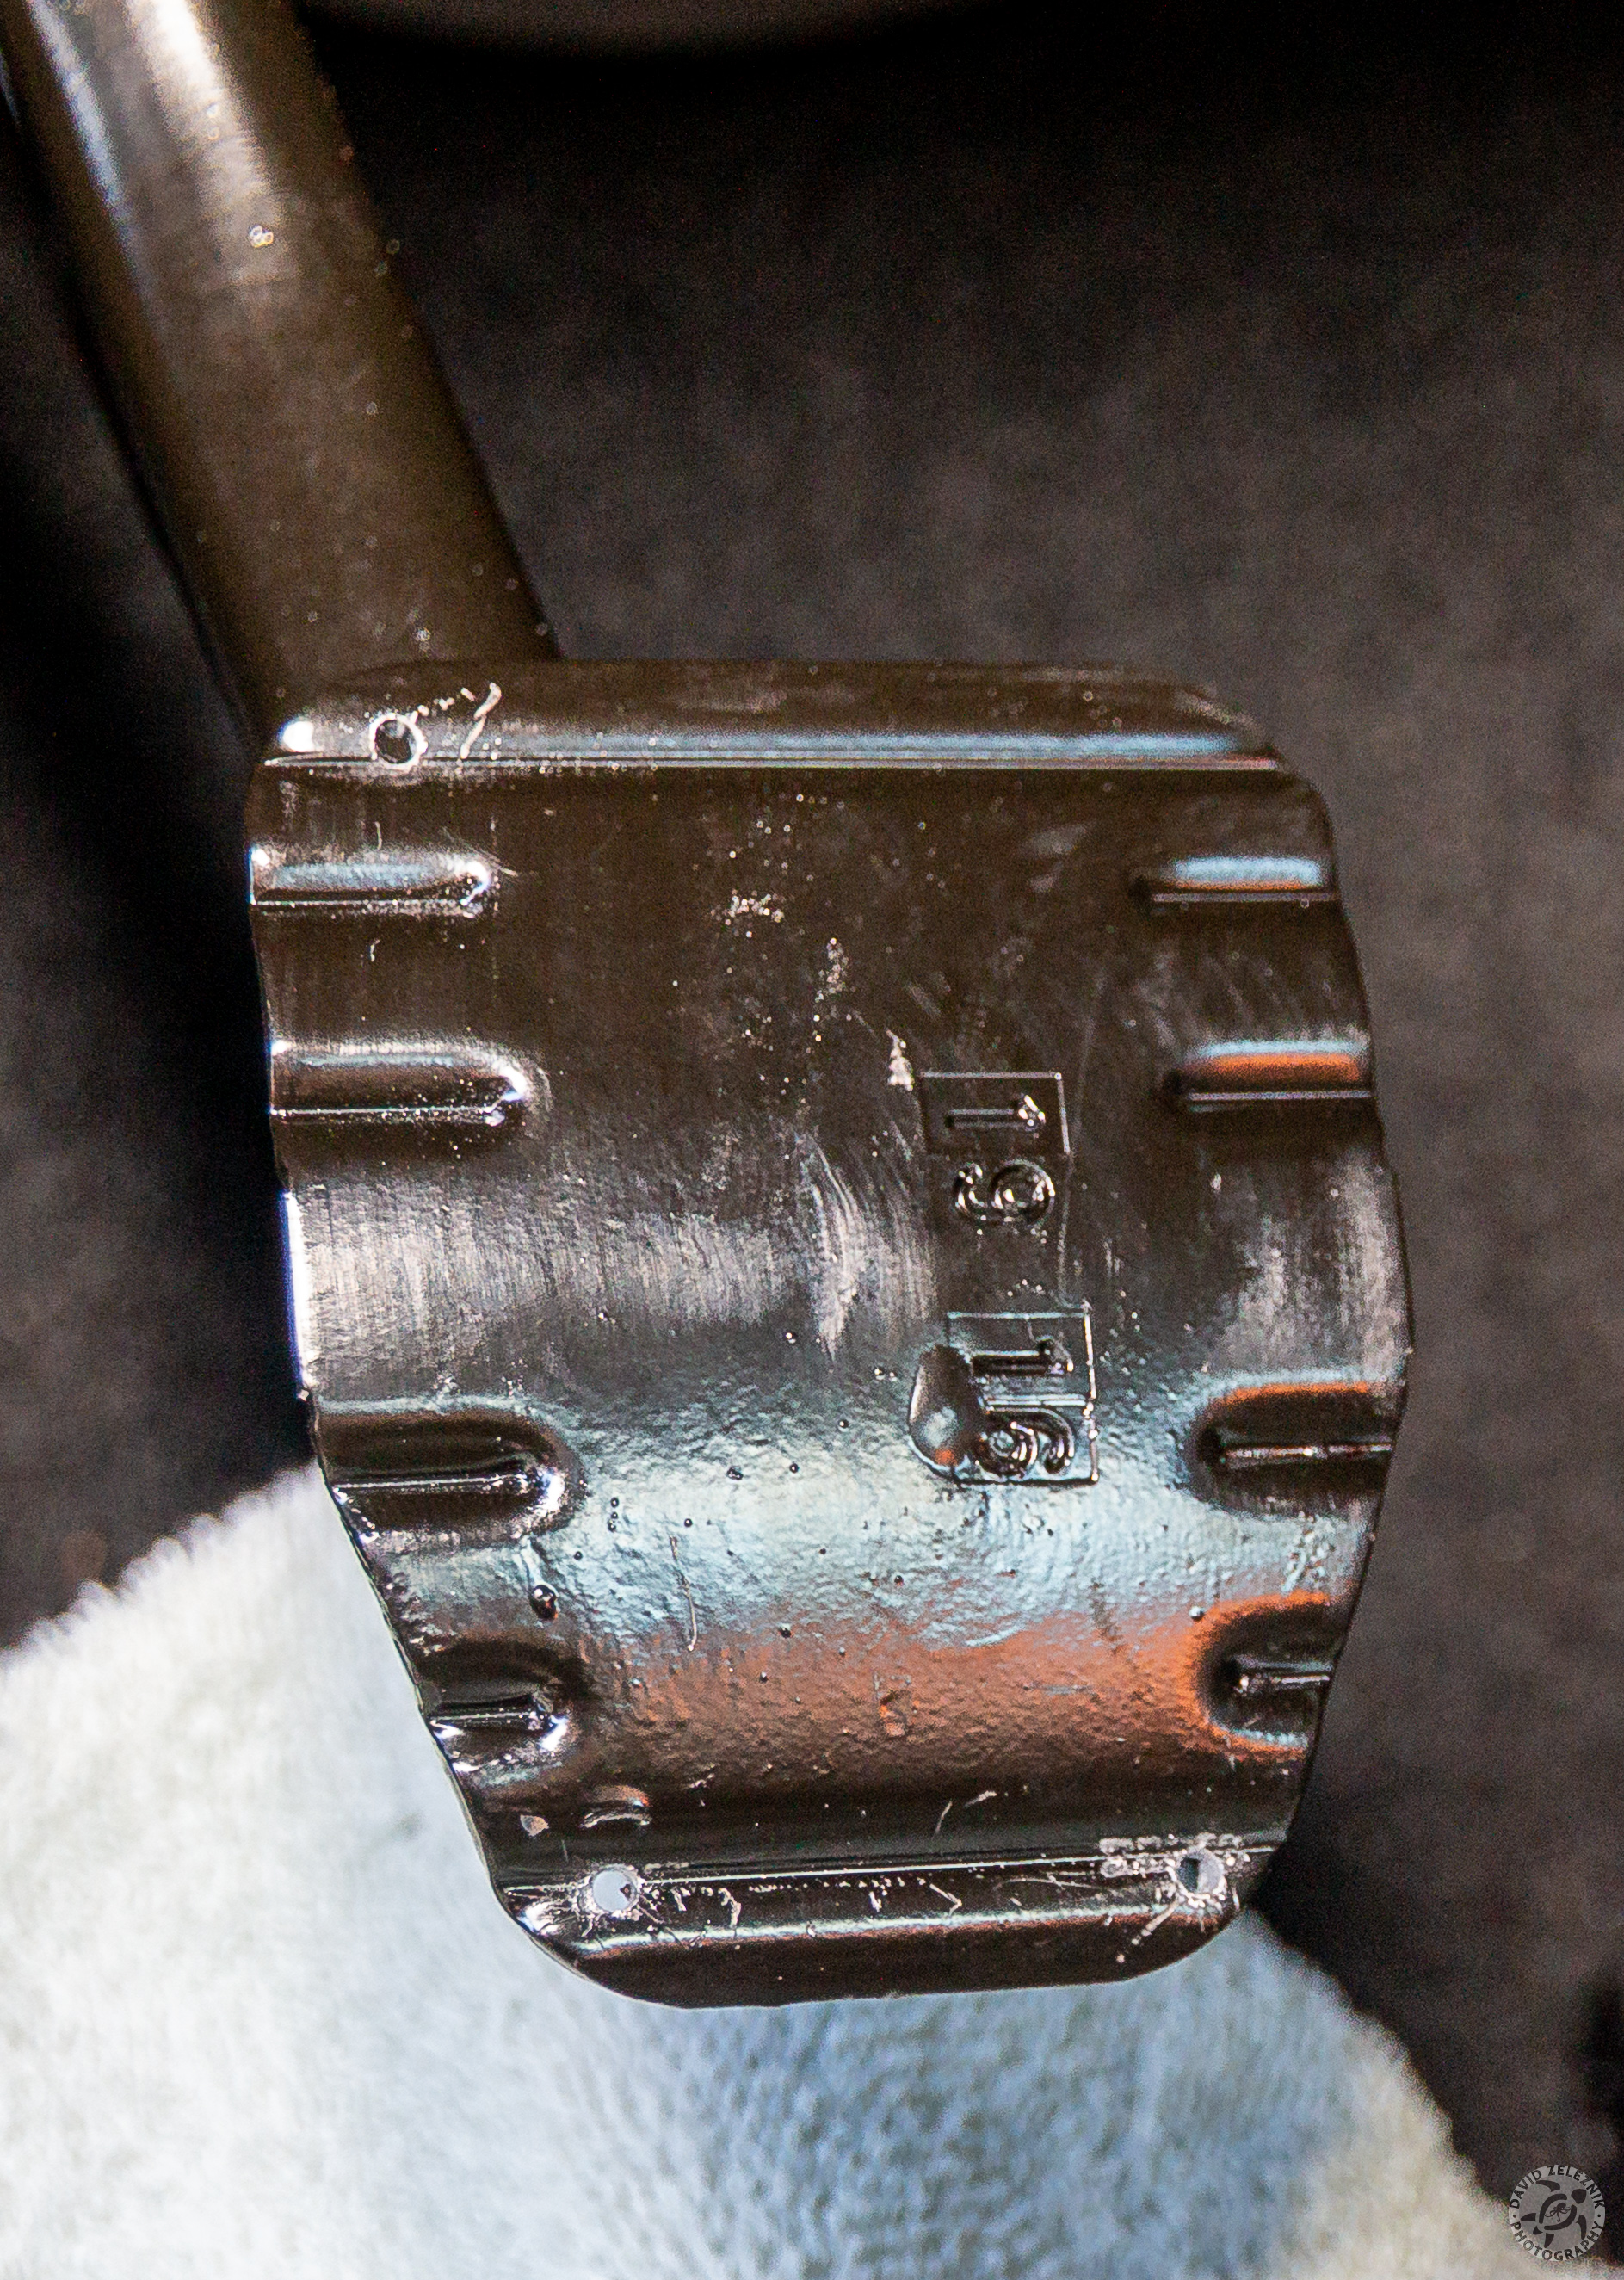
1 The M2 comes with a motorsport dead pedal (foot rest), but the stop and go pedals are the ordinary ones from the regular 2-series. Time to install the…
2 First step was to pry off the rubber brake cover and put on the new insert so that the mounting holes can be located
3 I used my Starrett 18-A automatic center punch to mark the drilling locations for the 3 mounting screws
4 The 3 small punch marks in the top left and bottom corners of the brake pedal
5 I next spread a shop towel under the pedals to catch filings and drilled pilot holes using a 1/16" bit
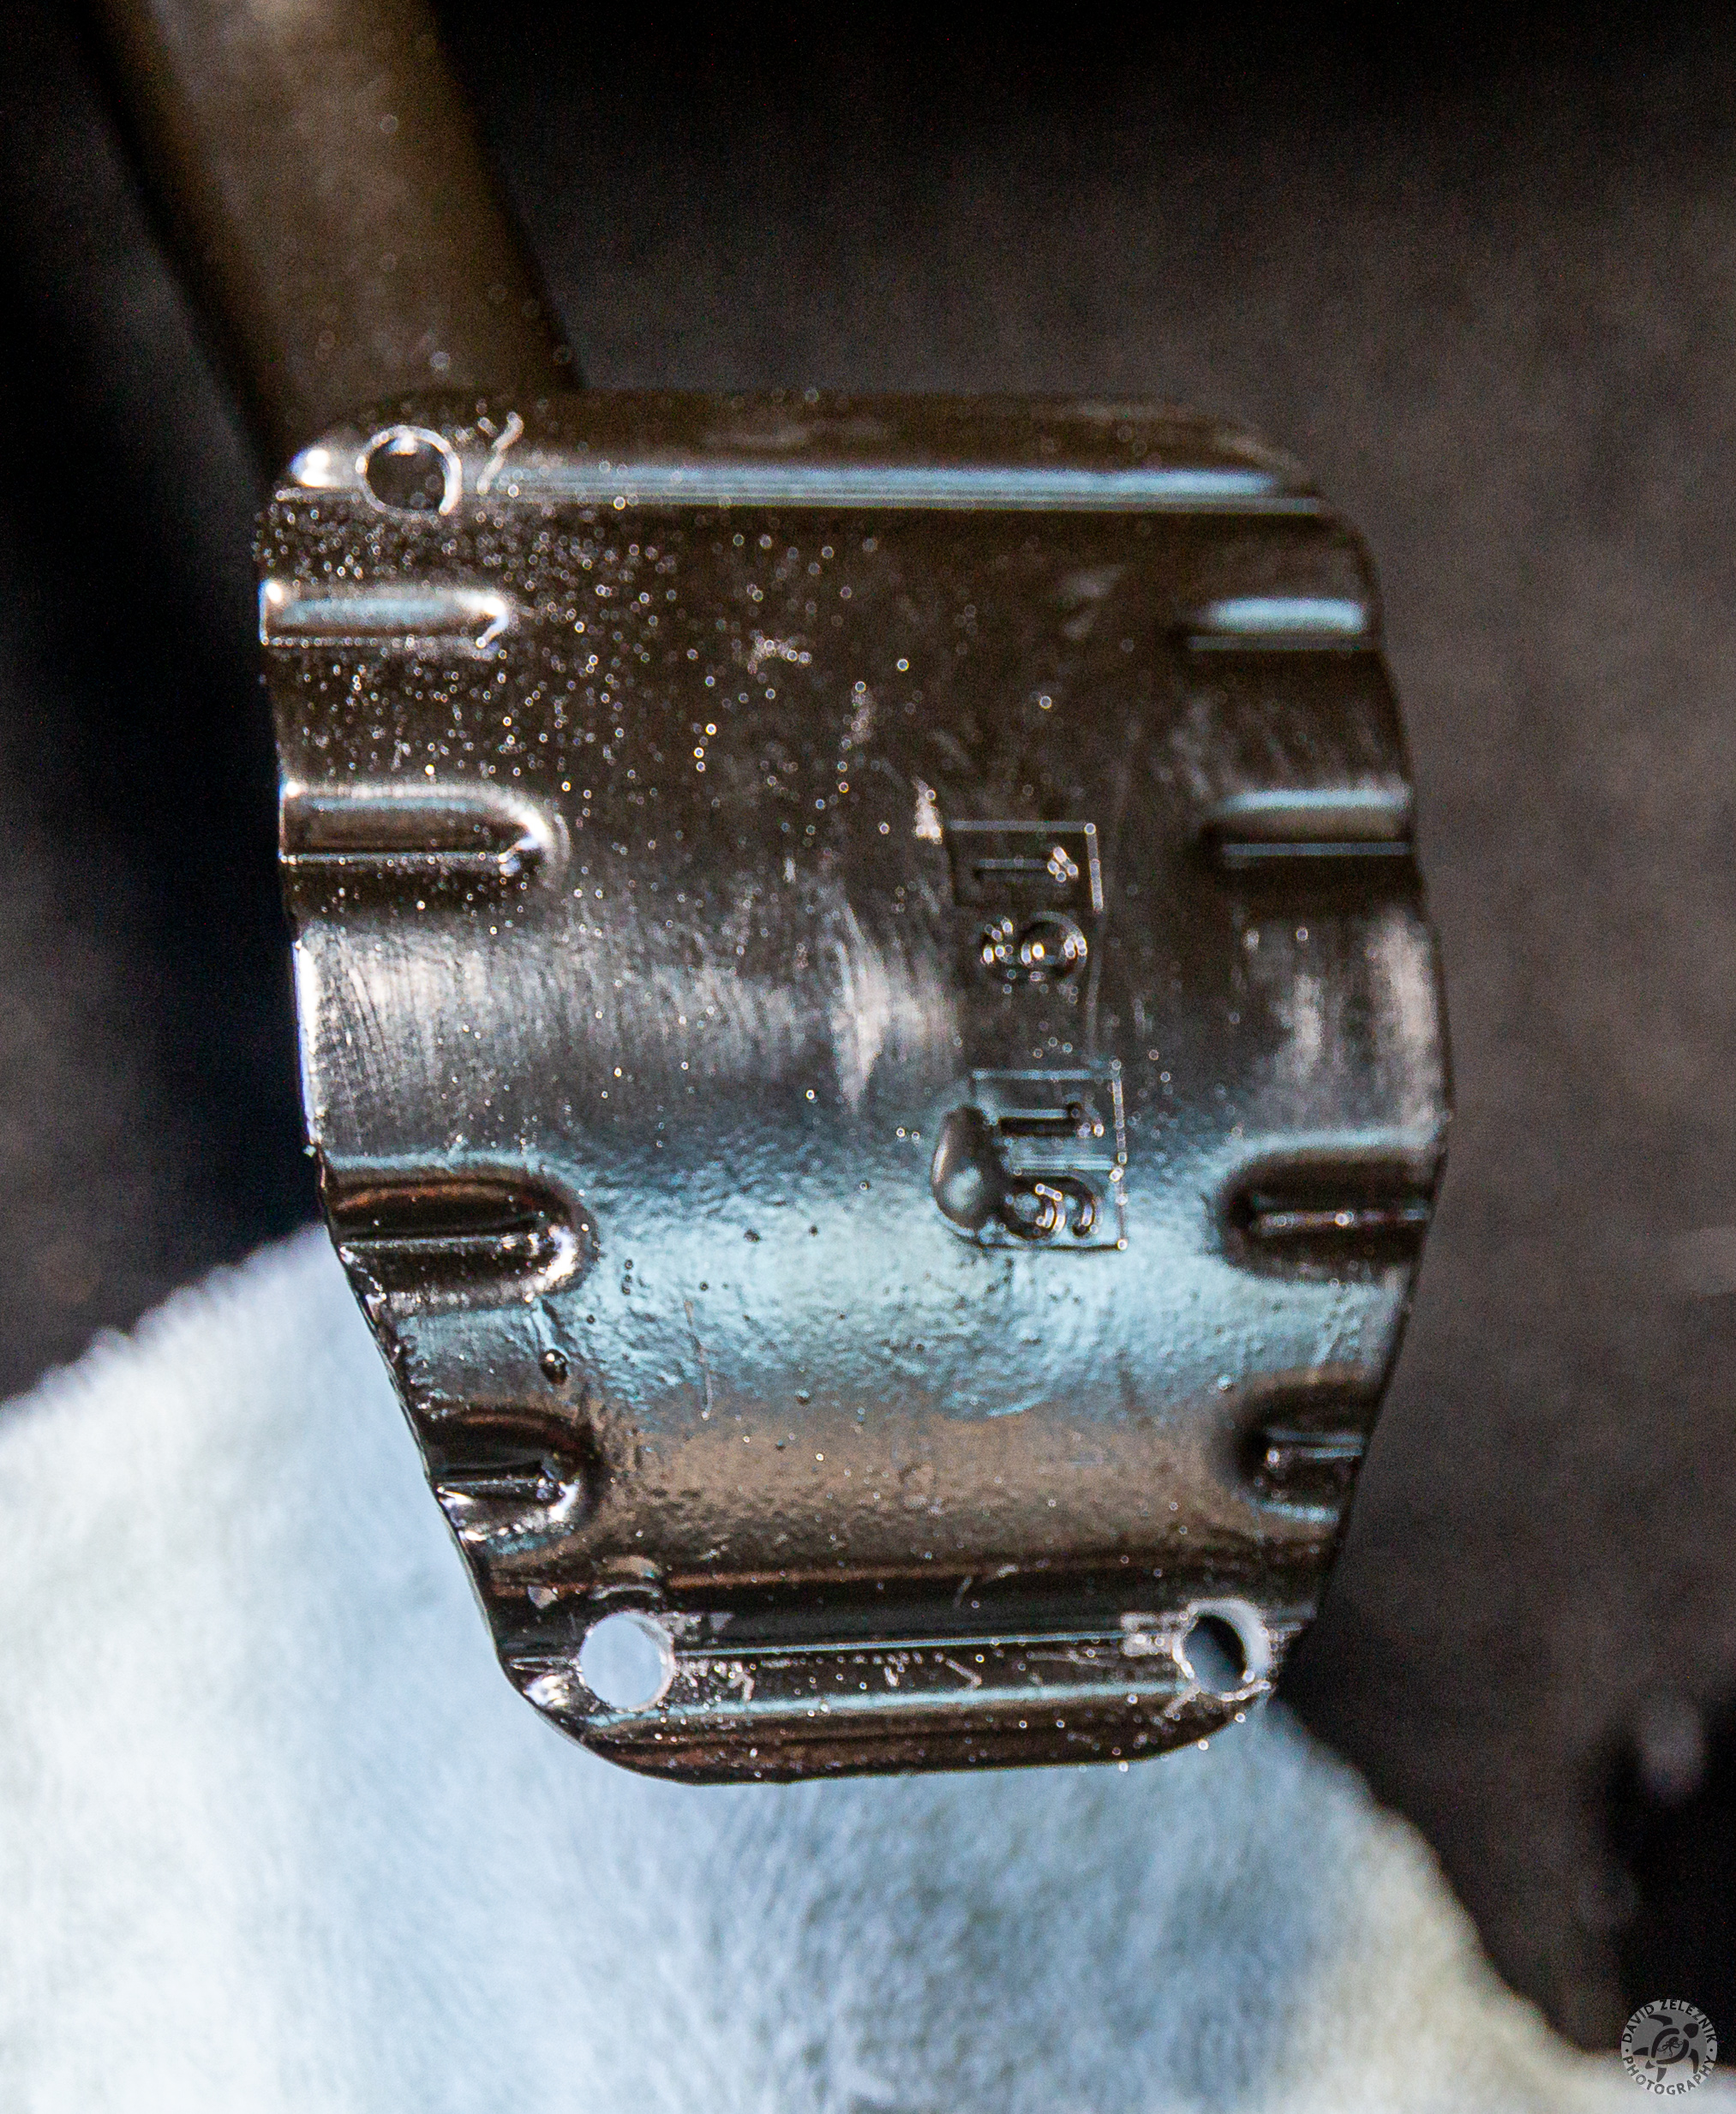
6 Then redrill the holes using a 5/32" bit. I then felt behind the pedal to see if there were burrs that needed to be filed down, but I lucked out and it wasn't…
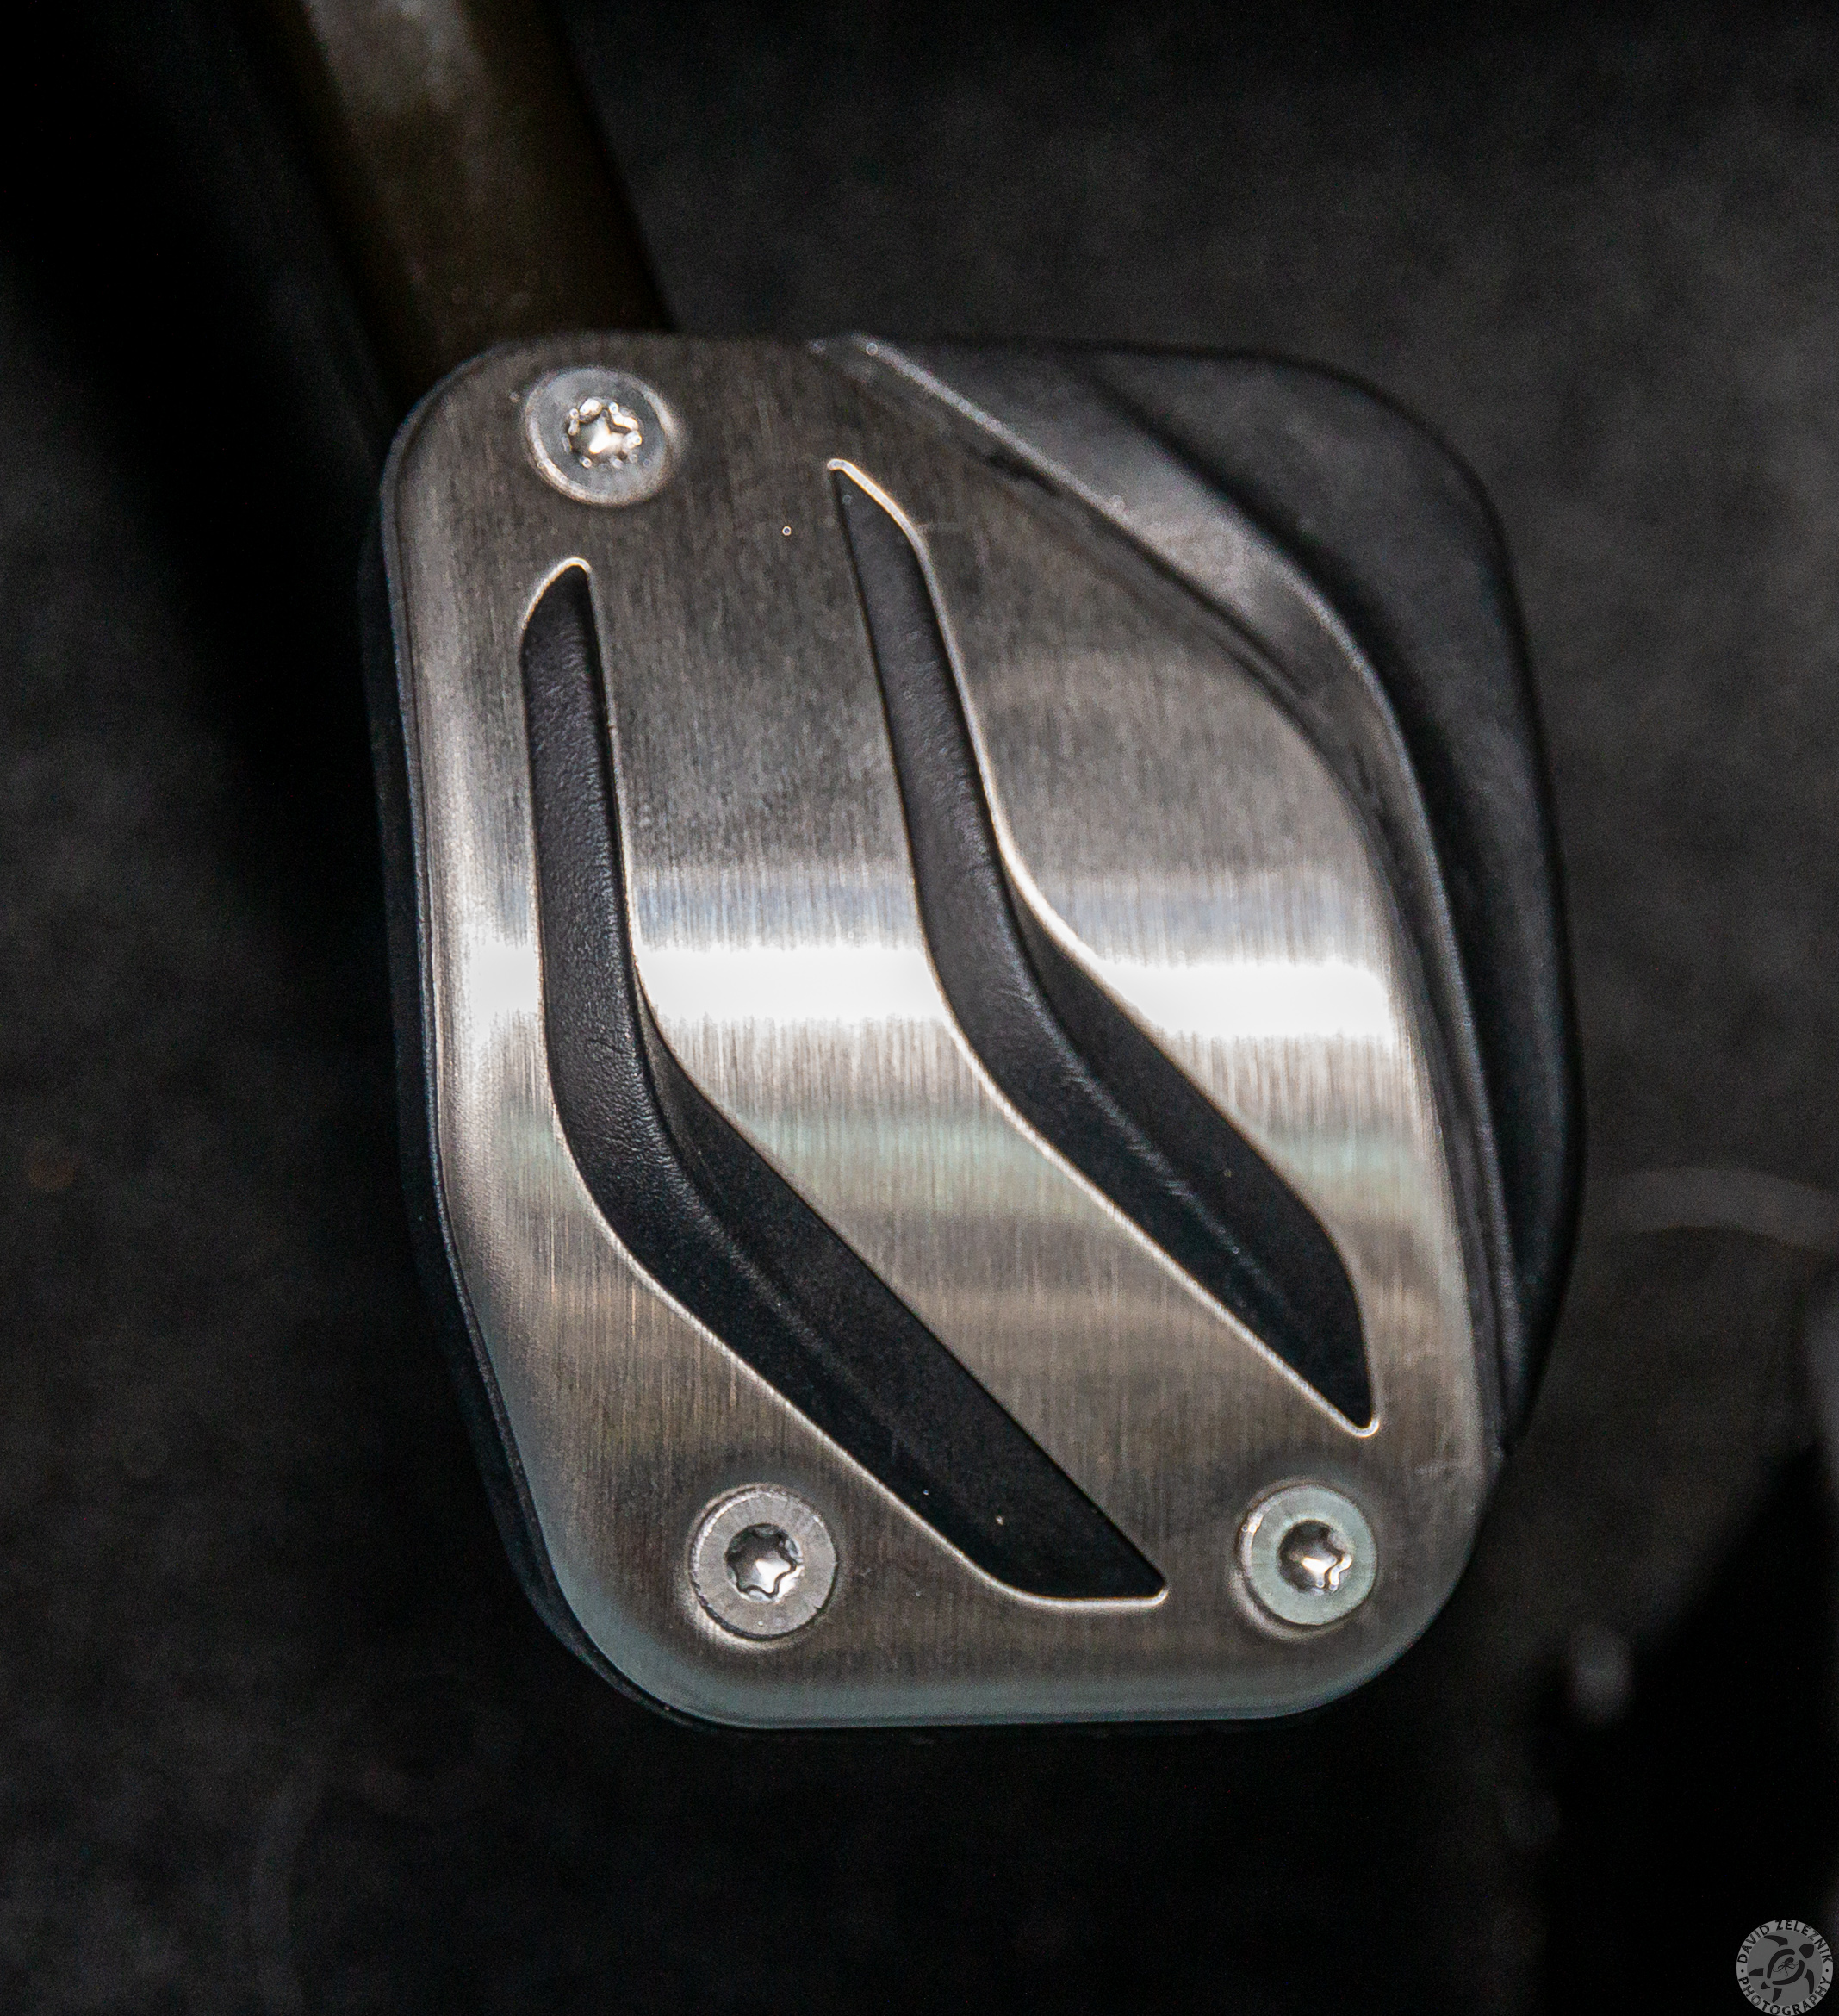
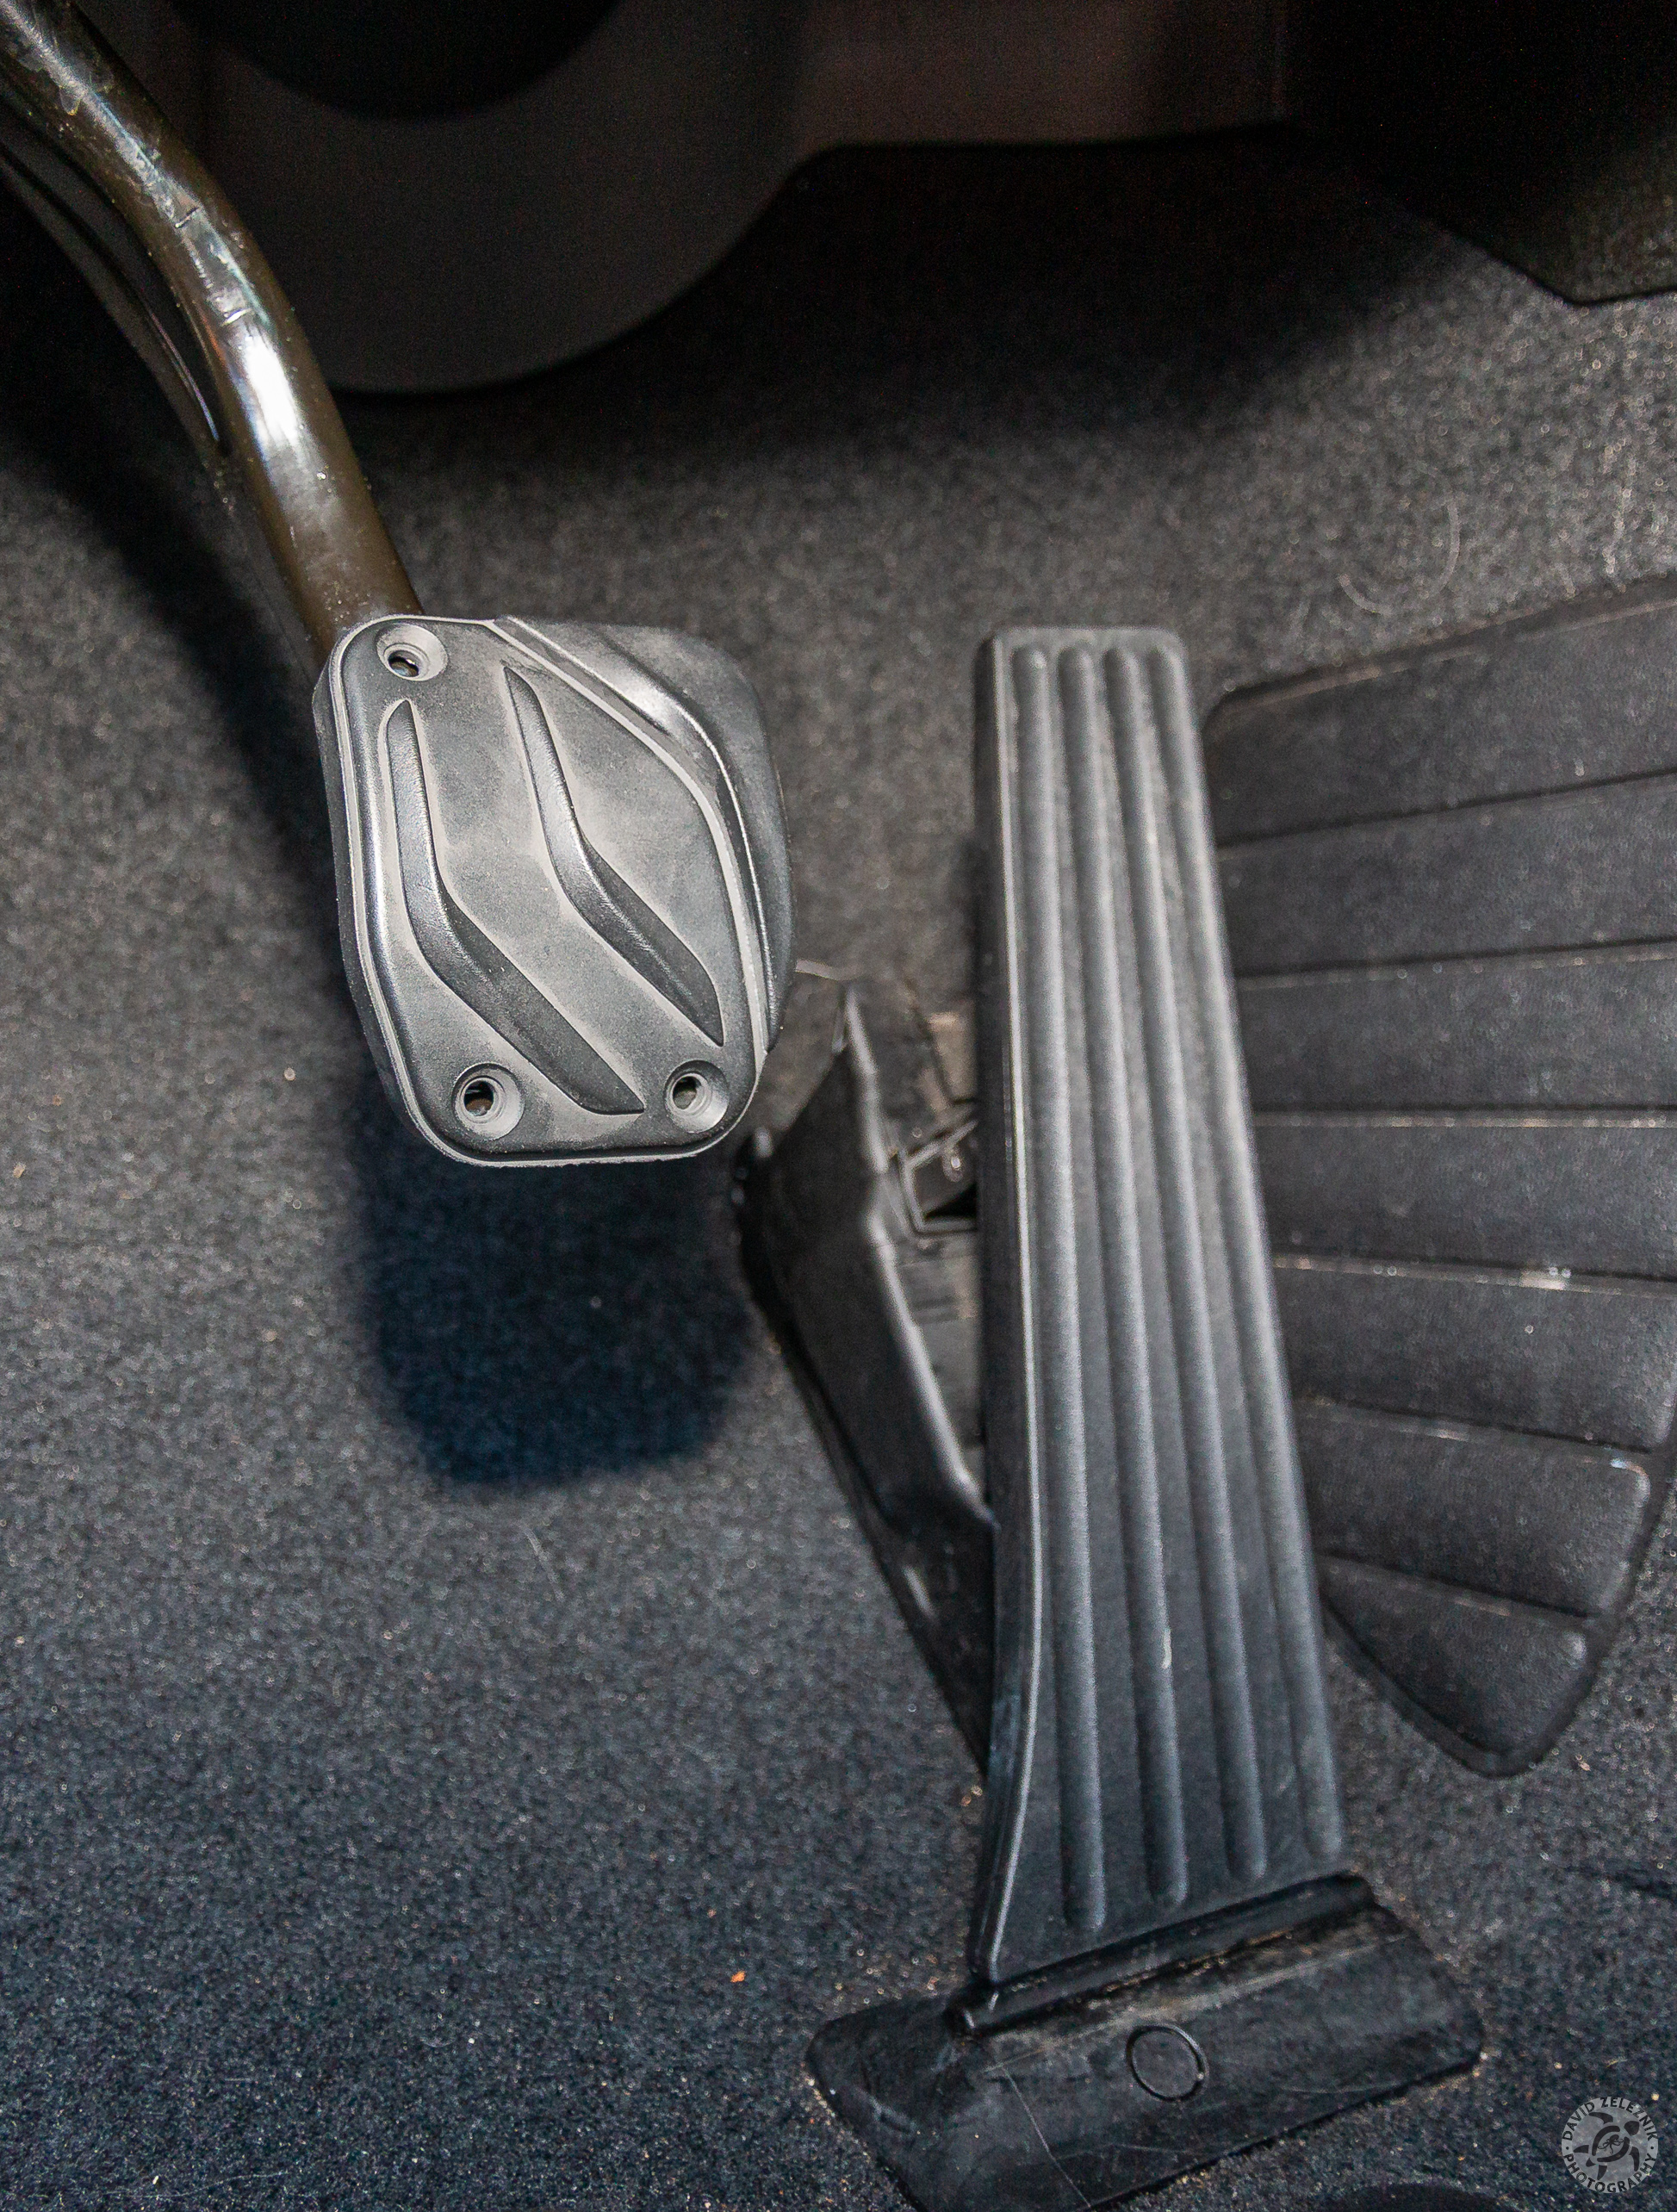
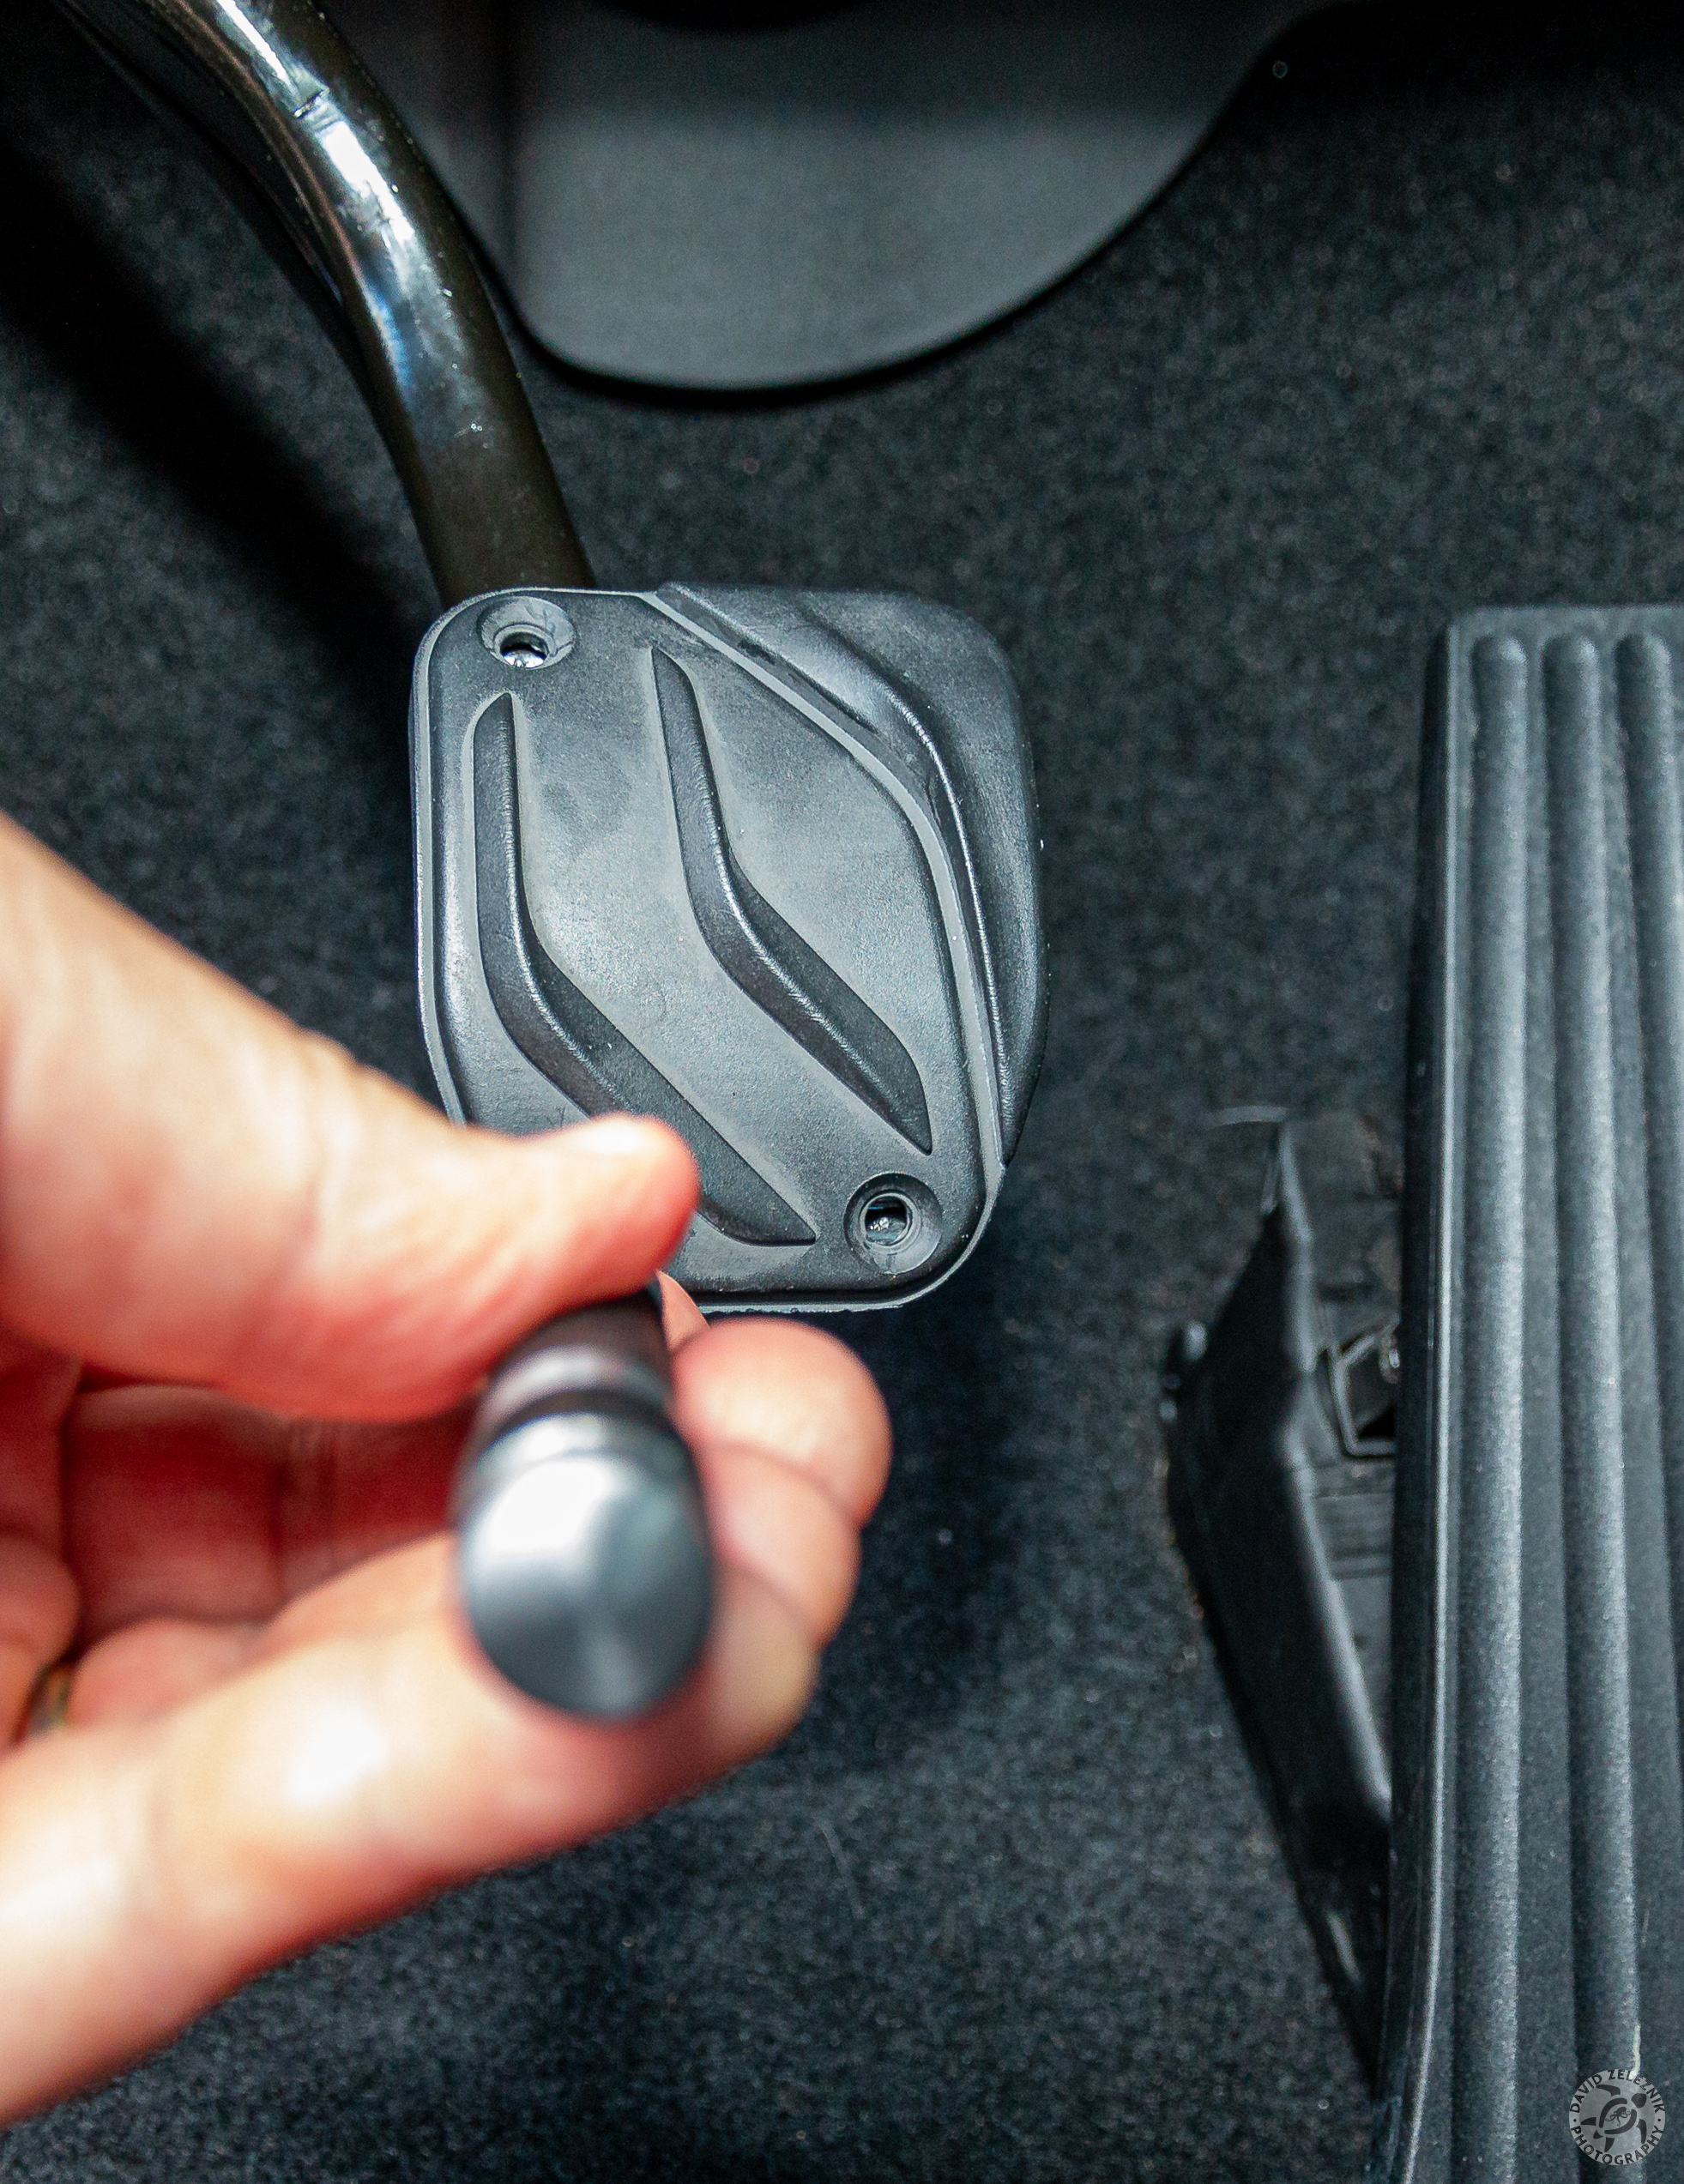
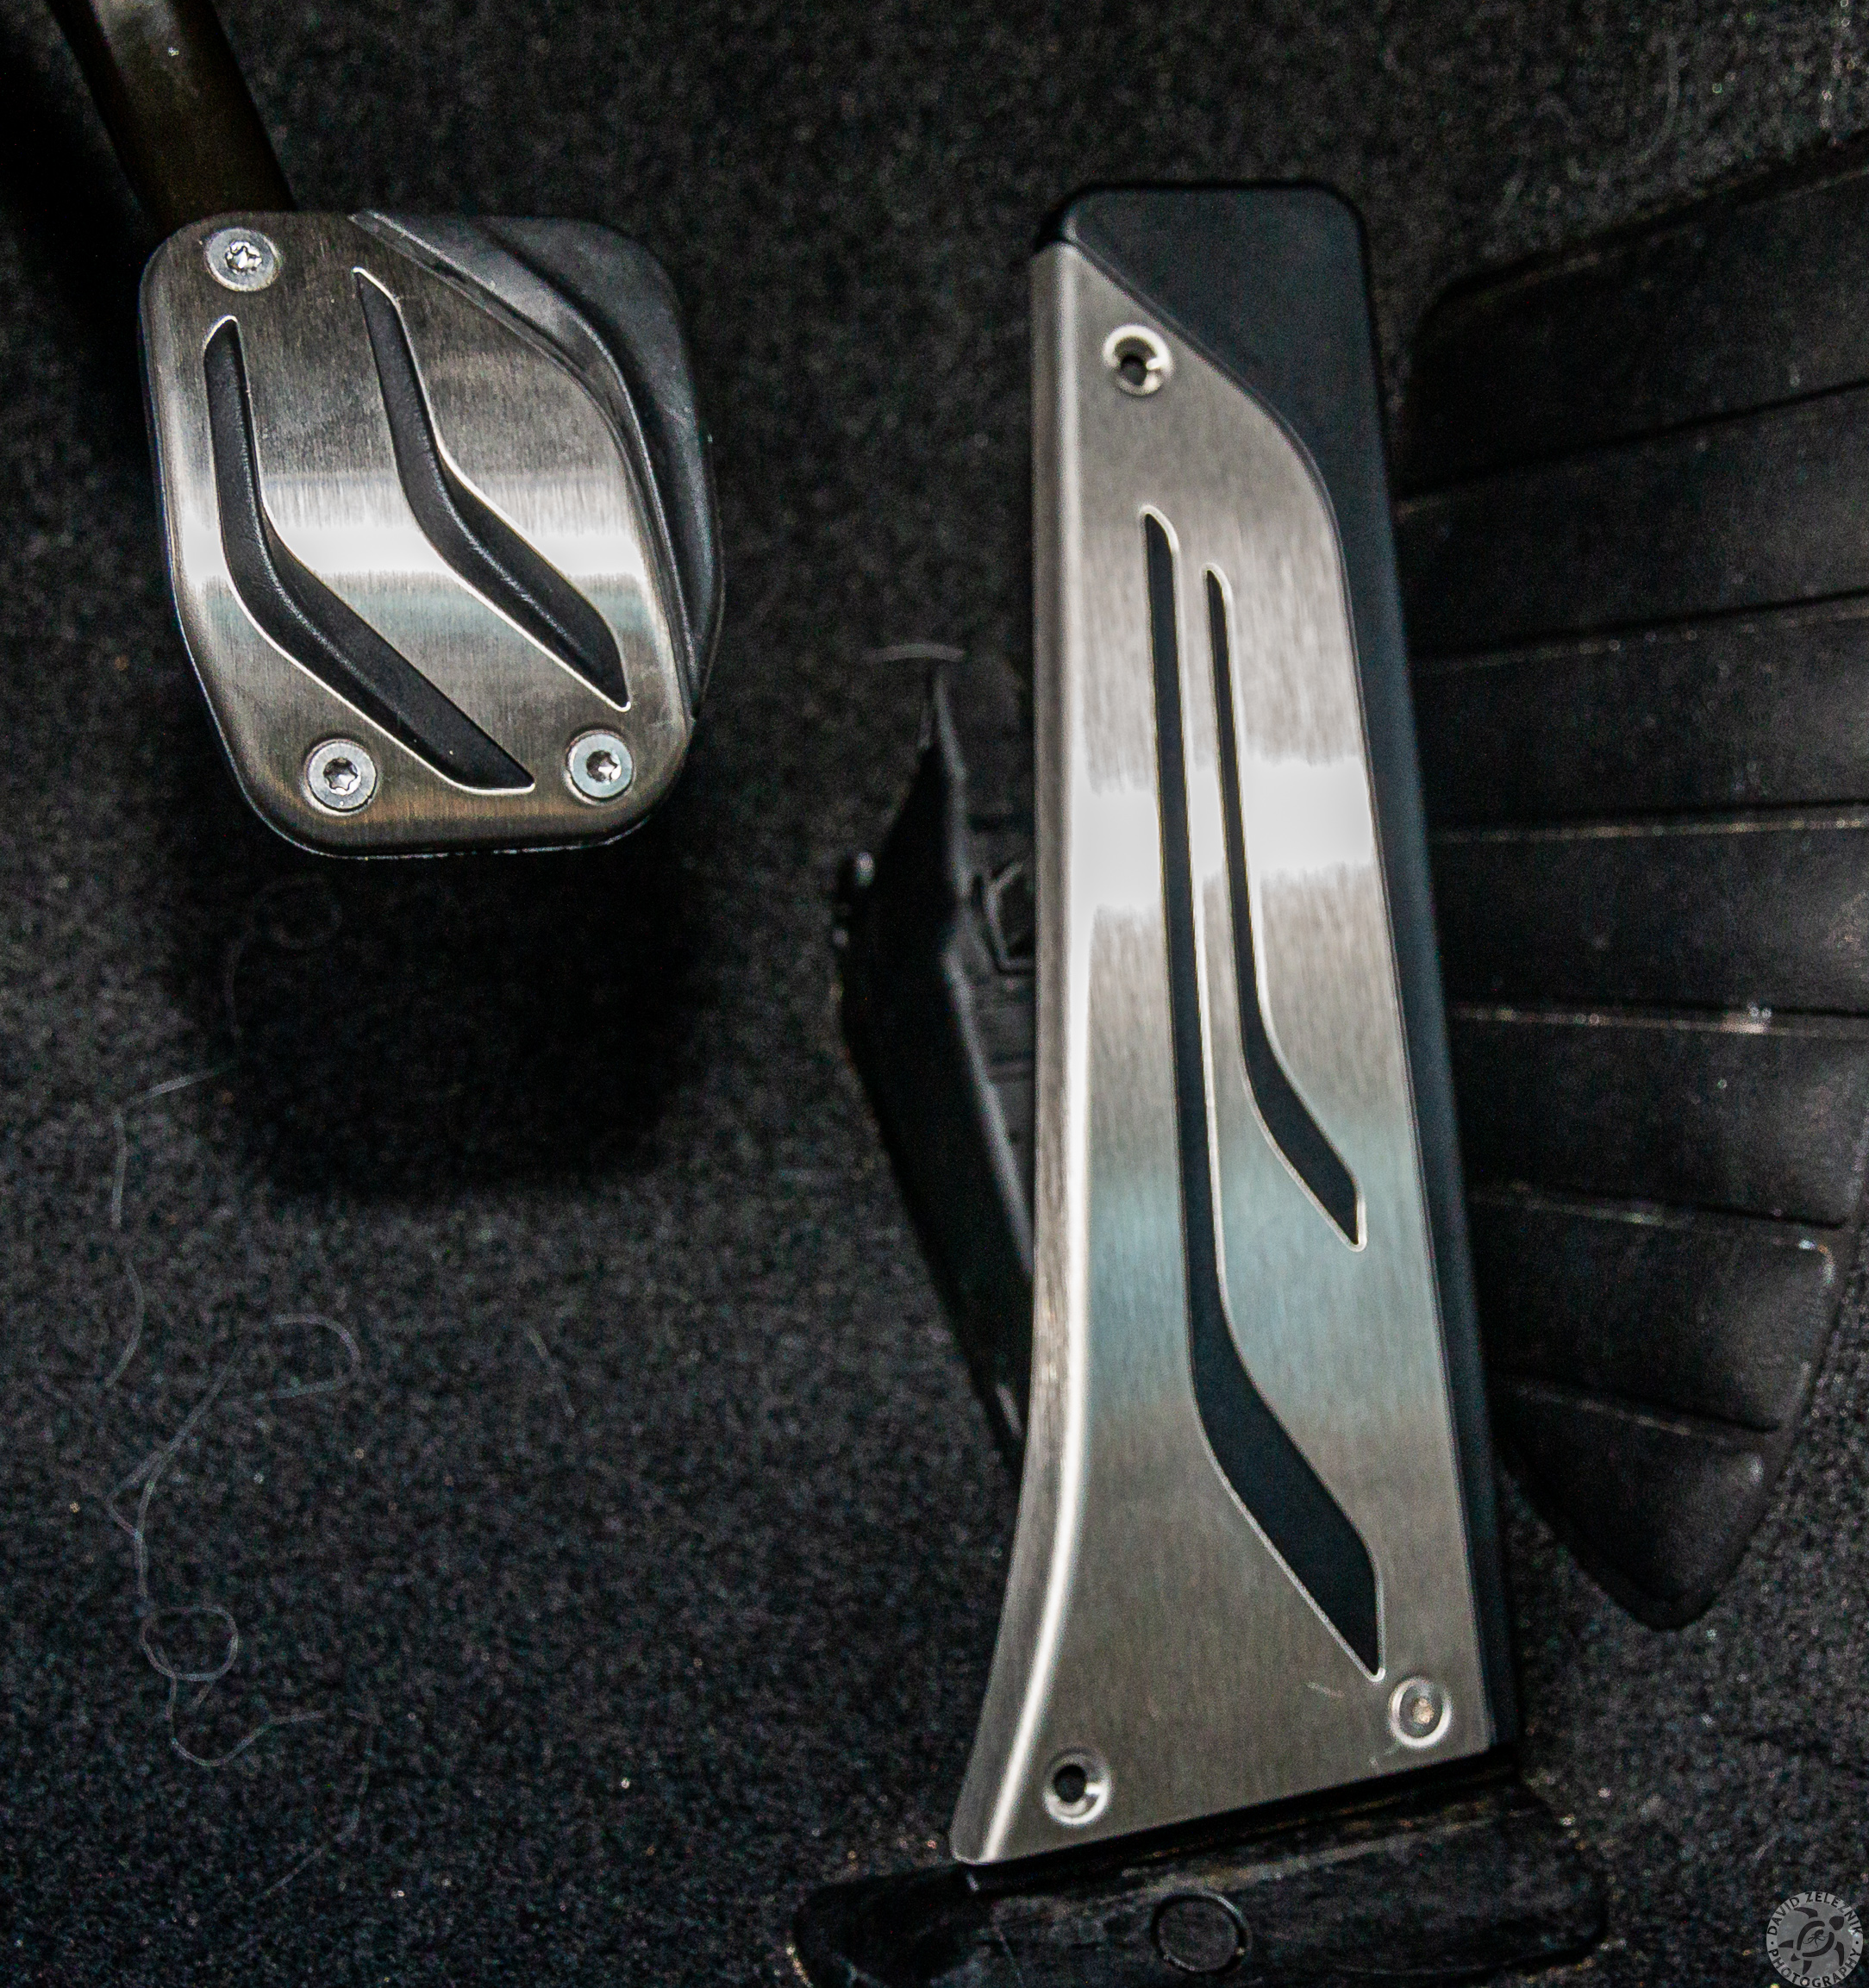
7 The hardest part of the entire install was positioning and holding the 7mm nuts in place while attaching the rubber insert and aluminum faceplate using a T-15…
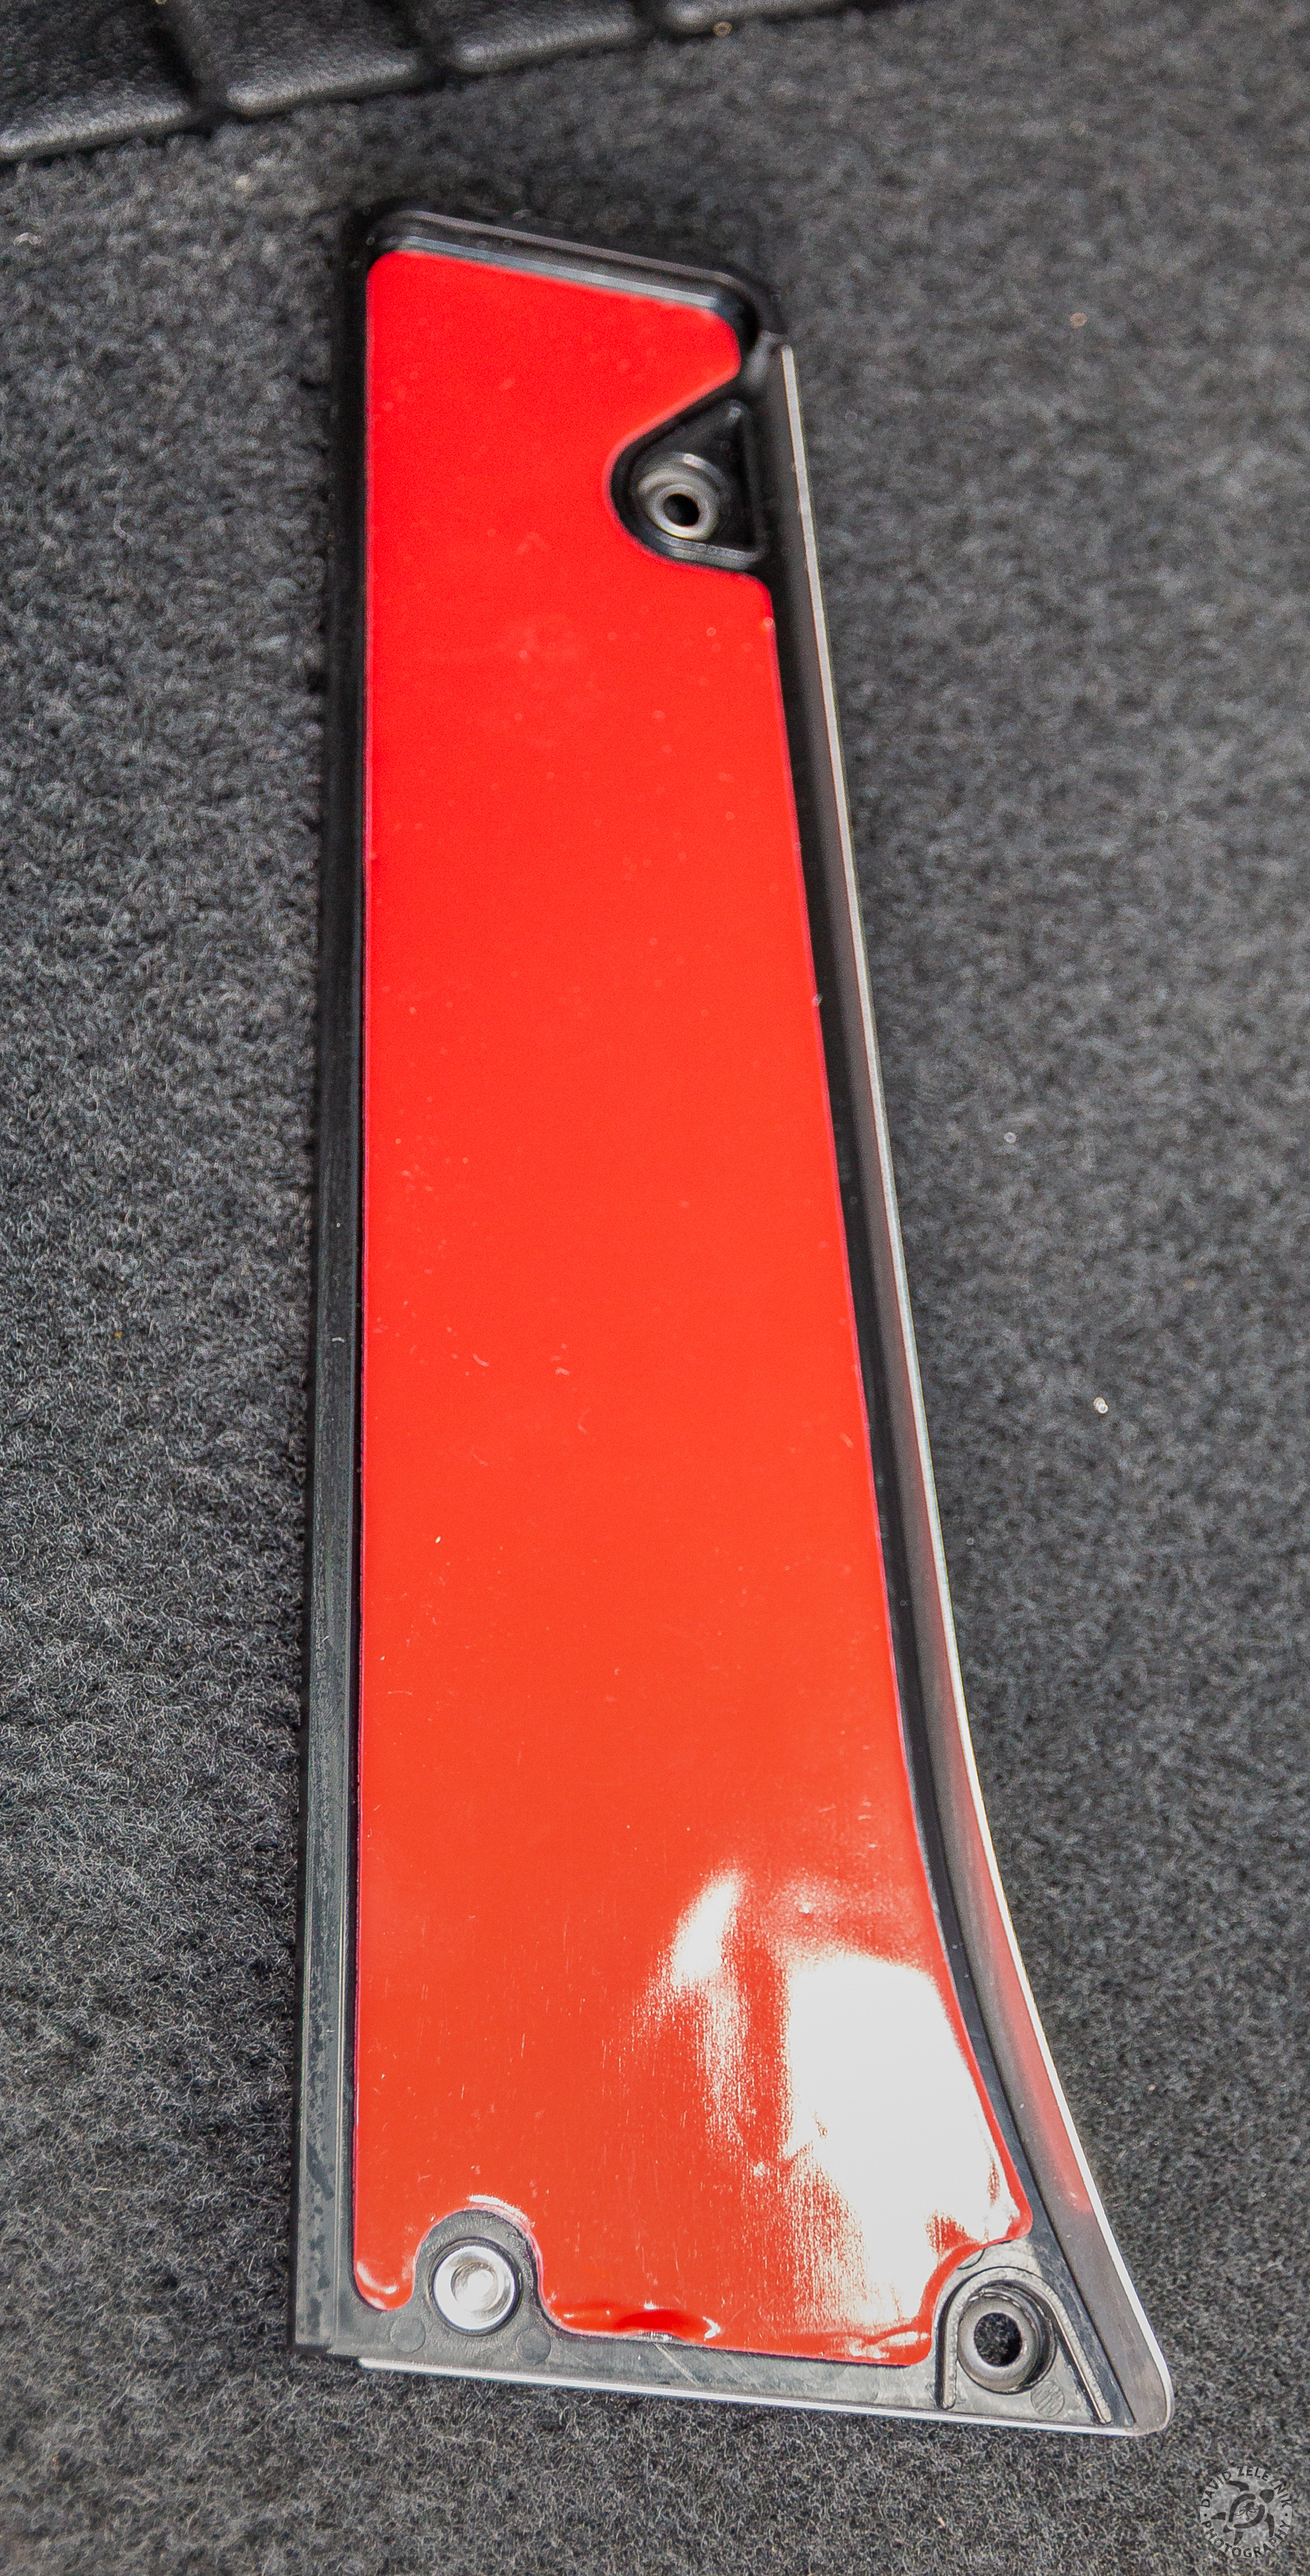
8 The accelerator pedal cover is a breeze to install by comparison. Since it sticky-tapes in place, first make sure the existing pedal surface is clean and…
9 With the pedal cover in place, use the automatic center punch to mark the 2 mounting holes and drill them out using a 3/32" bit. Note that the mounting screws…
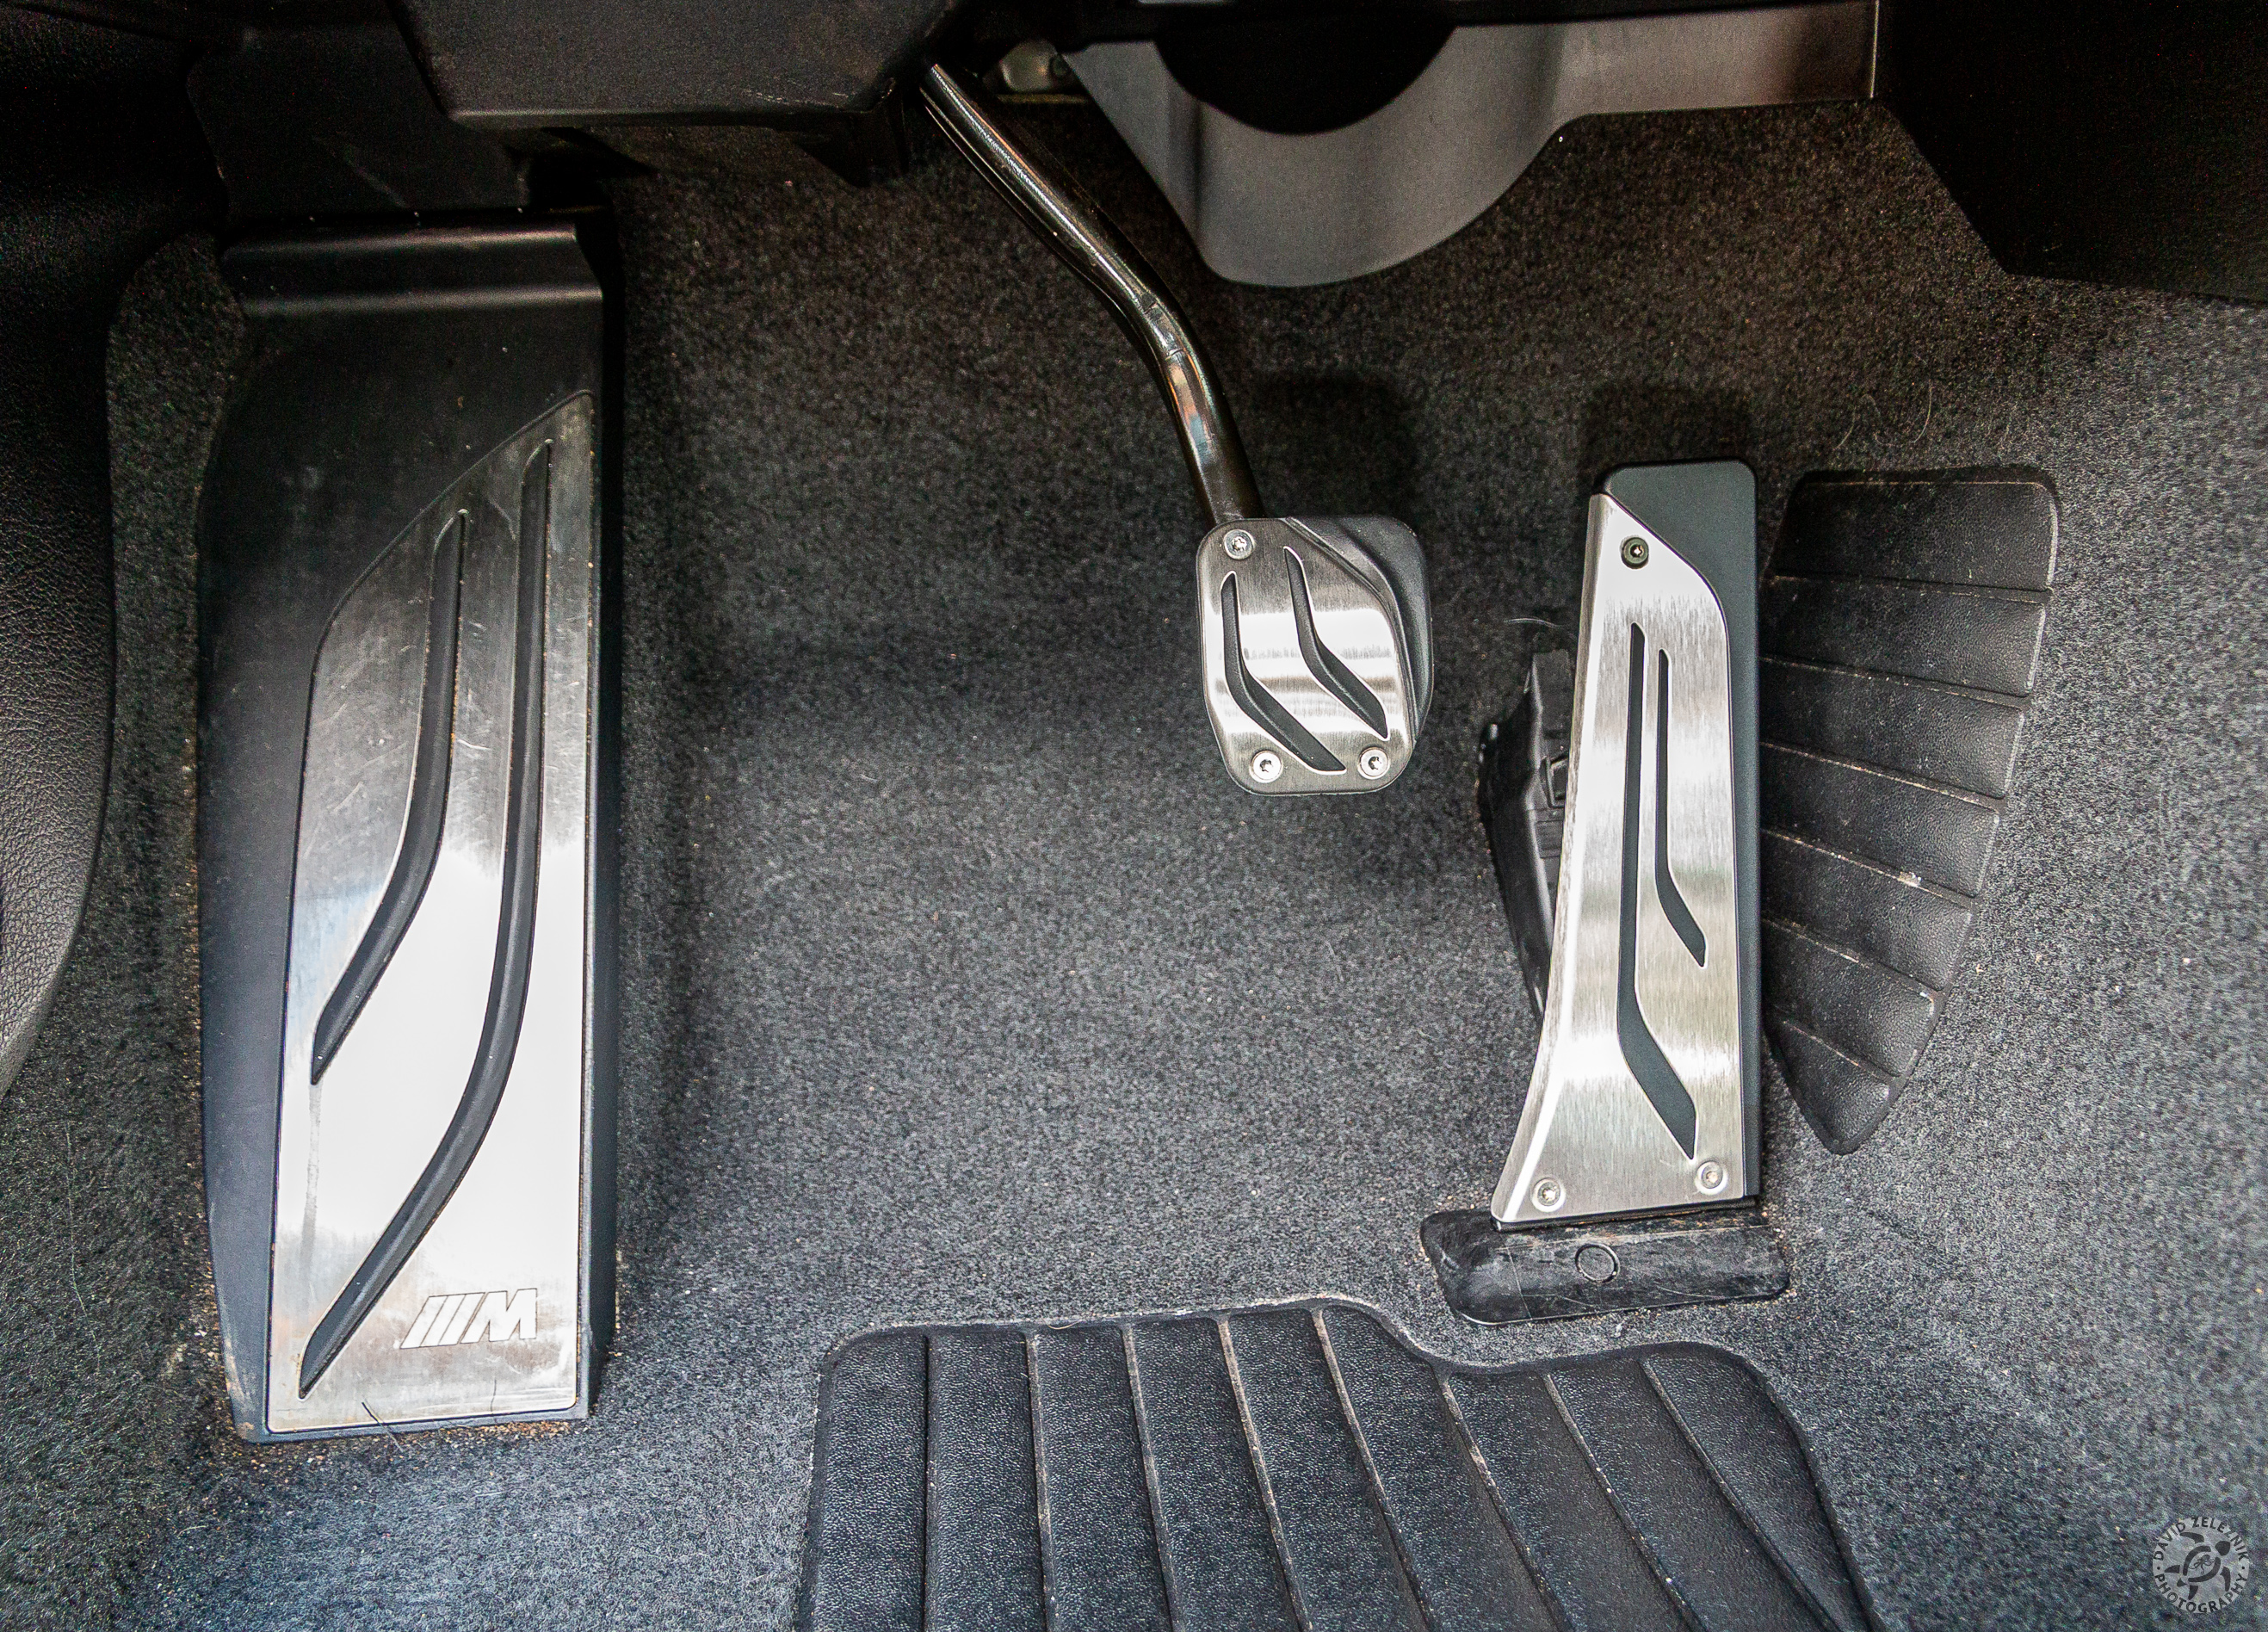
10 Use your T-15 driver again for the 2 self-tapping screws and voilà the look is complete!
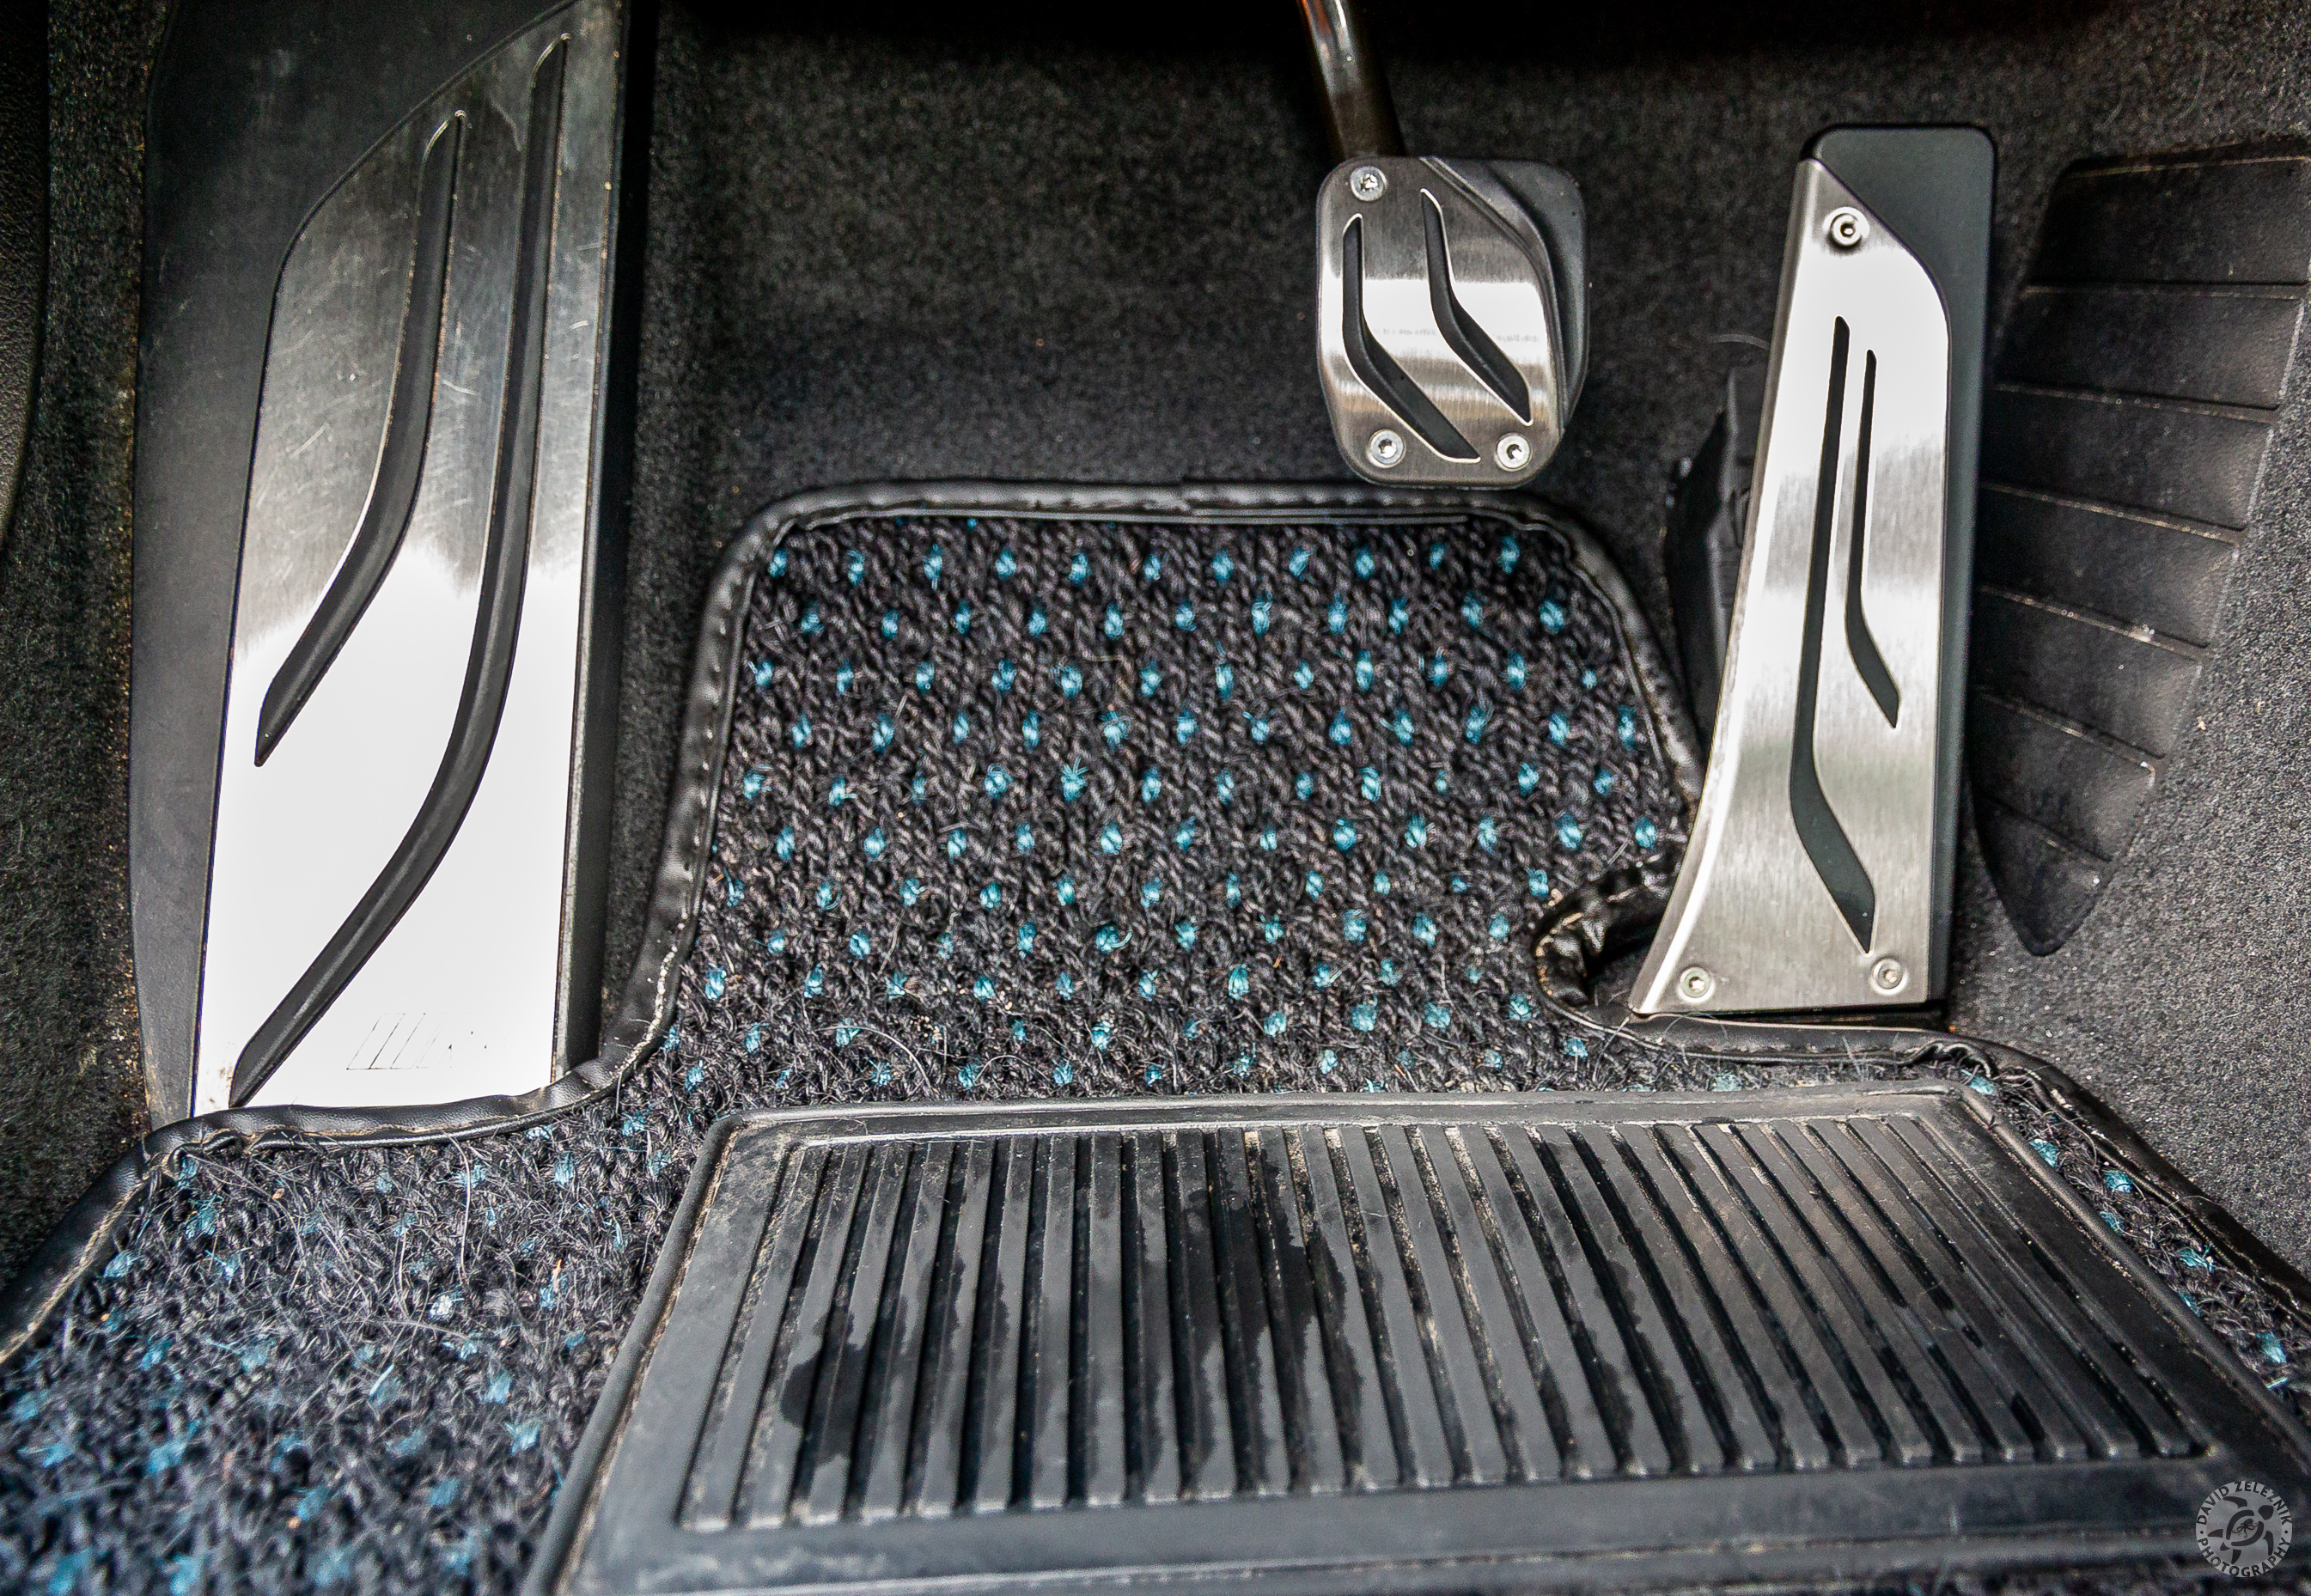
11 The final look of my driver's compartment with my Cocomats in place


Motorsport Pedals