
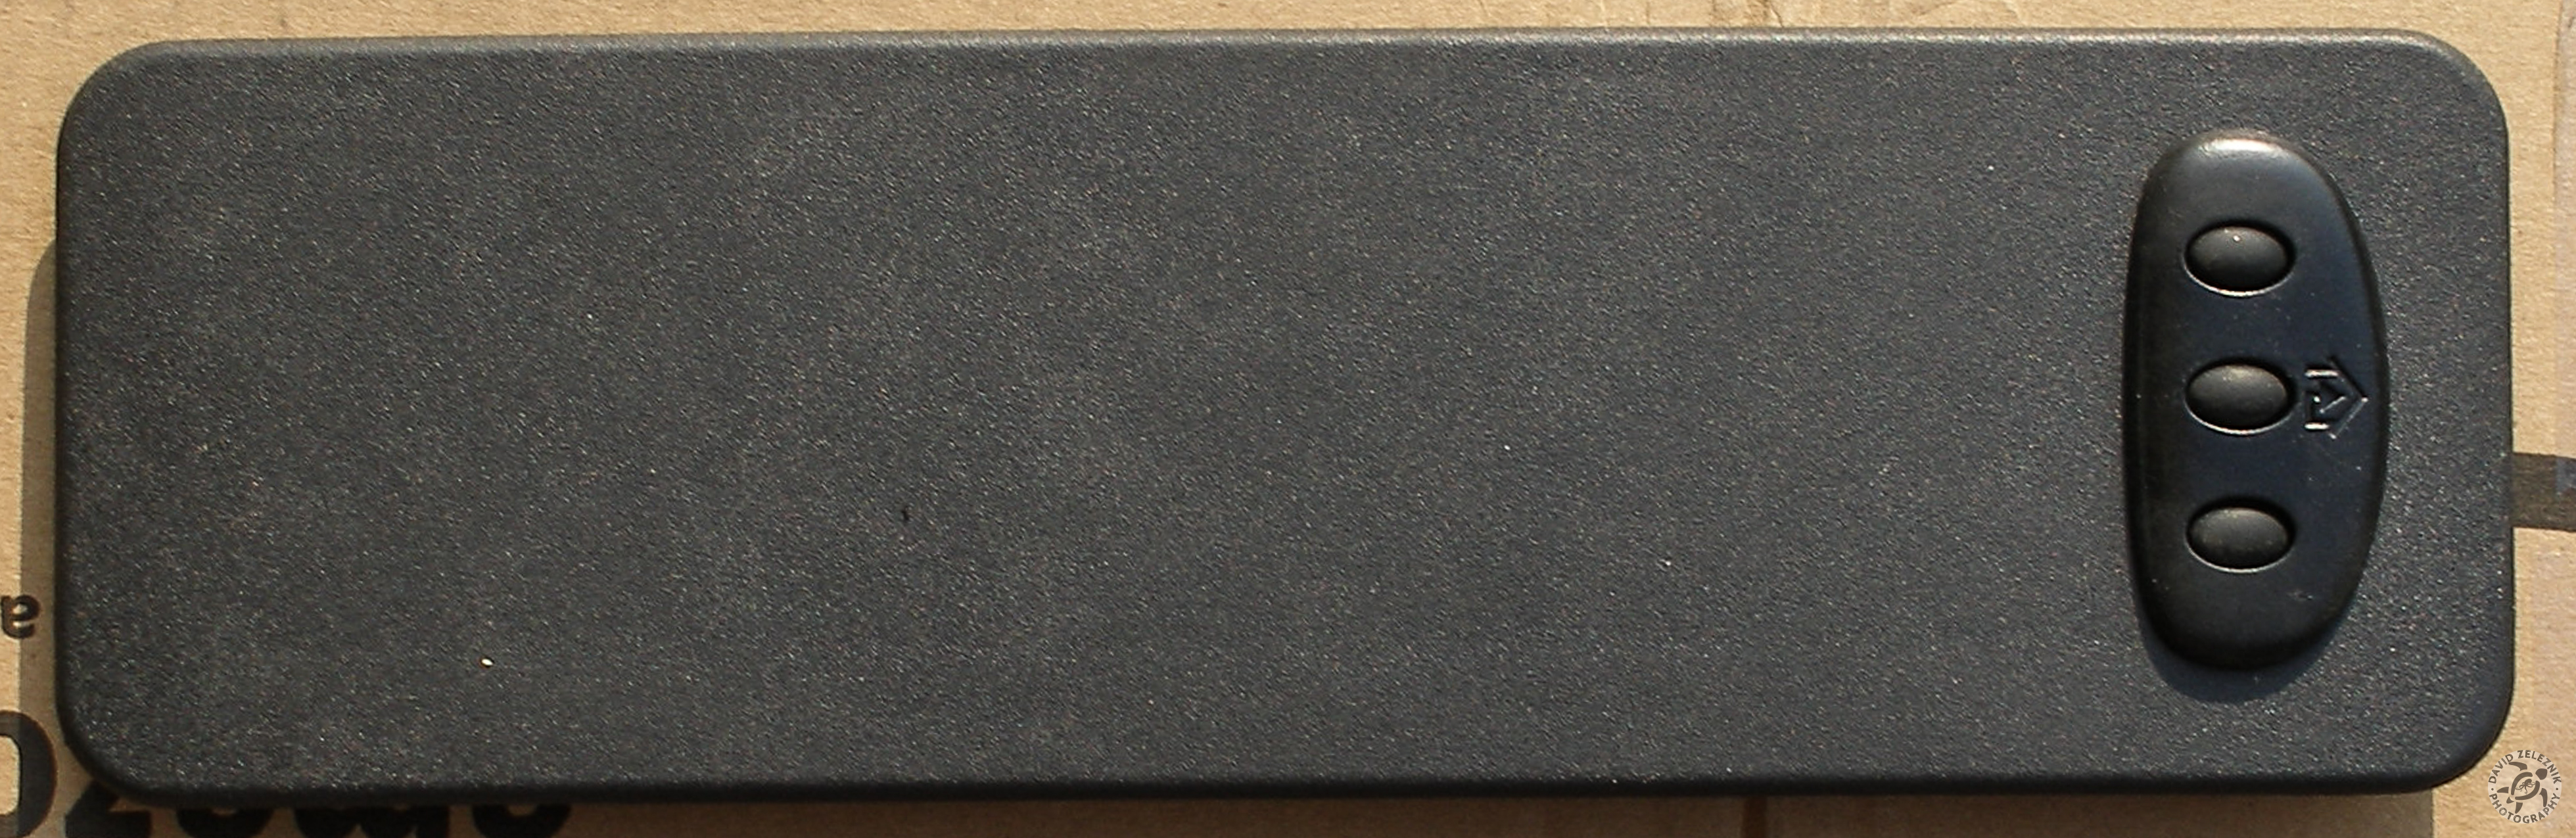
1 This is the used automotive homelink module that I bought off of EBay. It obviously came right out of a vehicle sun visor. It's fairly small and thin, and came…
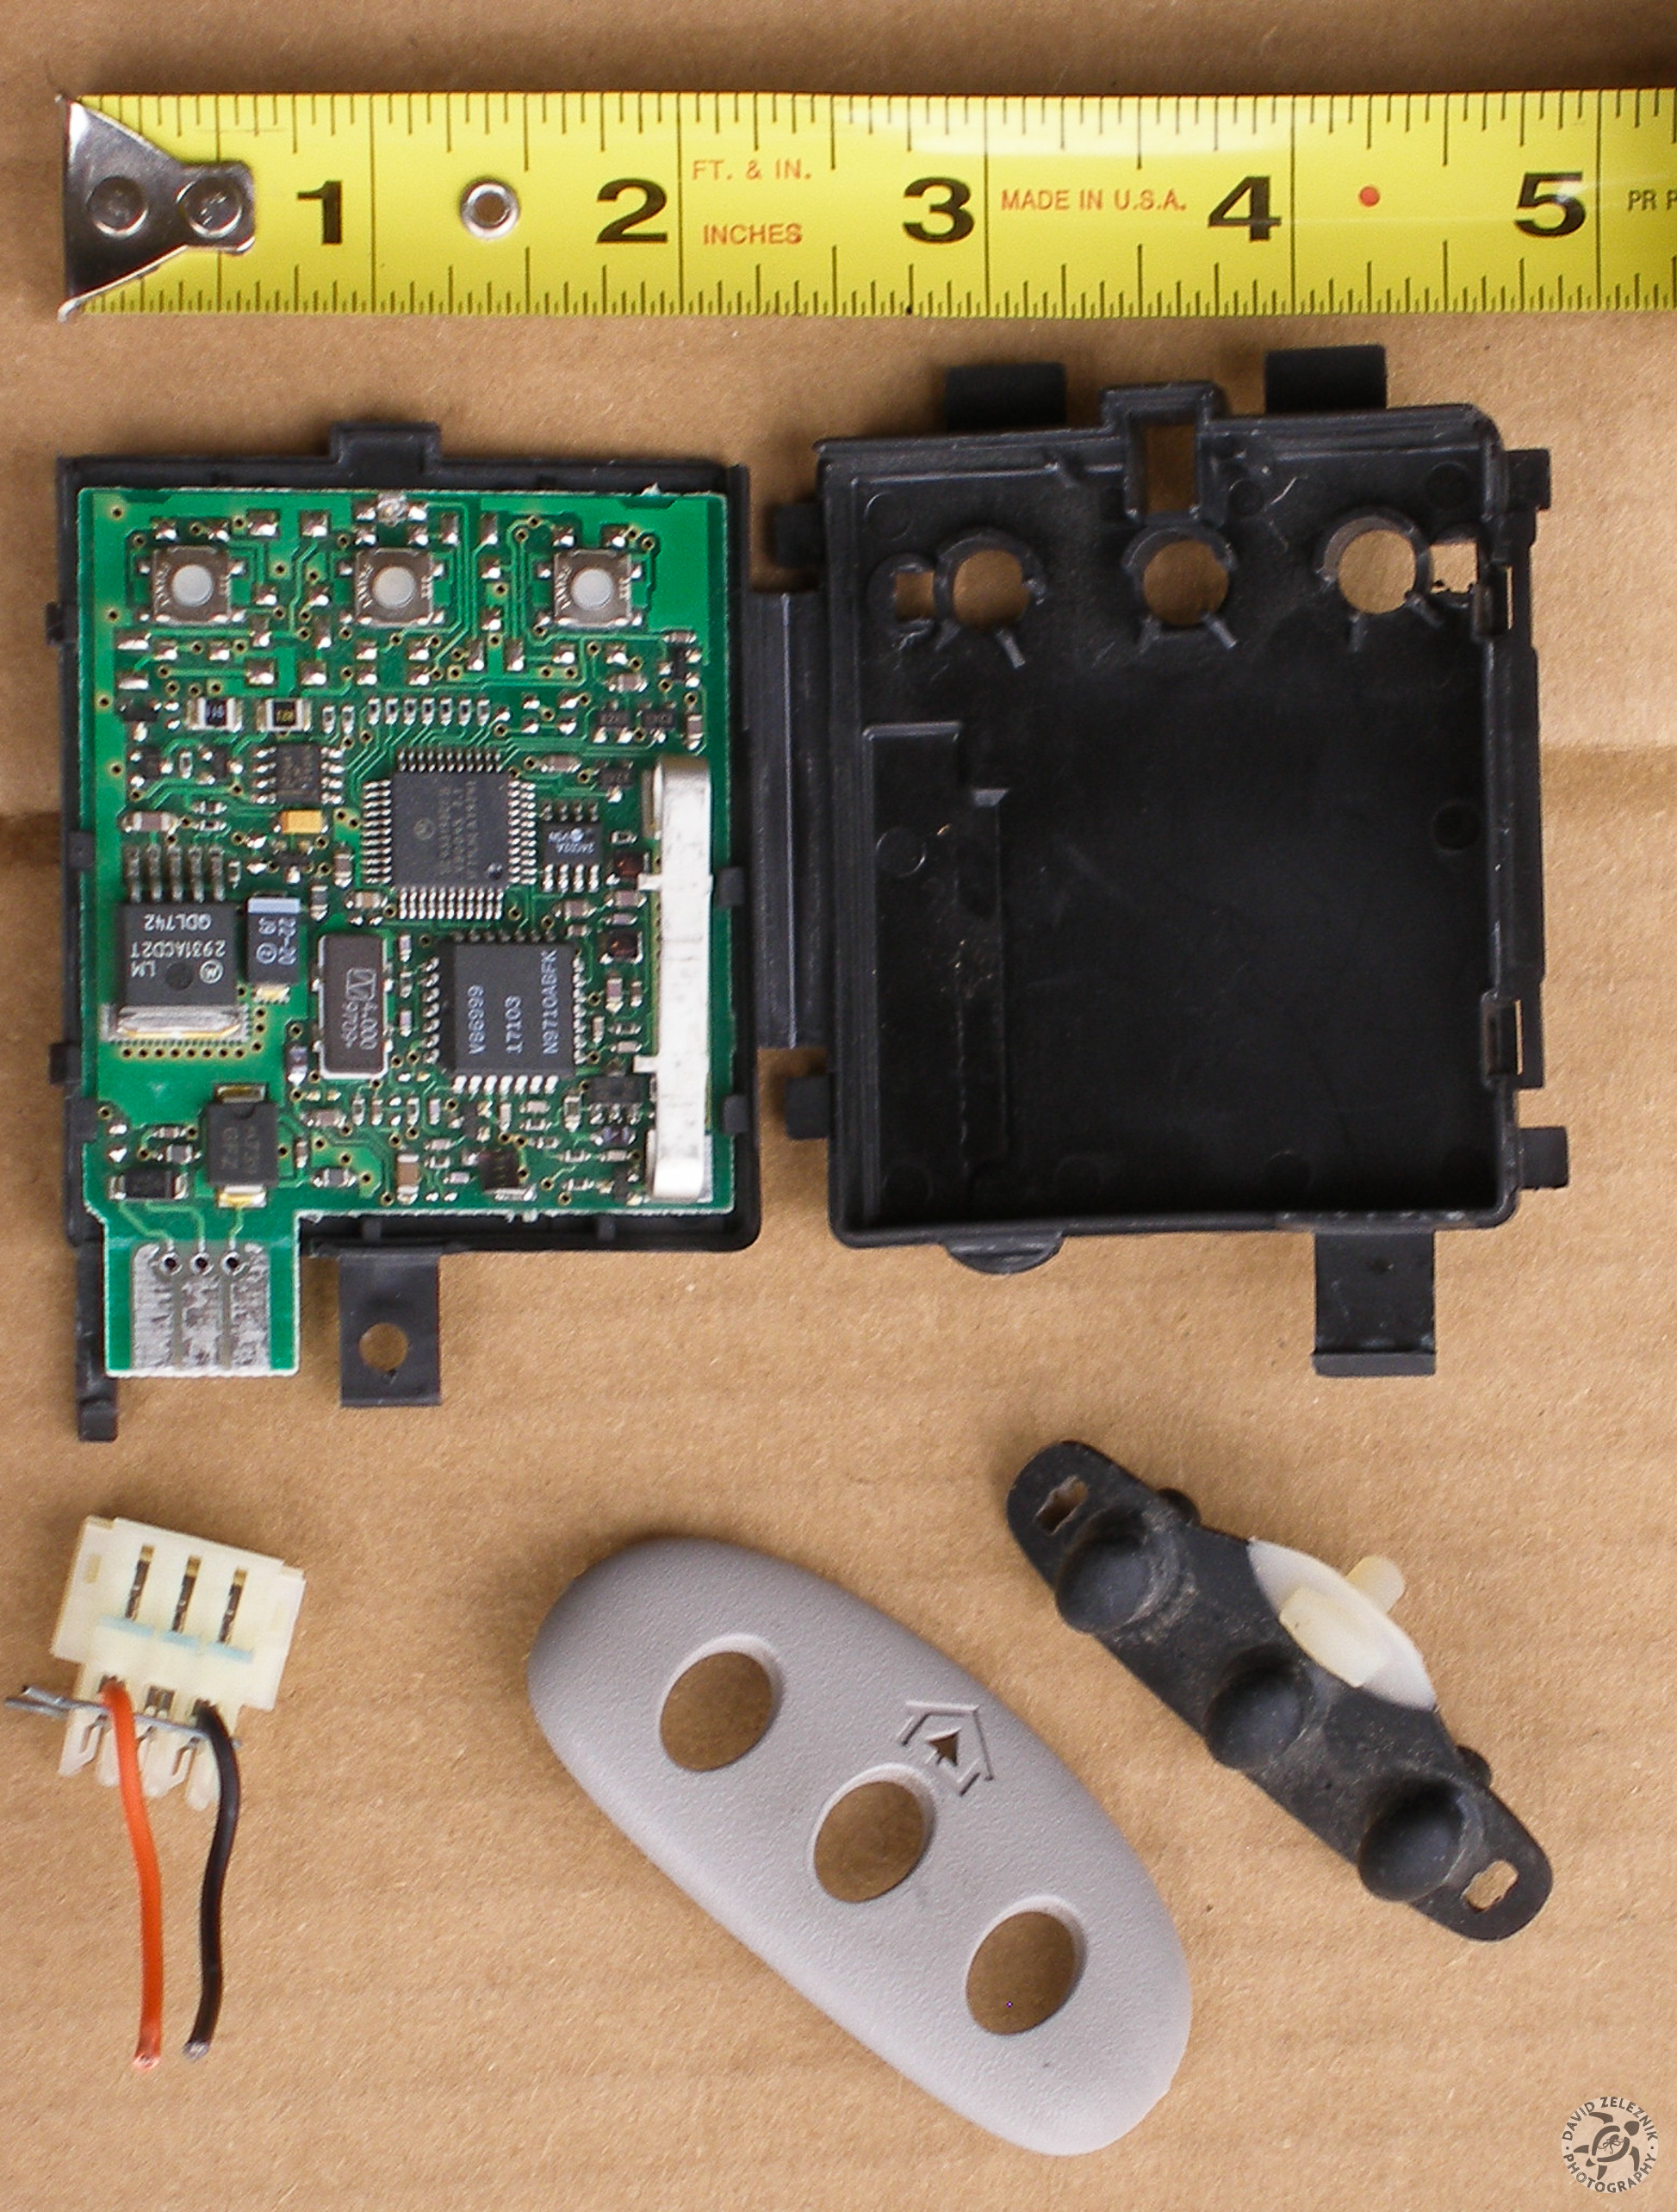
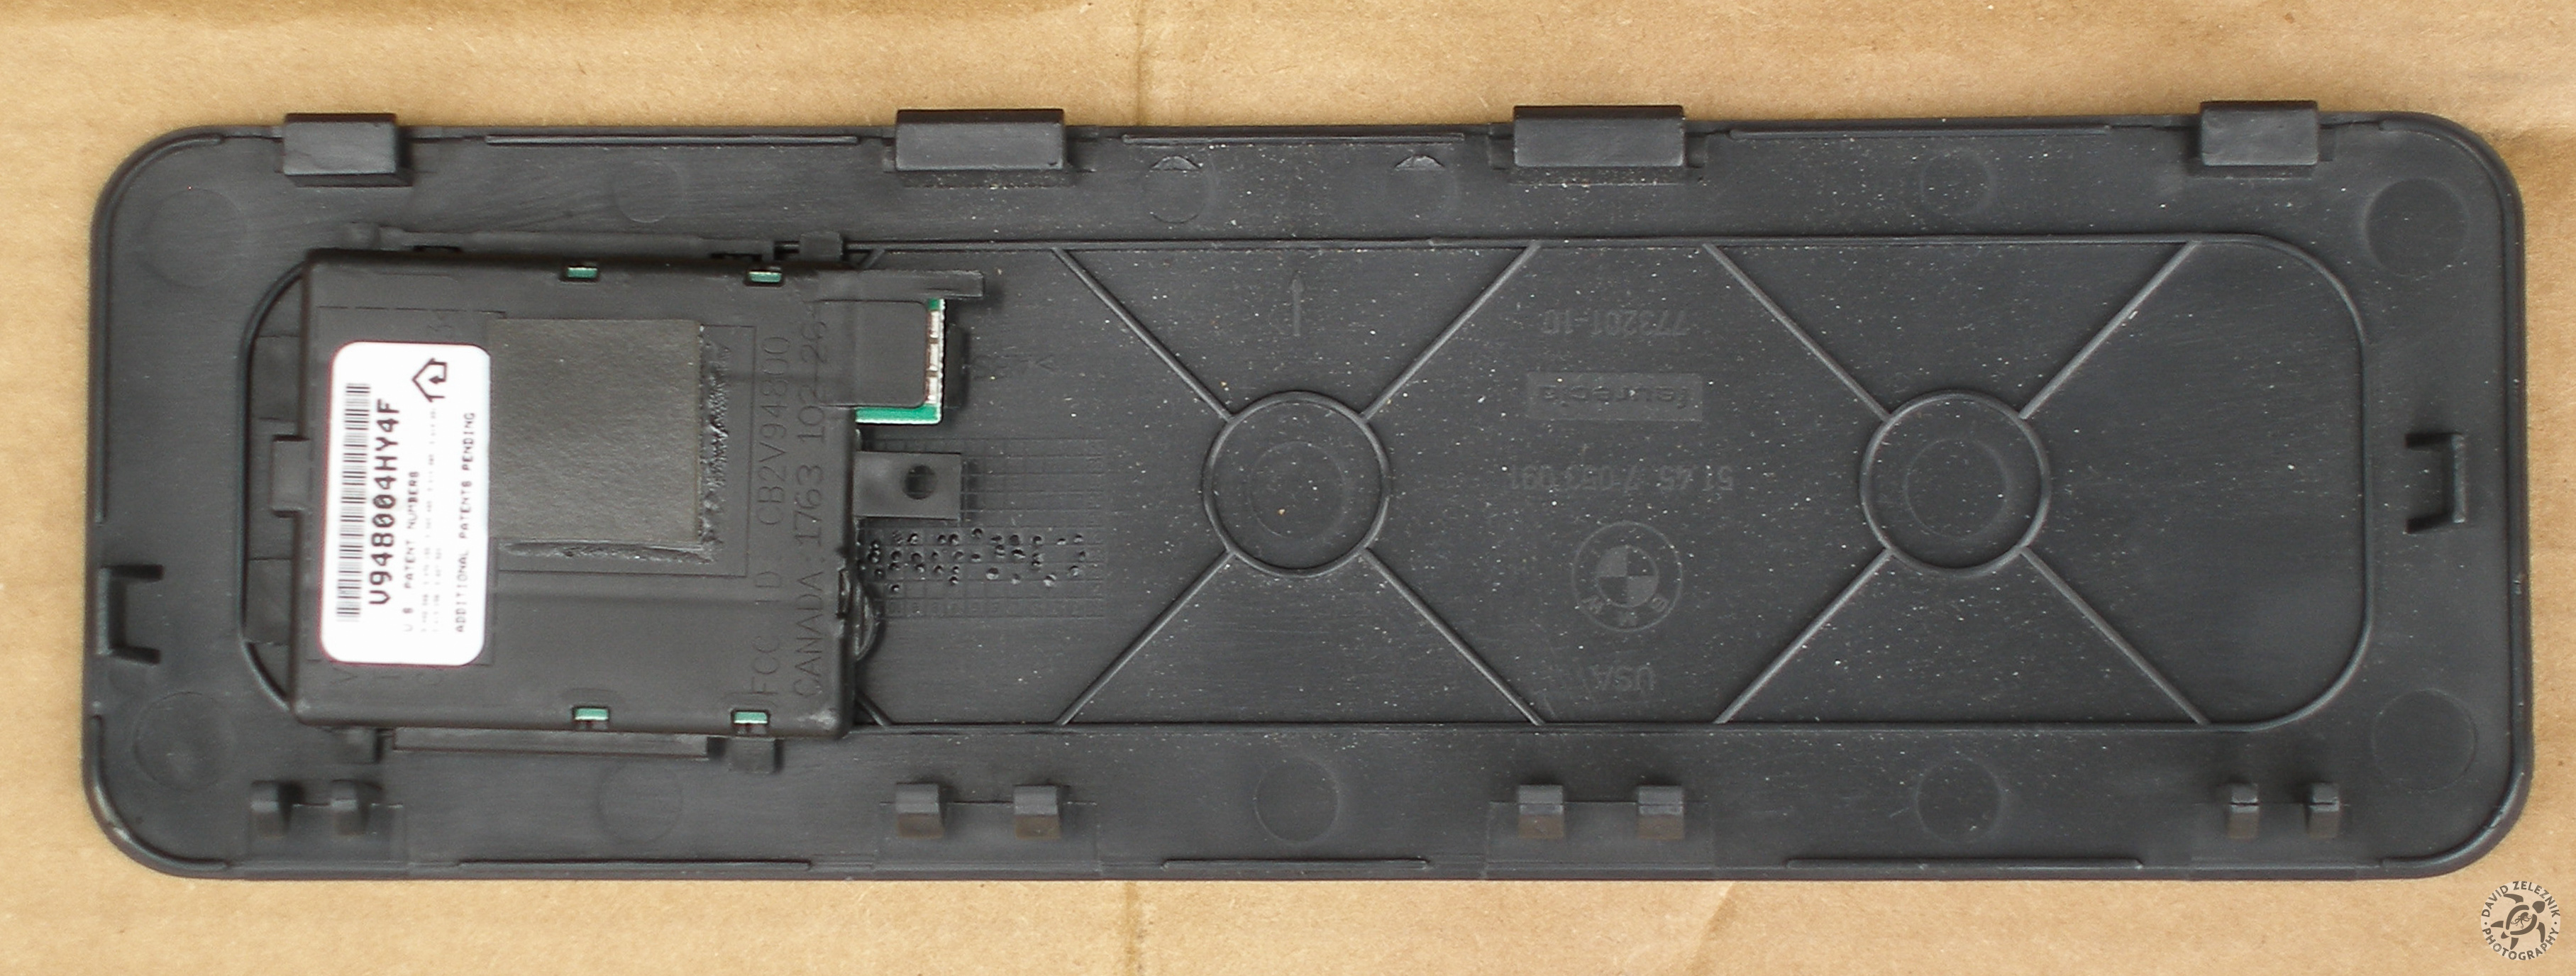
2 I popped off the decorative trim piece and opened the unit up to see whether it was worth just reusing the bare pcb or go with the entire unit. The metal bar on…
3 I then cleaned up the trim plate with alcohol and painted it black (paint is still wet in this pic)
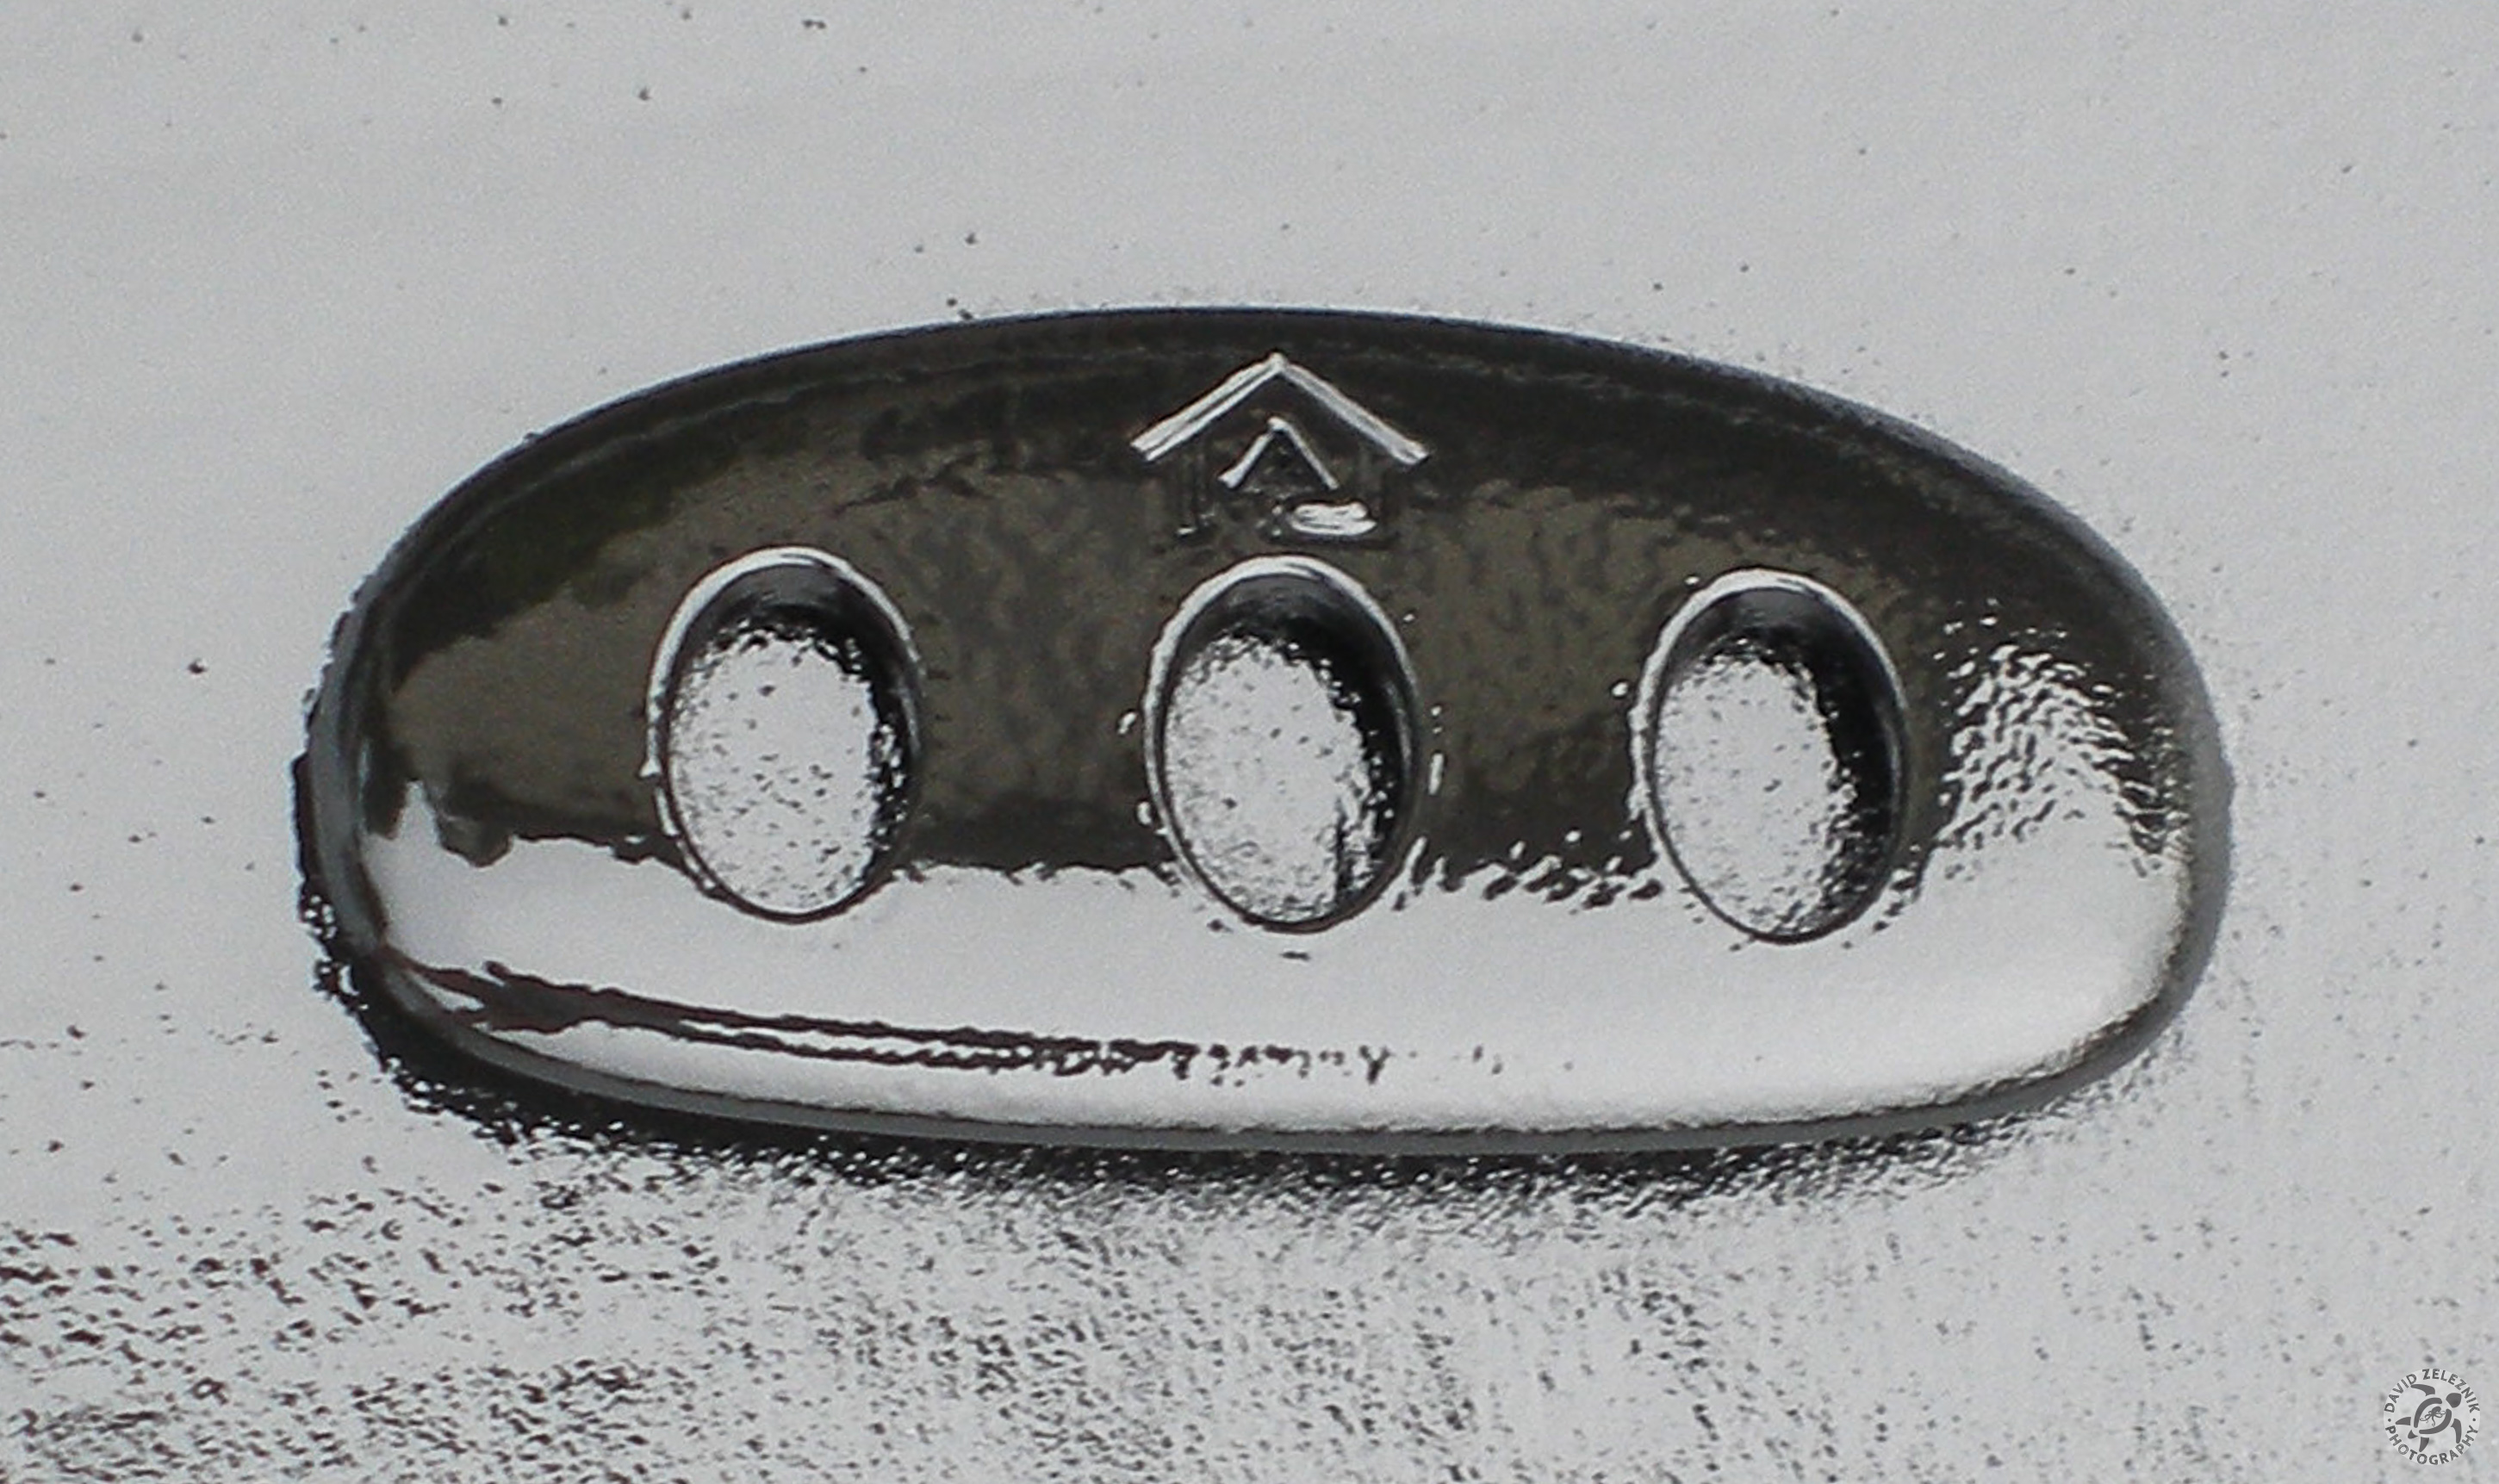
4 My goal is to mount the homelink towards the driver side on the trim plate that is below the climate controls and above the ashtray area.
5 Here is the rough positioning that I want to go for.
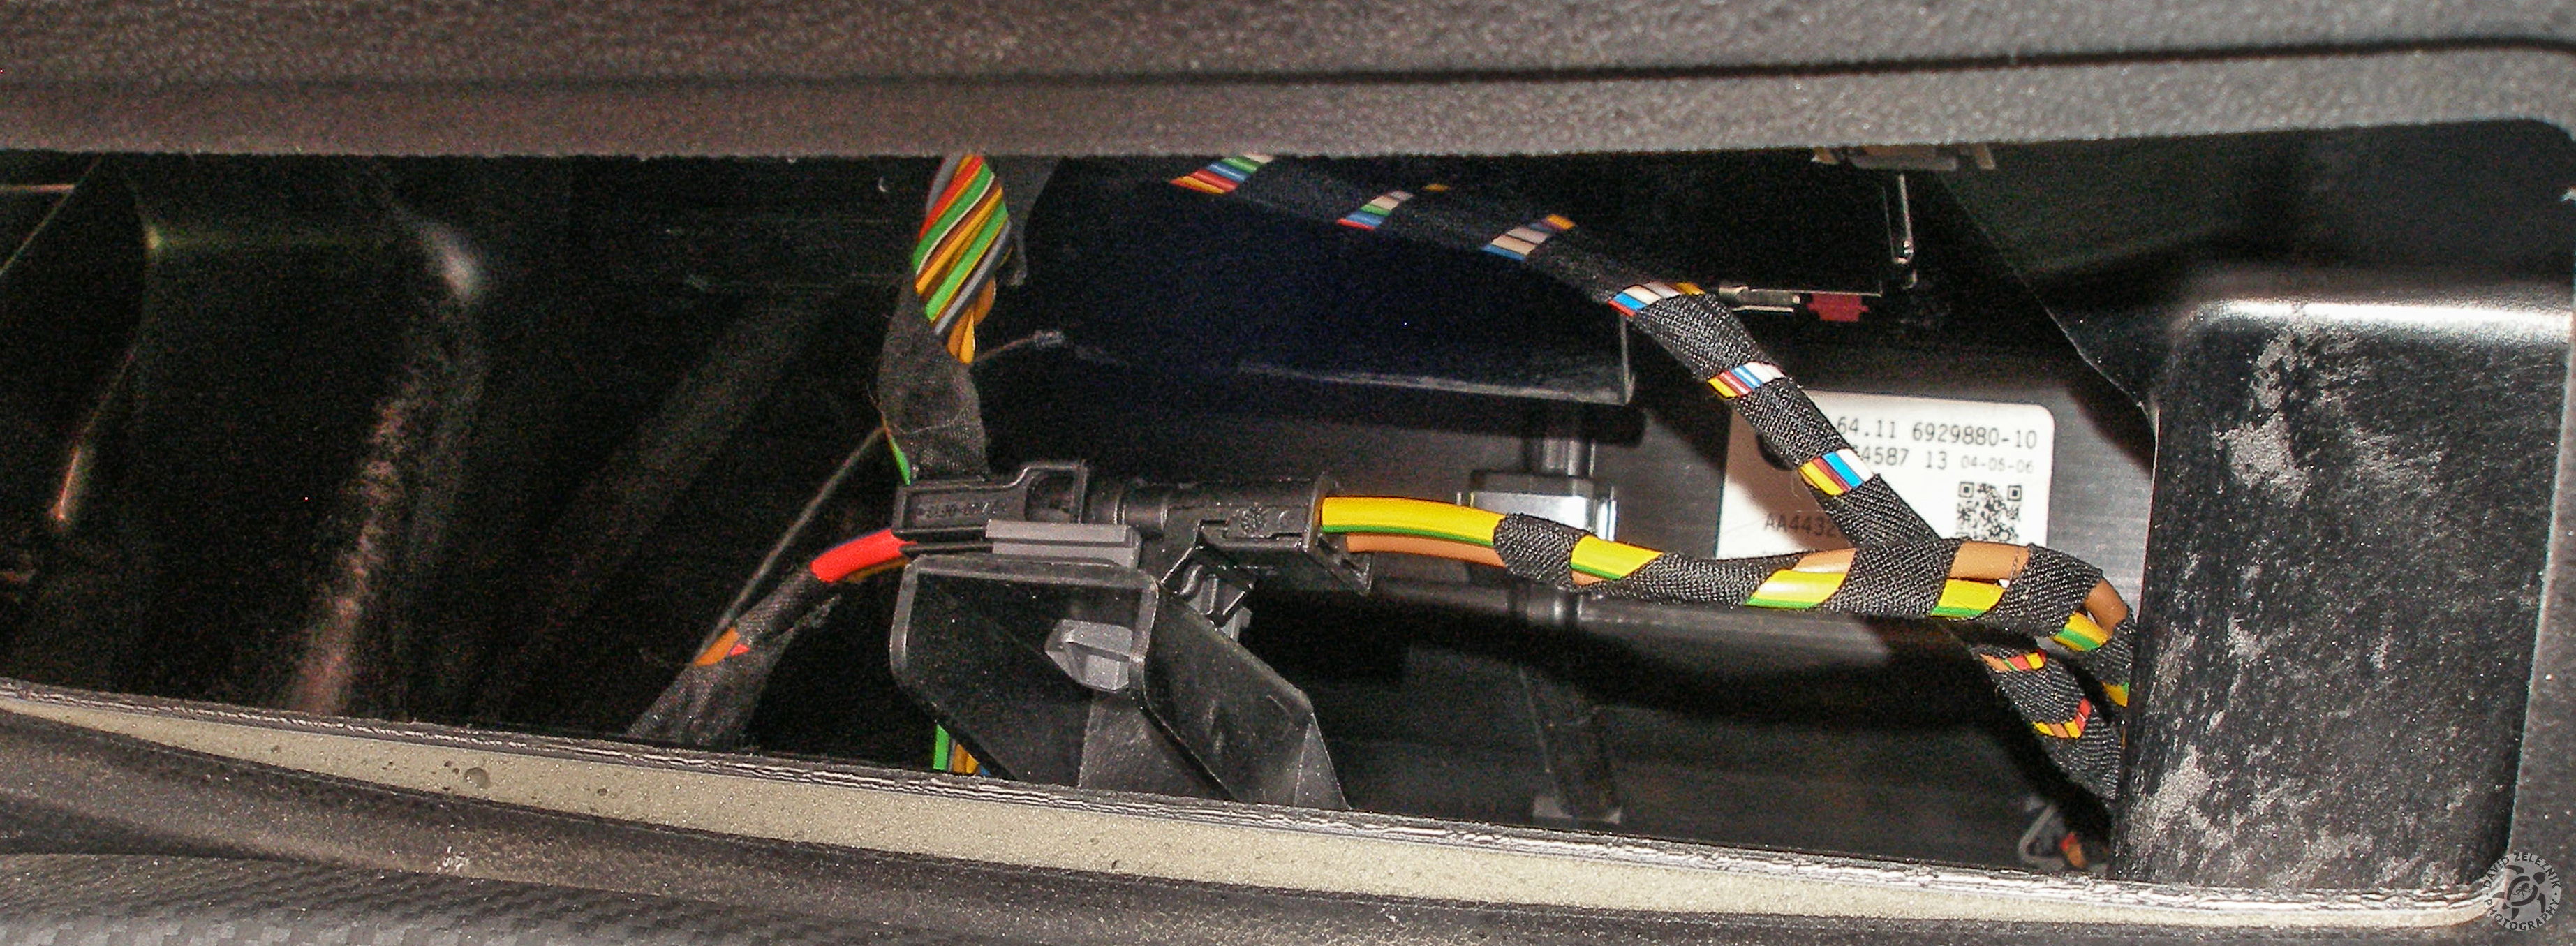
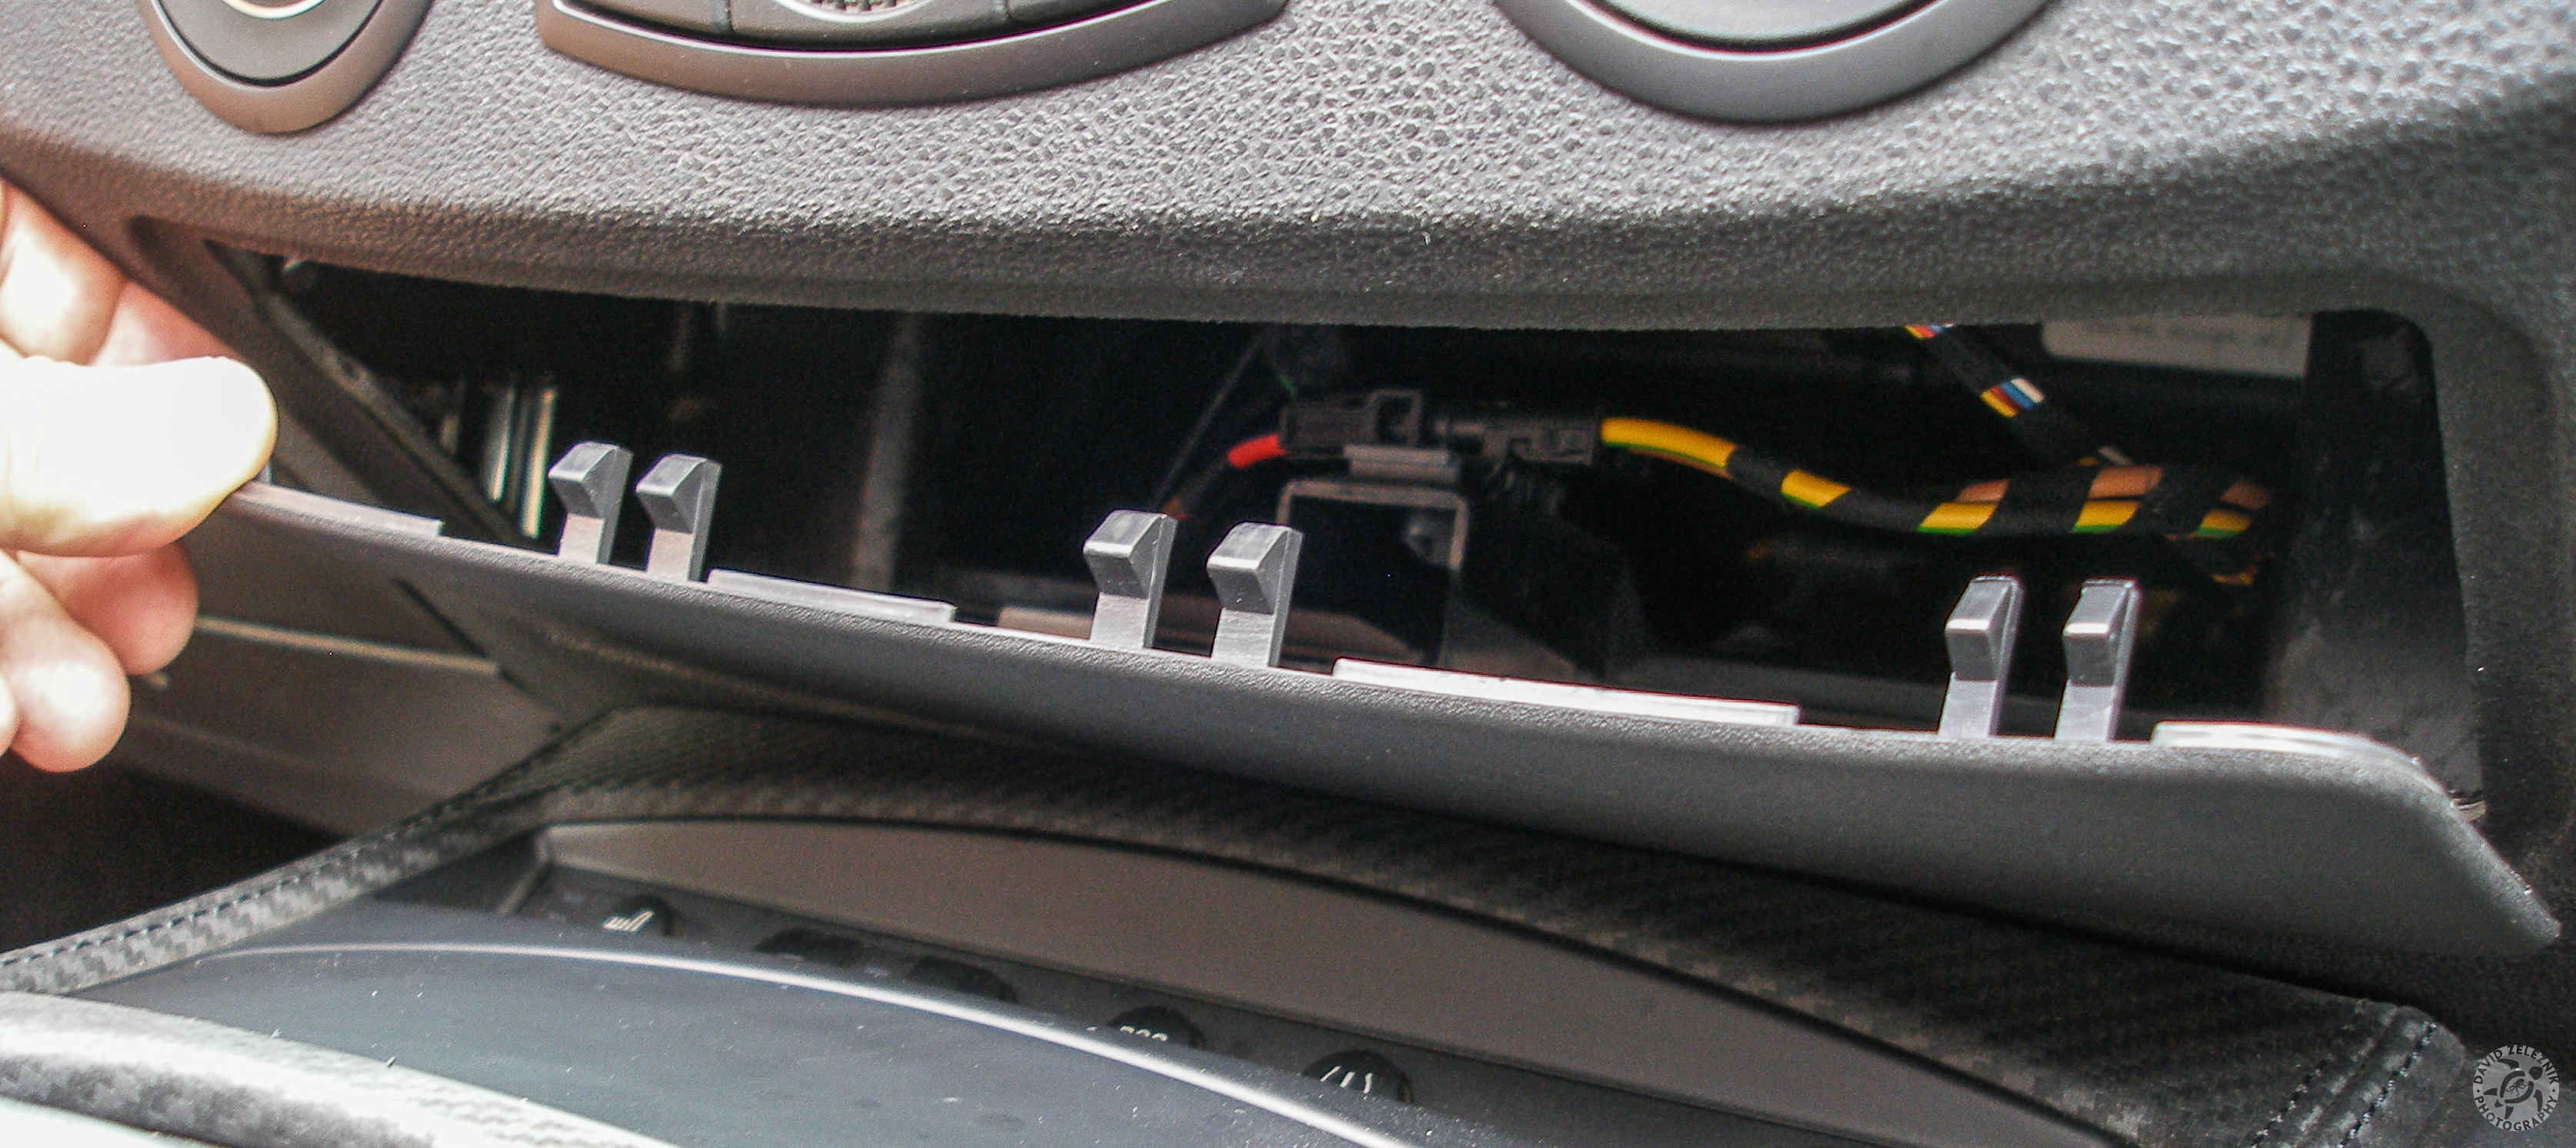
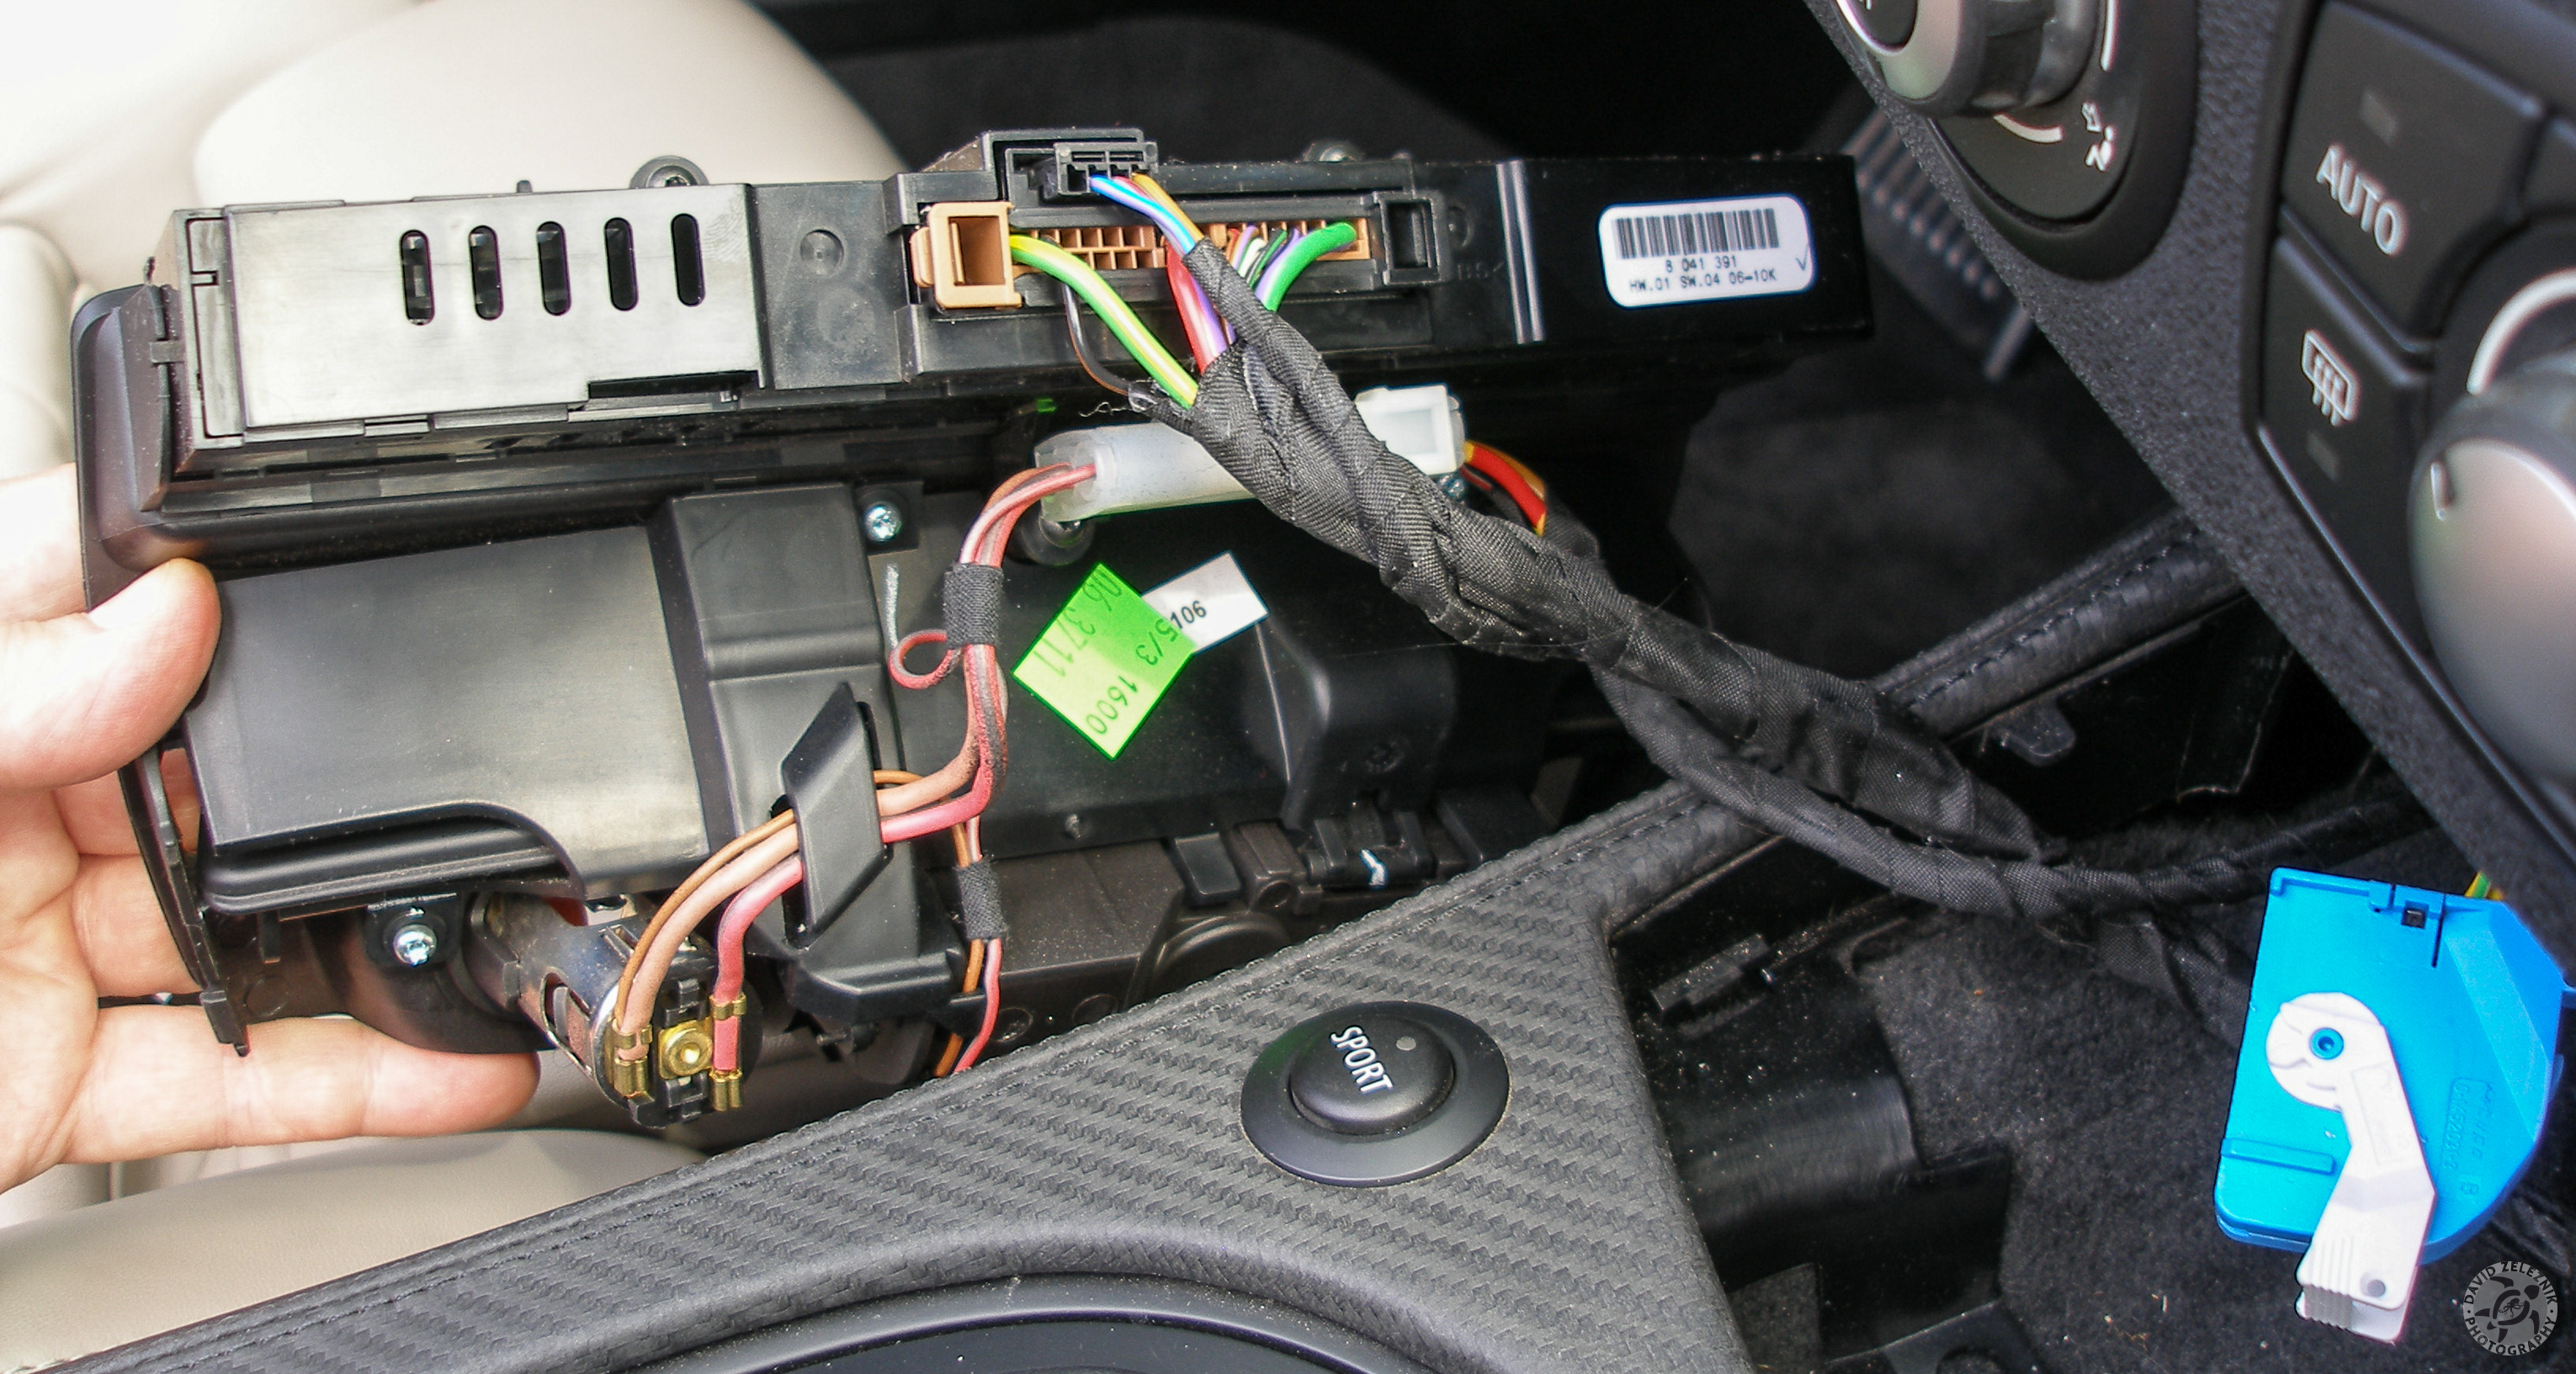
6 I would like to find switched power (on in accessory) and ground somewhere behind this panel. Briefly scanning visually, I see these various cable bundles, but…
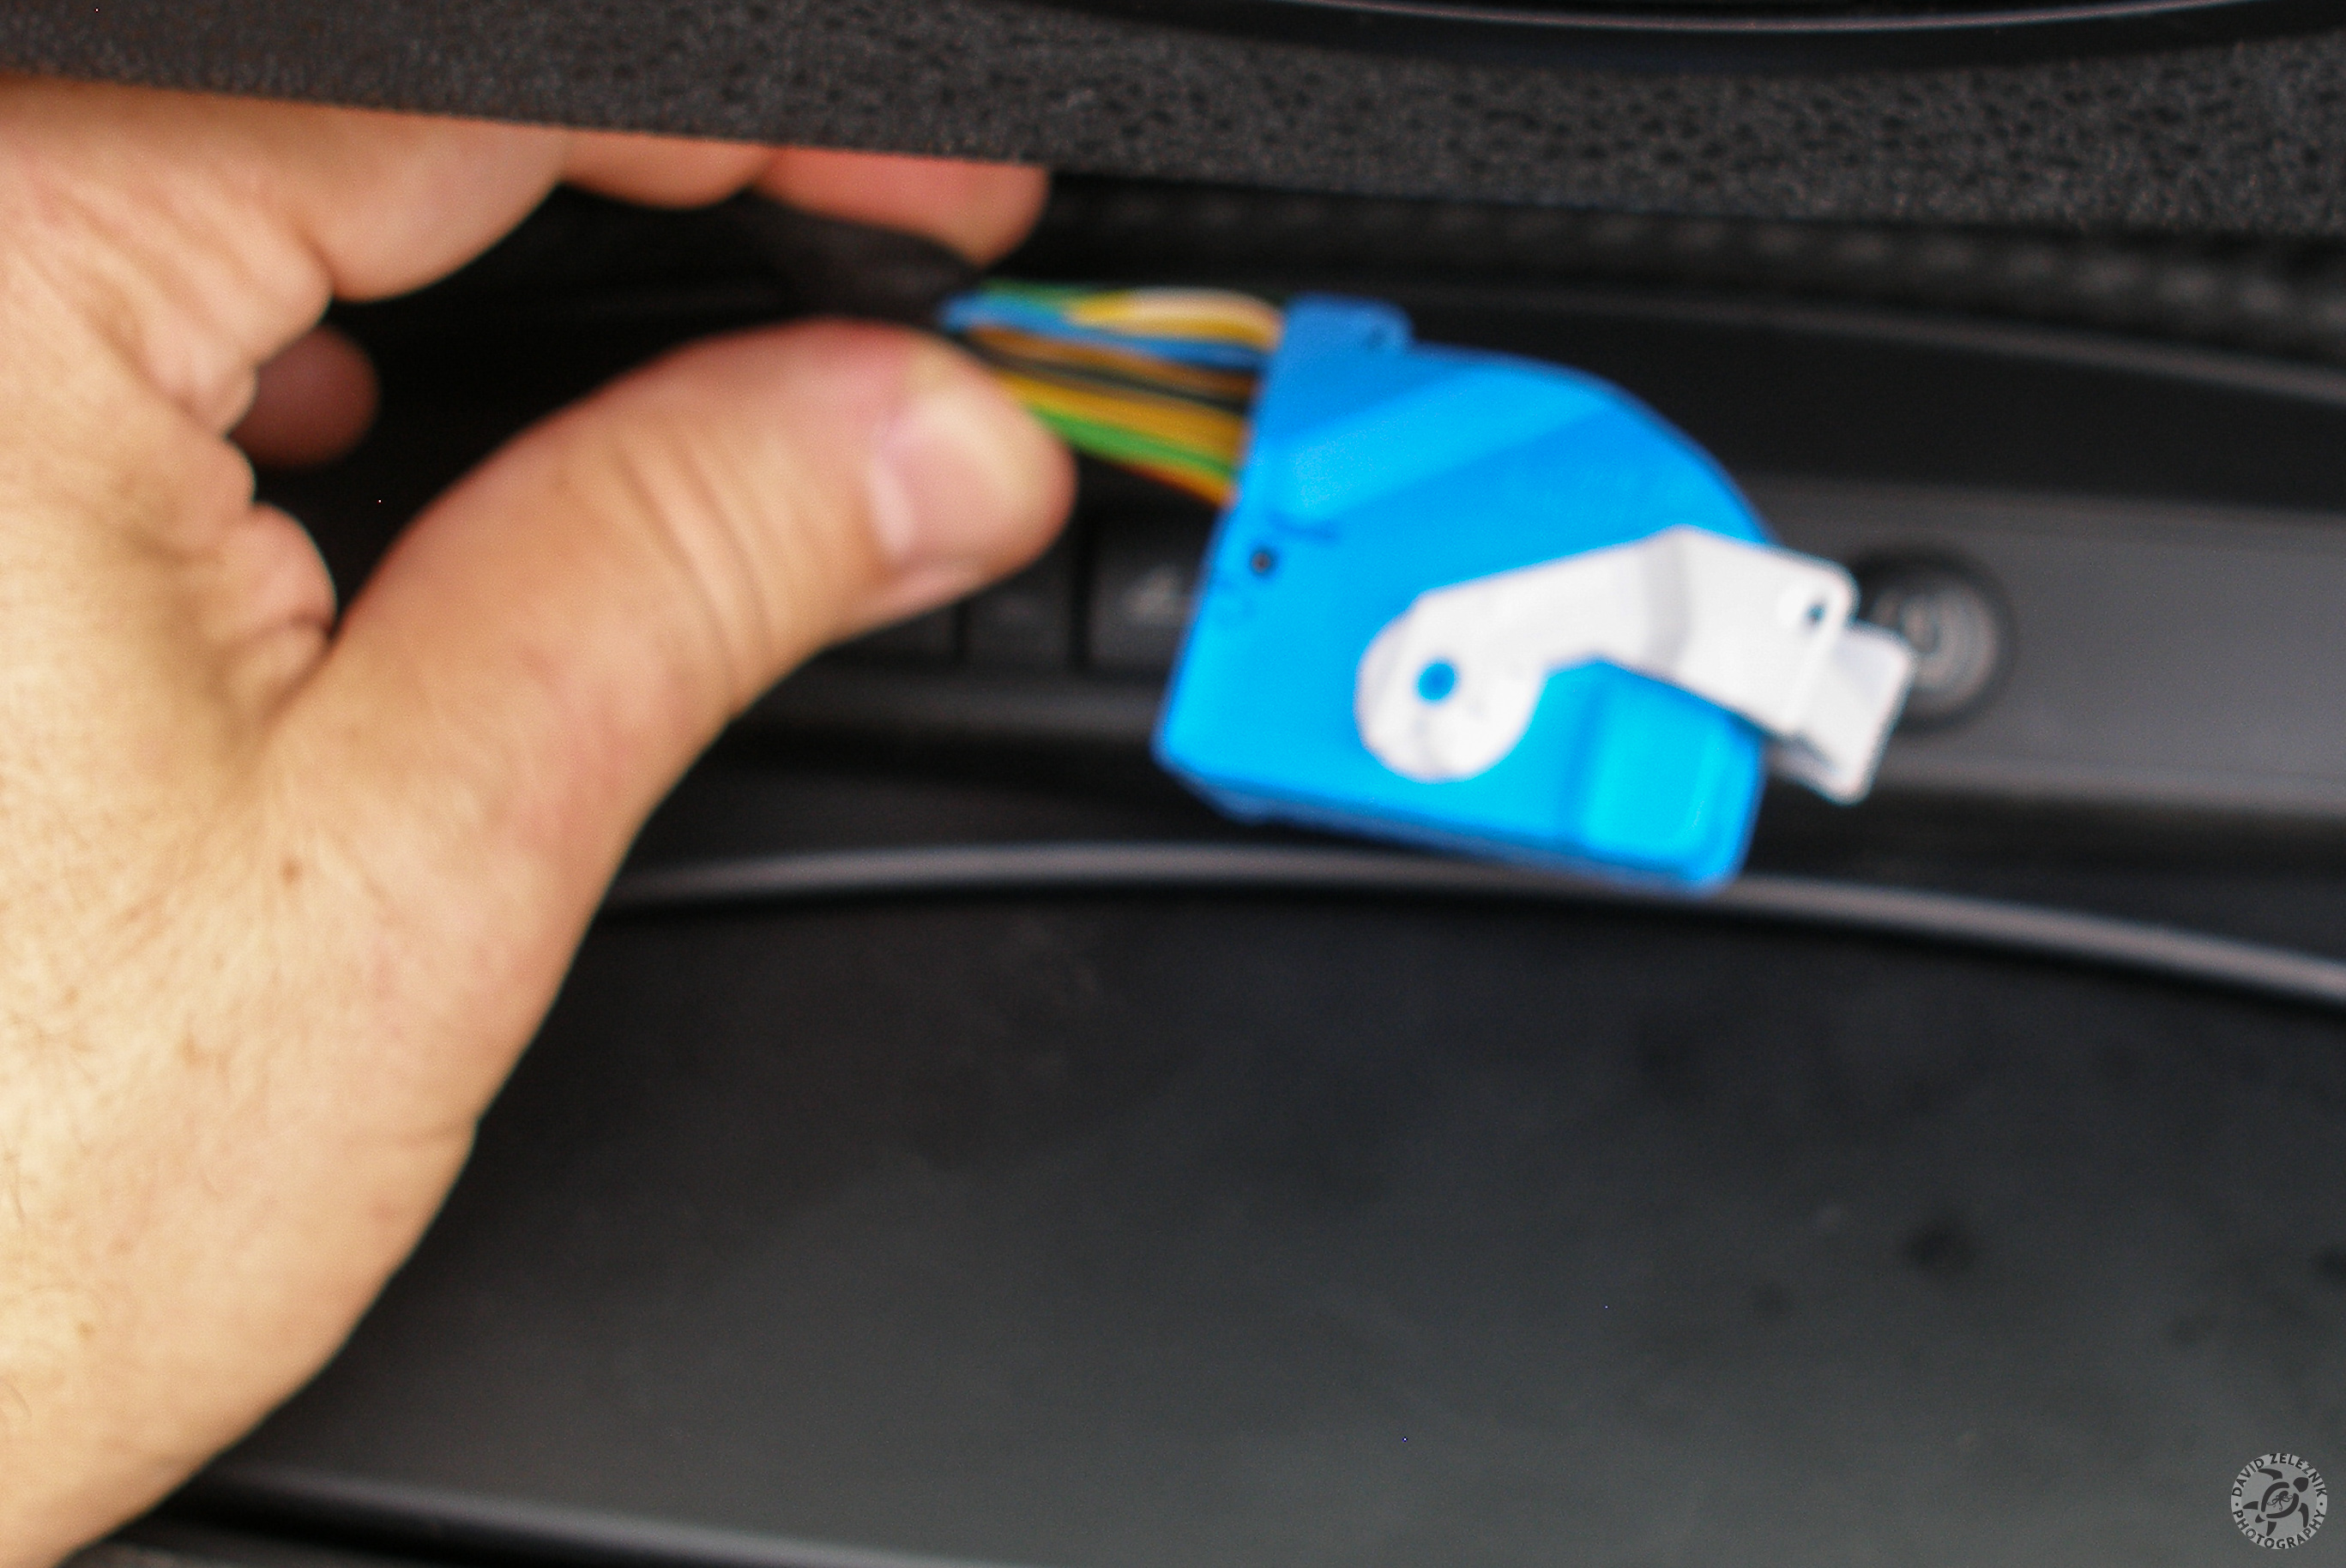
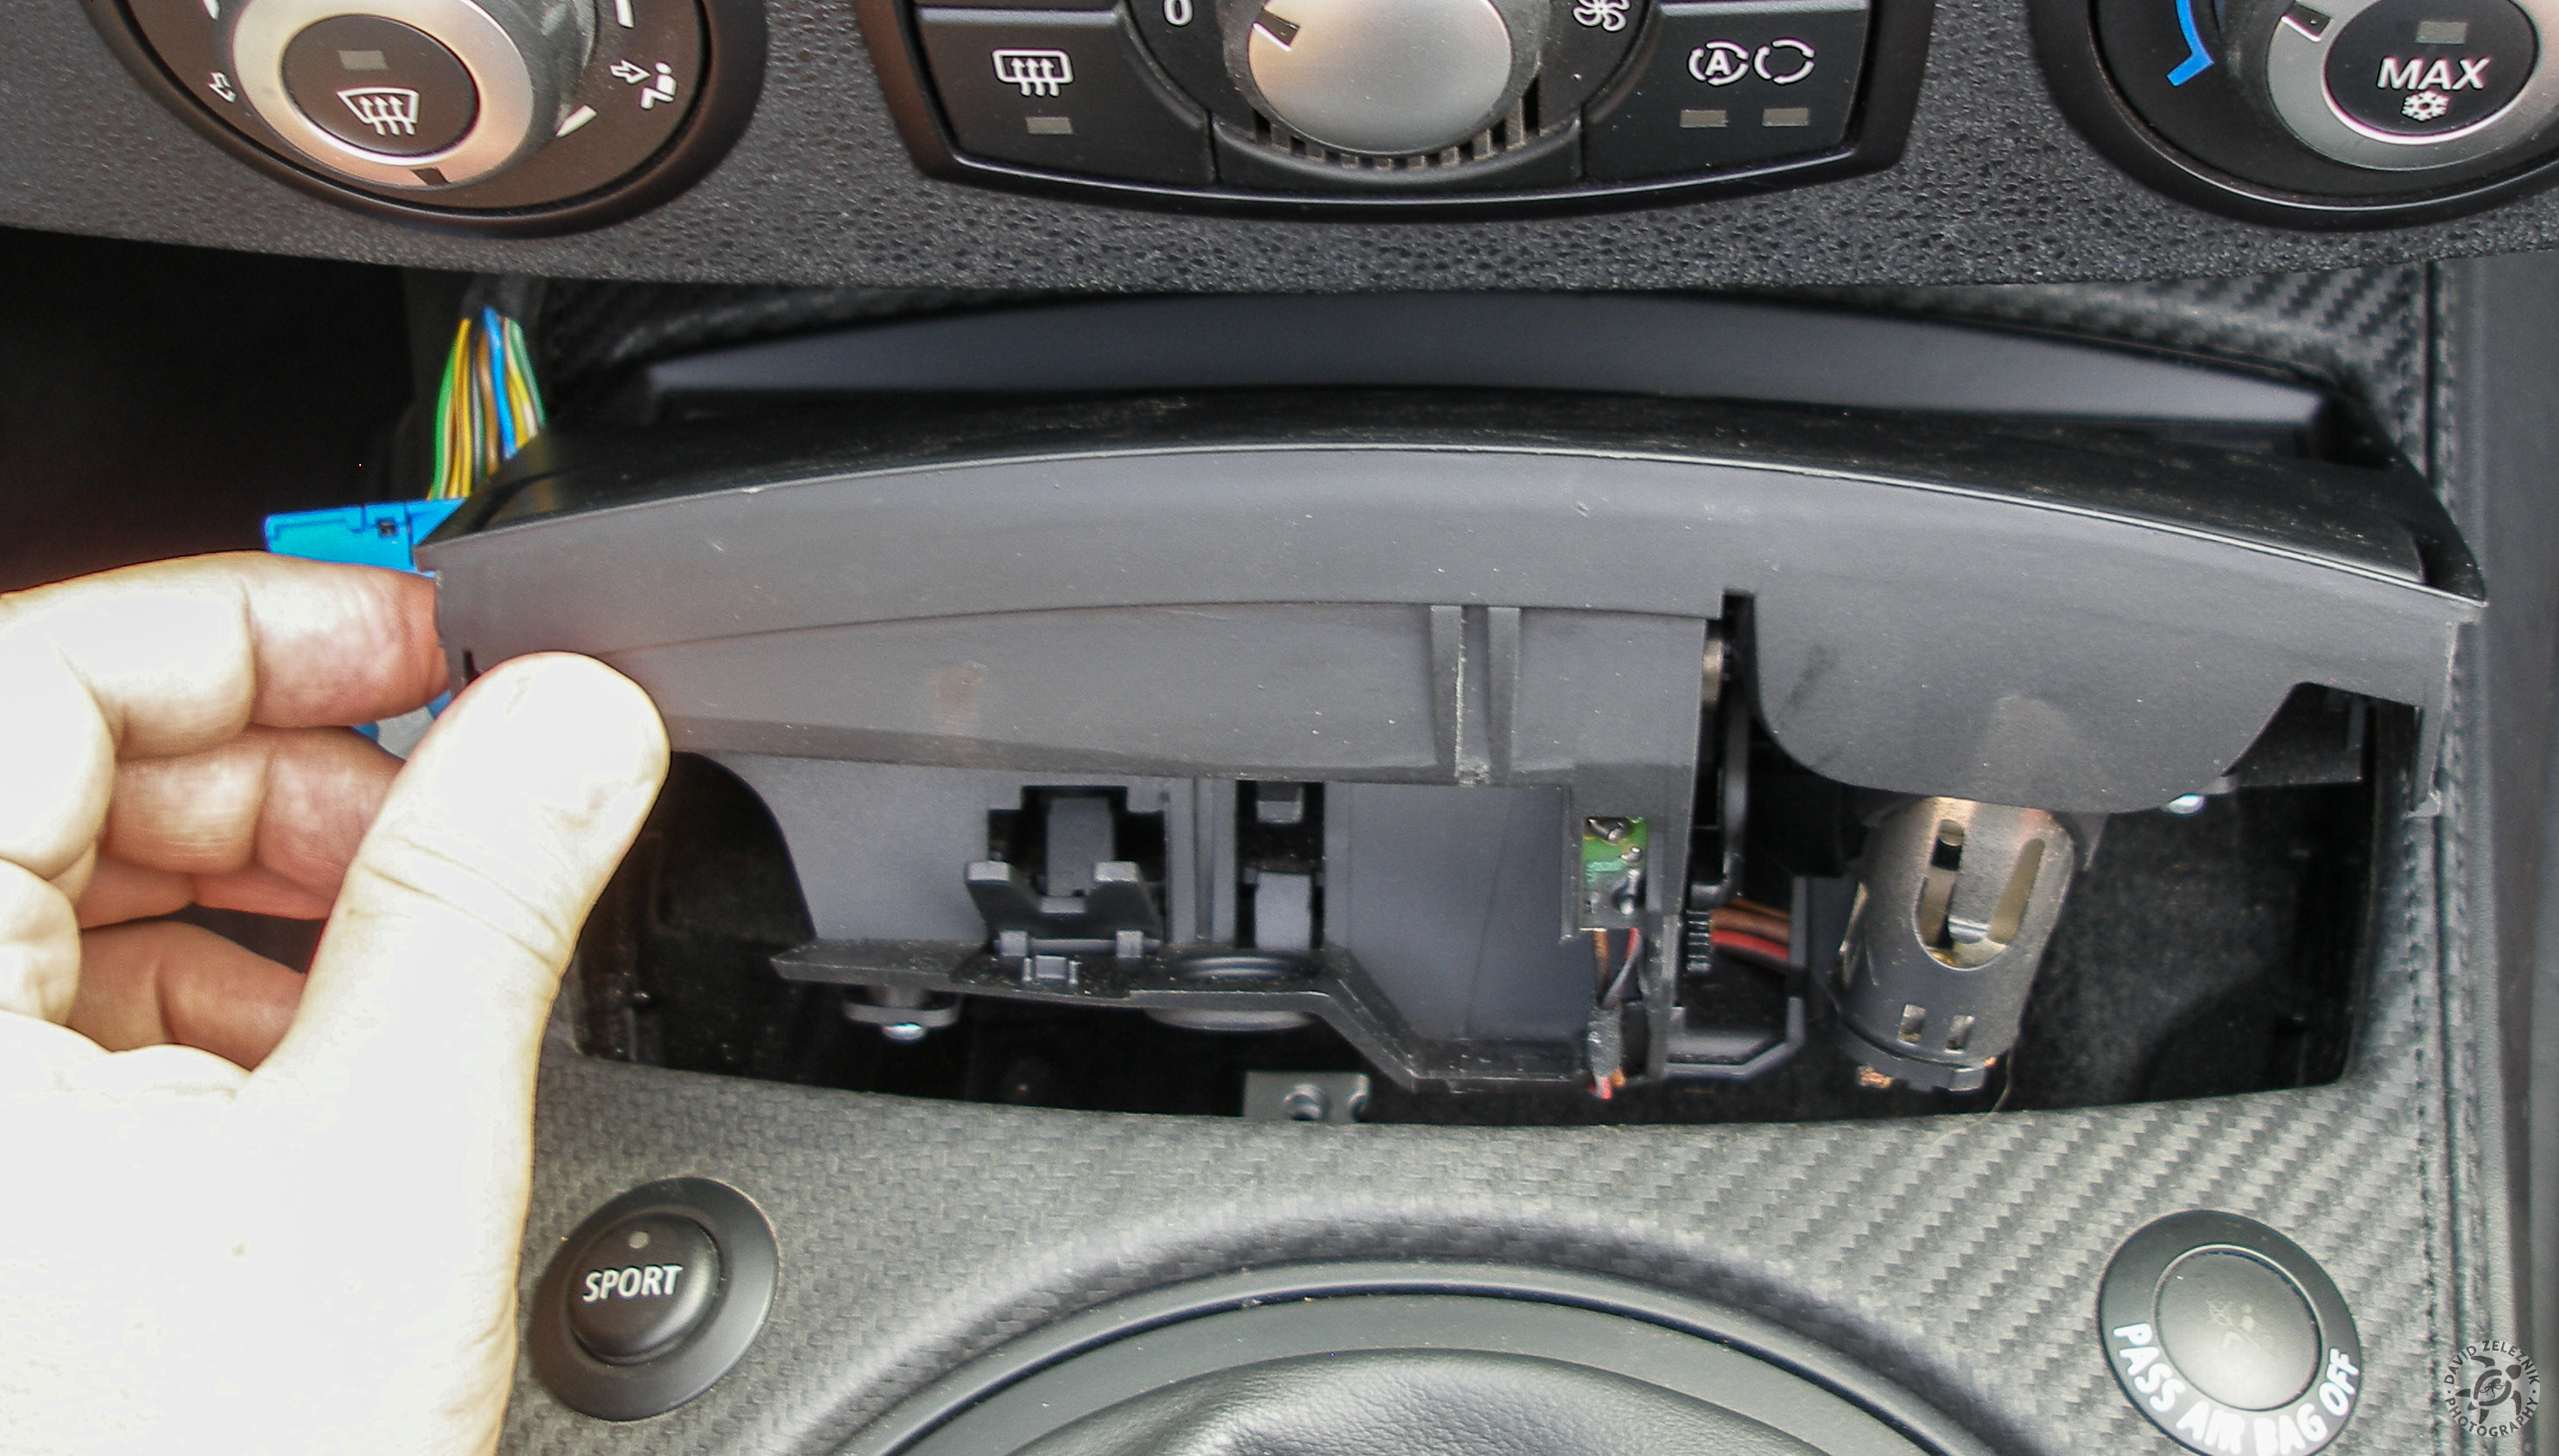
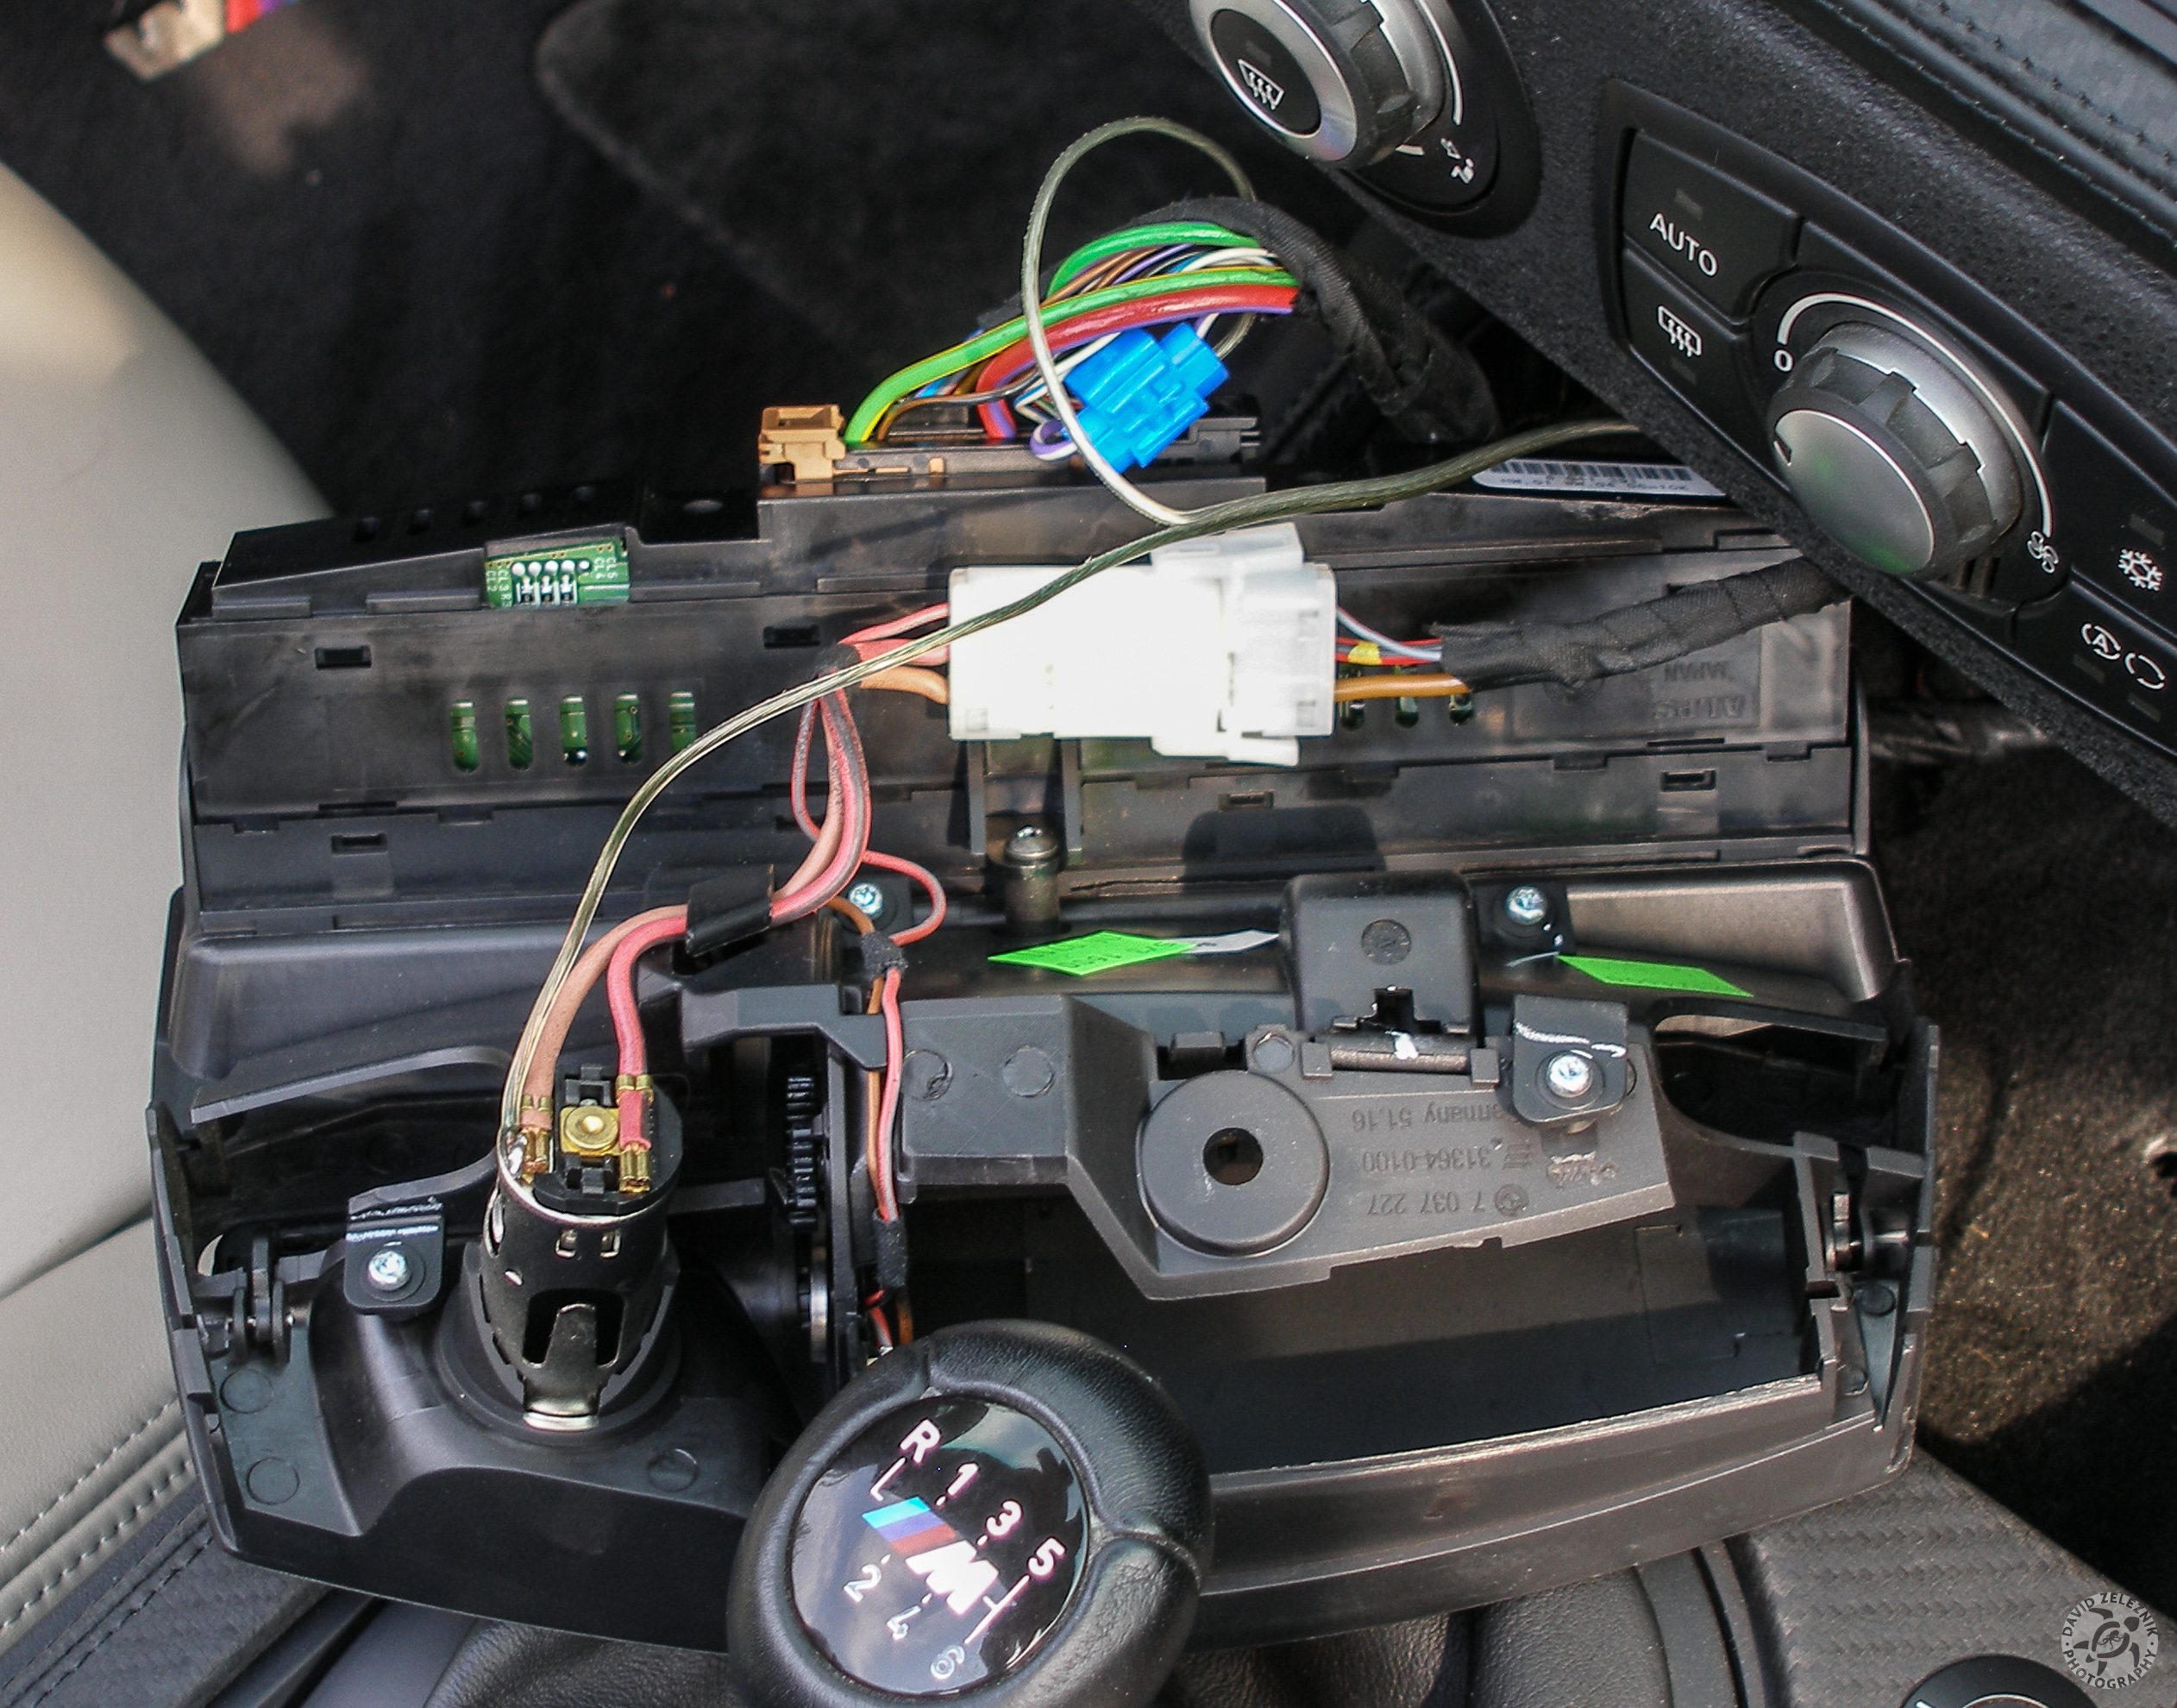
7 Well, I am getting closer. My first attempt was to disconnect the harness going to the center of the climate controls so that I could inspect it closer. After…
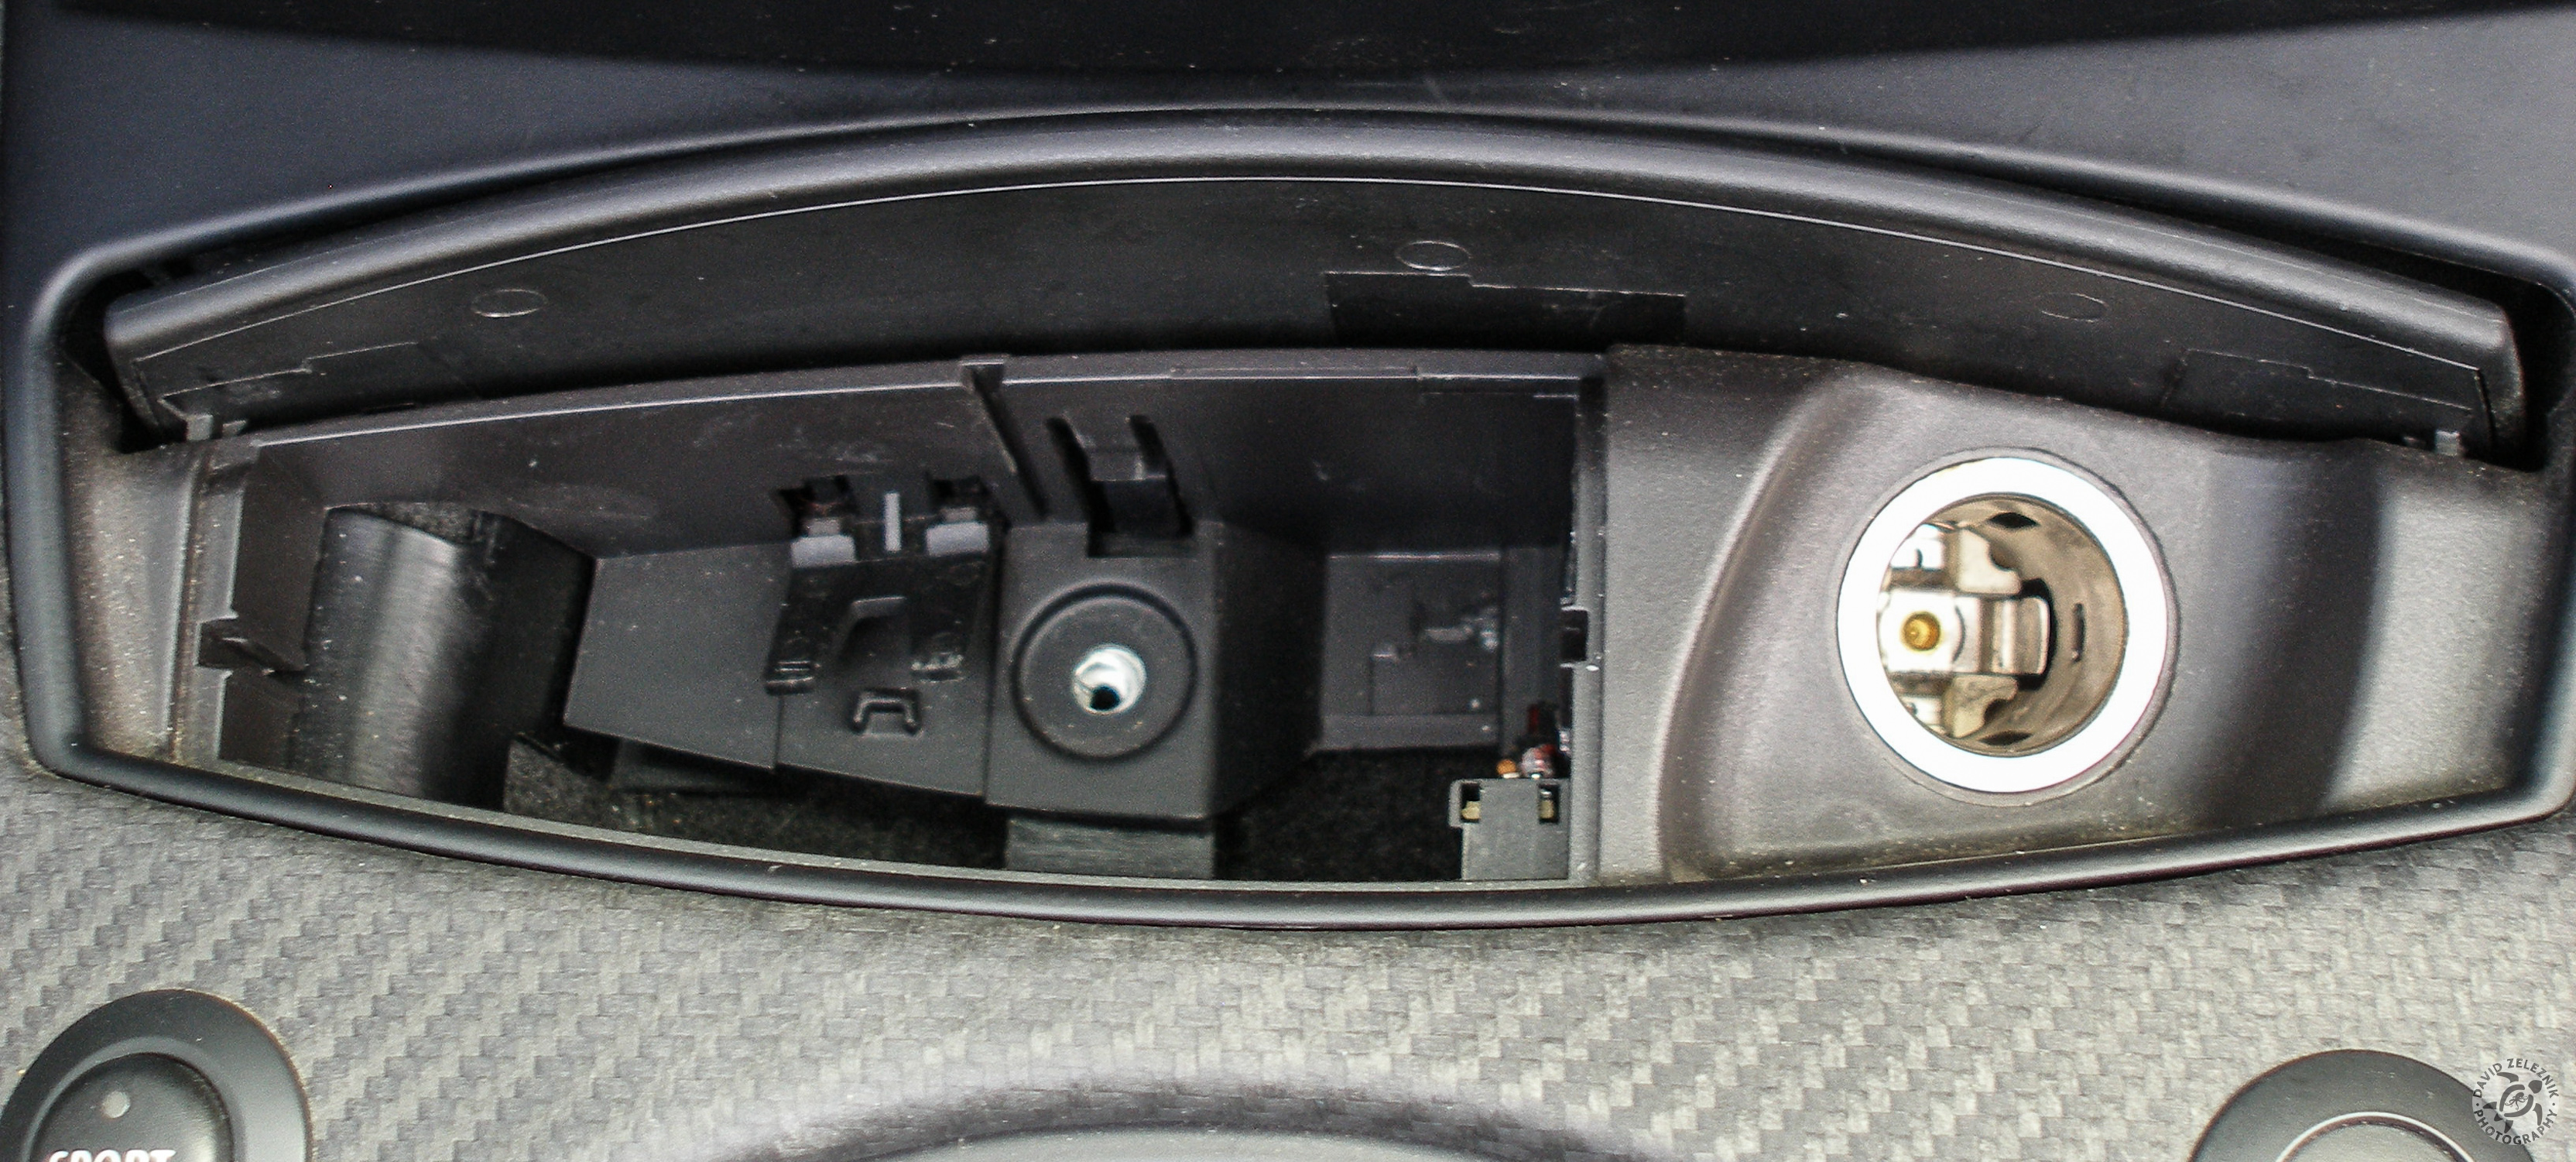
8 Unfortunately, this did not turn up much interesting, at least to my inexperienced eyes. Realizing that there was pretty easy access to the ashtray area, I…
9 Then gently prying the front of the ashtray assembly up
10 Once the front of the ashtray is completely clear, the rear edge unhooks from its pivot points. Now, its time to go inspect for a likely wire that I can tap for…
11 I know it's kinda cheesy compared to the way some do their mods, but I had some spare speaker zip wire lying around that I put to use. Soldered ground to the…
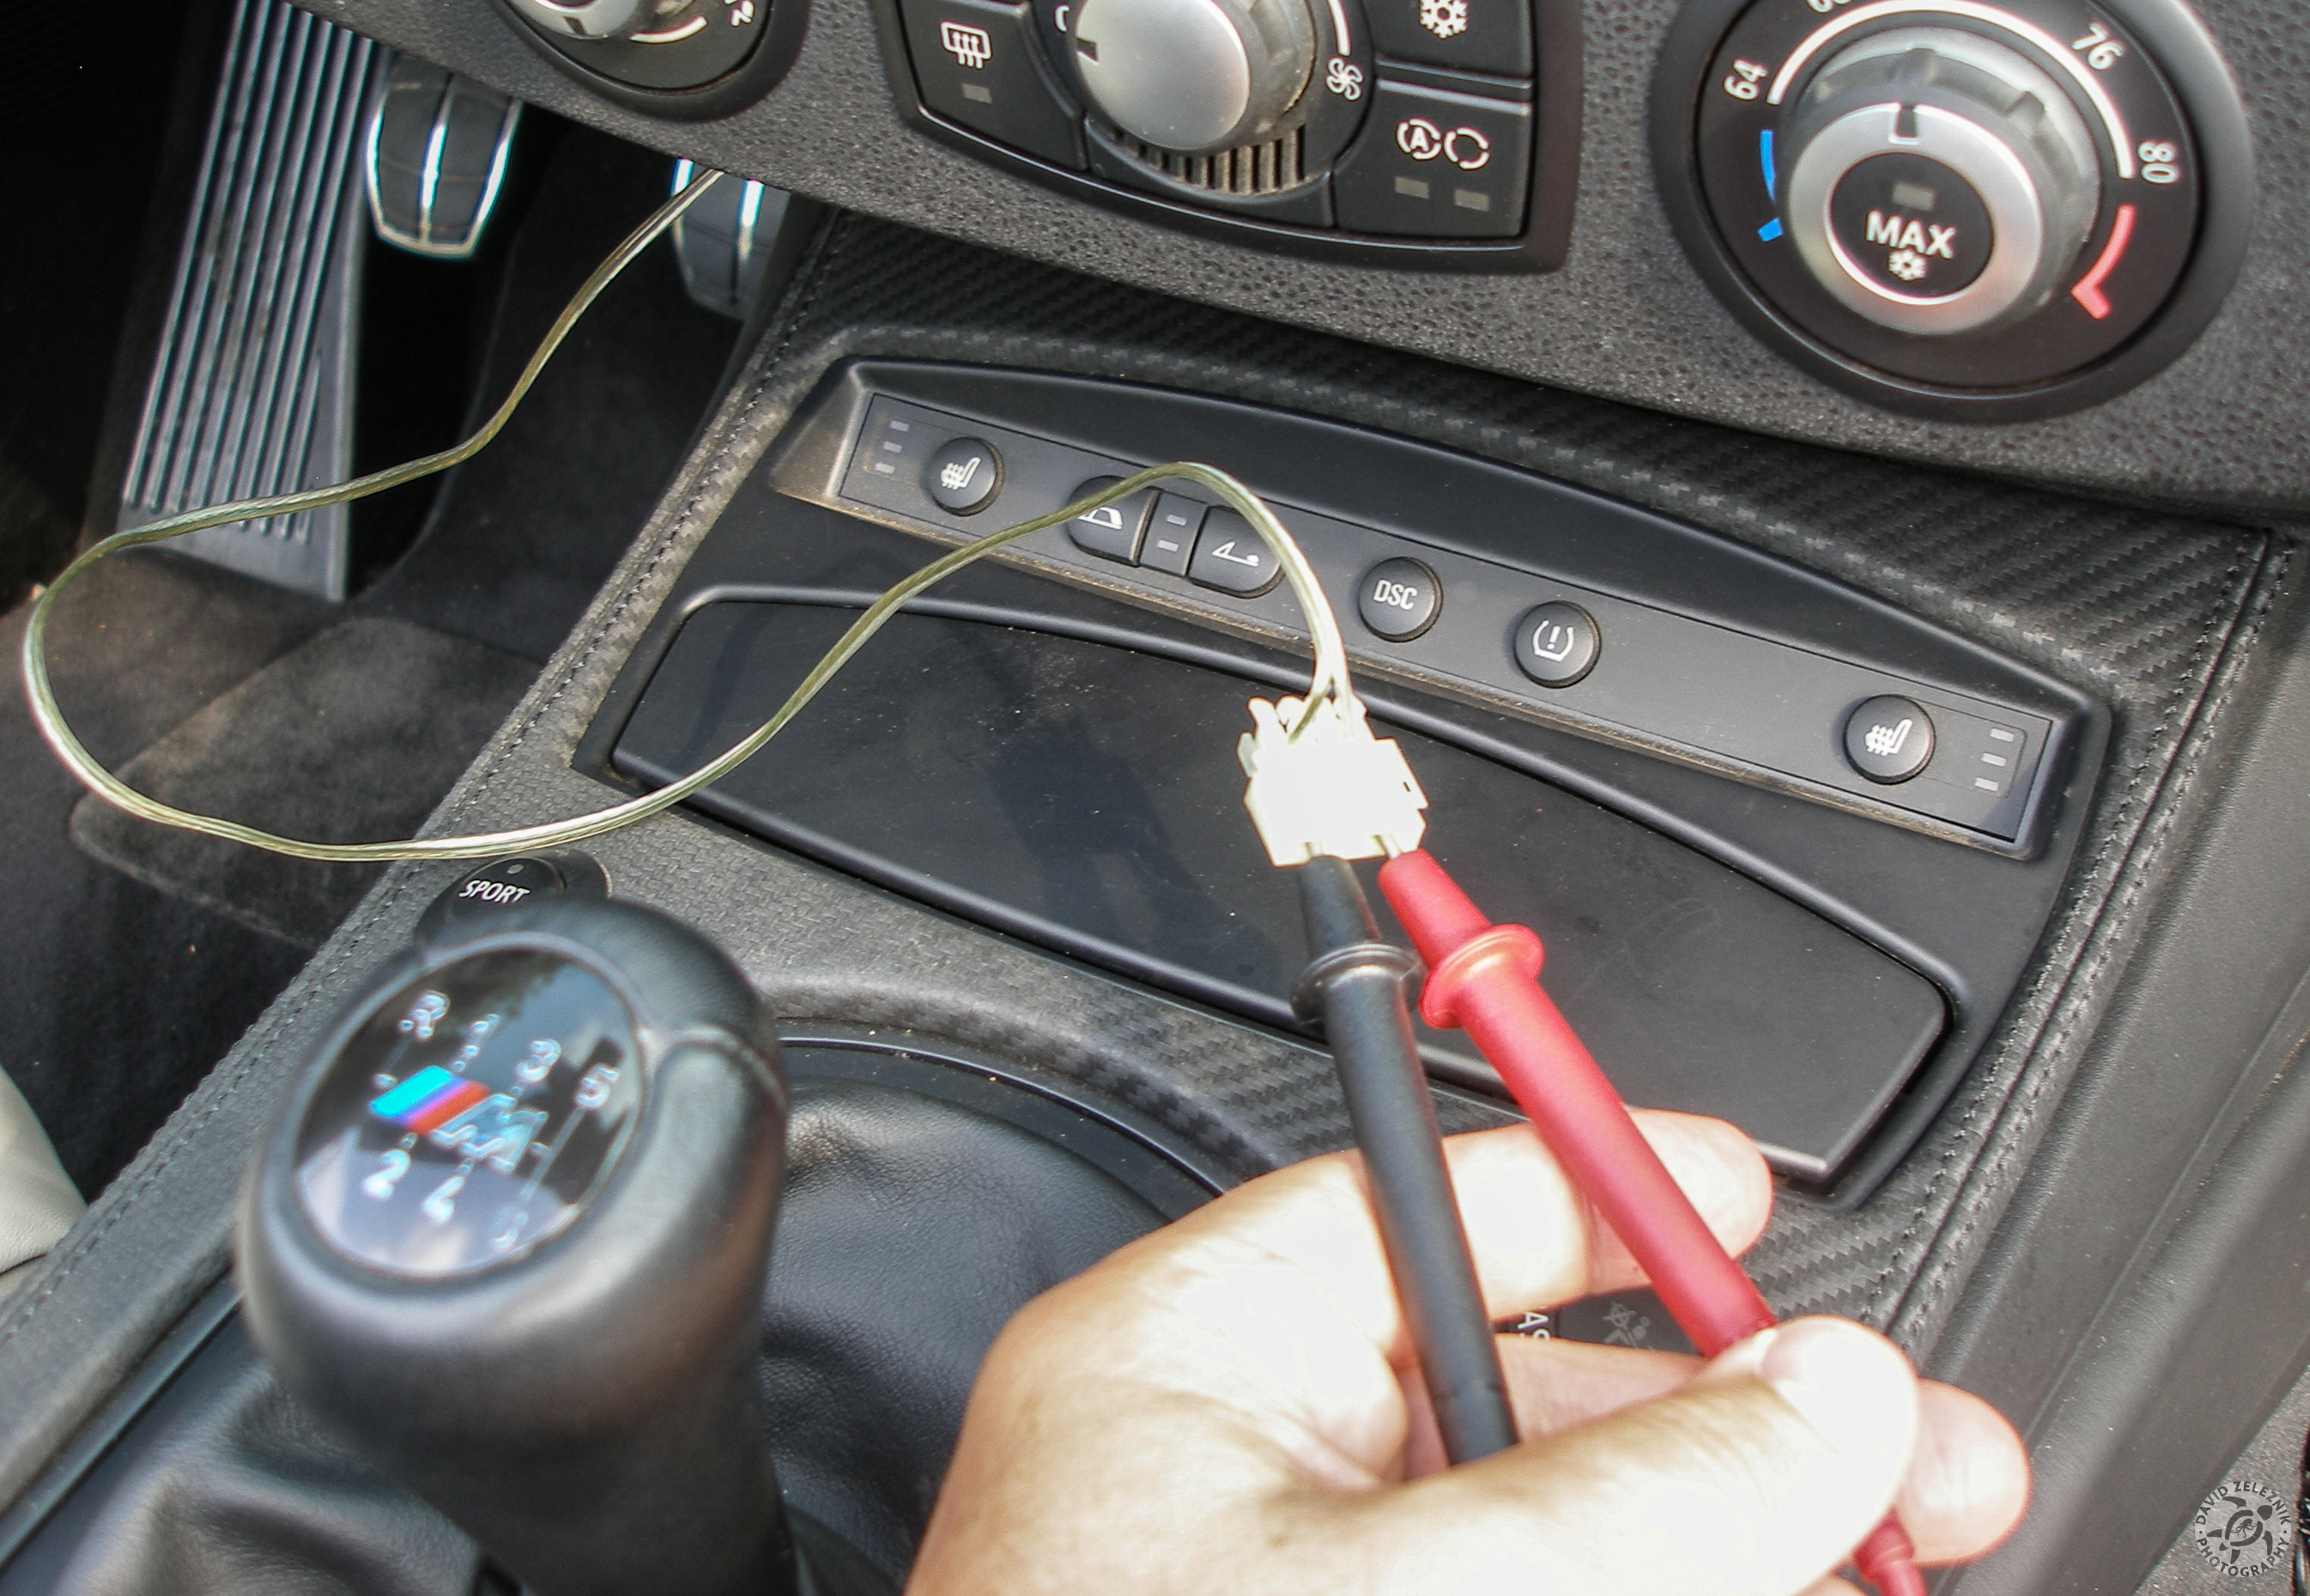
12 Ran the wire up from the ashtray to the access panel below the climate controls, then buttoned the ashtray assembly back up. I attached the molex connector that…
13 Now, the tricky part. With my dremel, I routed out a rough hole in the trim panel to accommodate the homelink pushbutton plate. I started by tracing the outline…
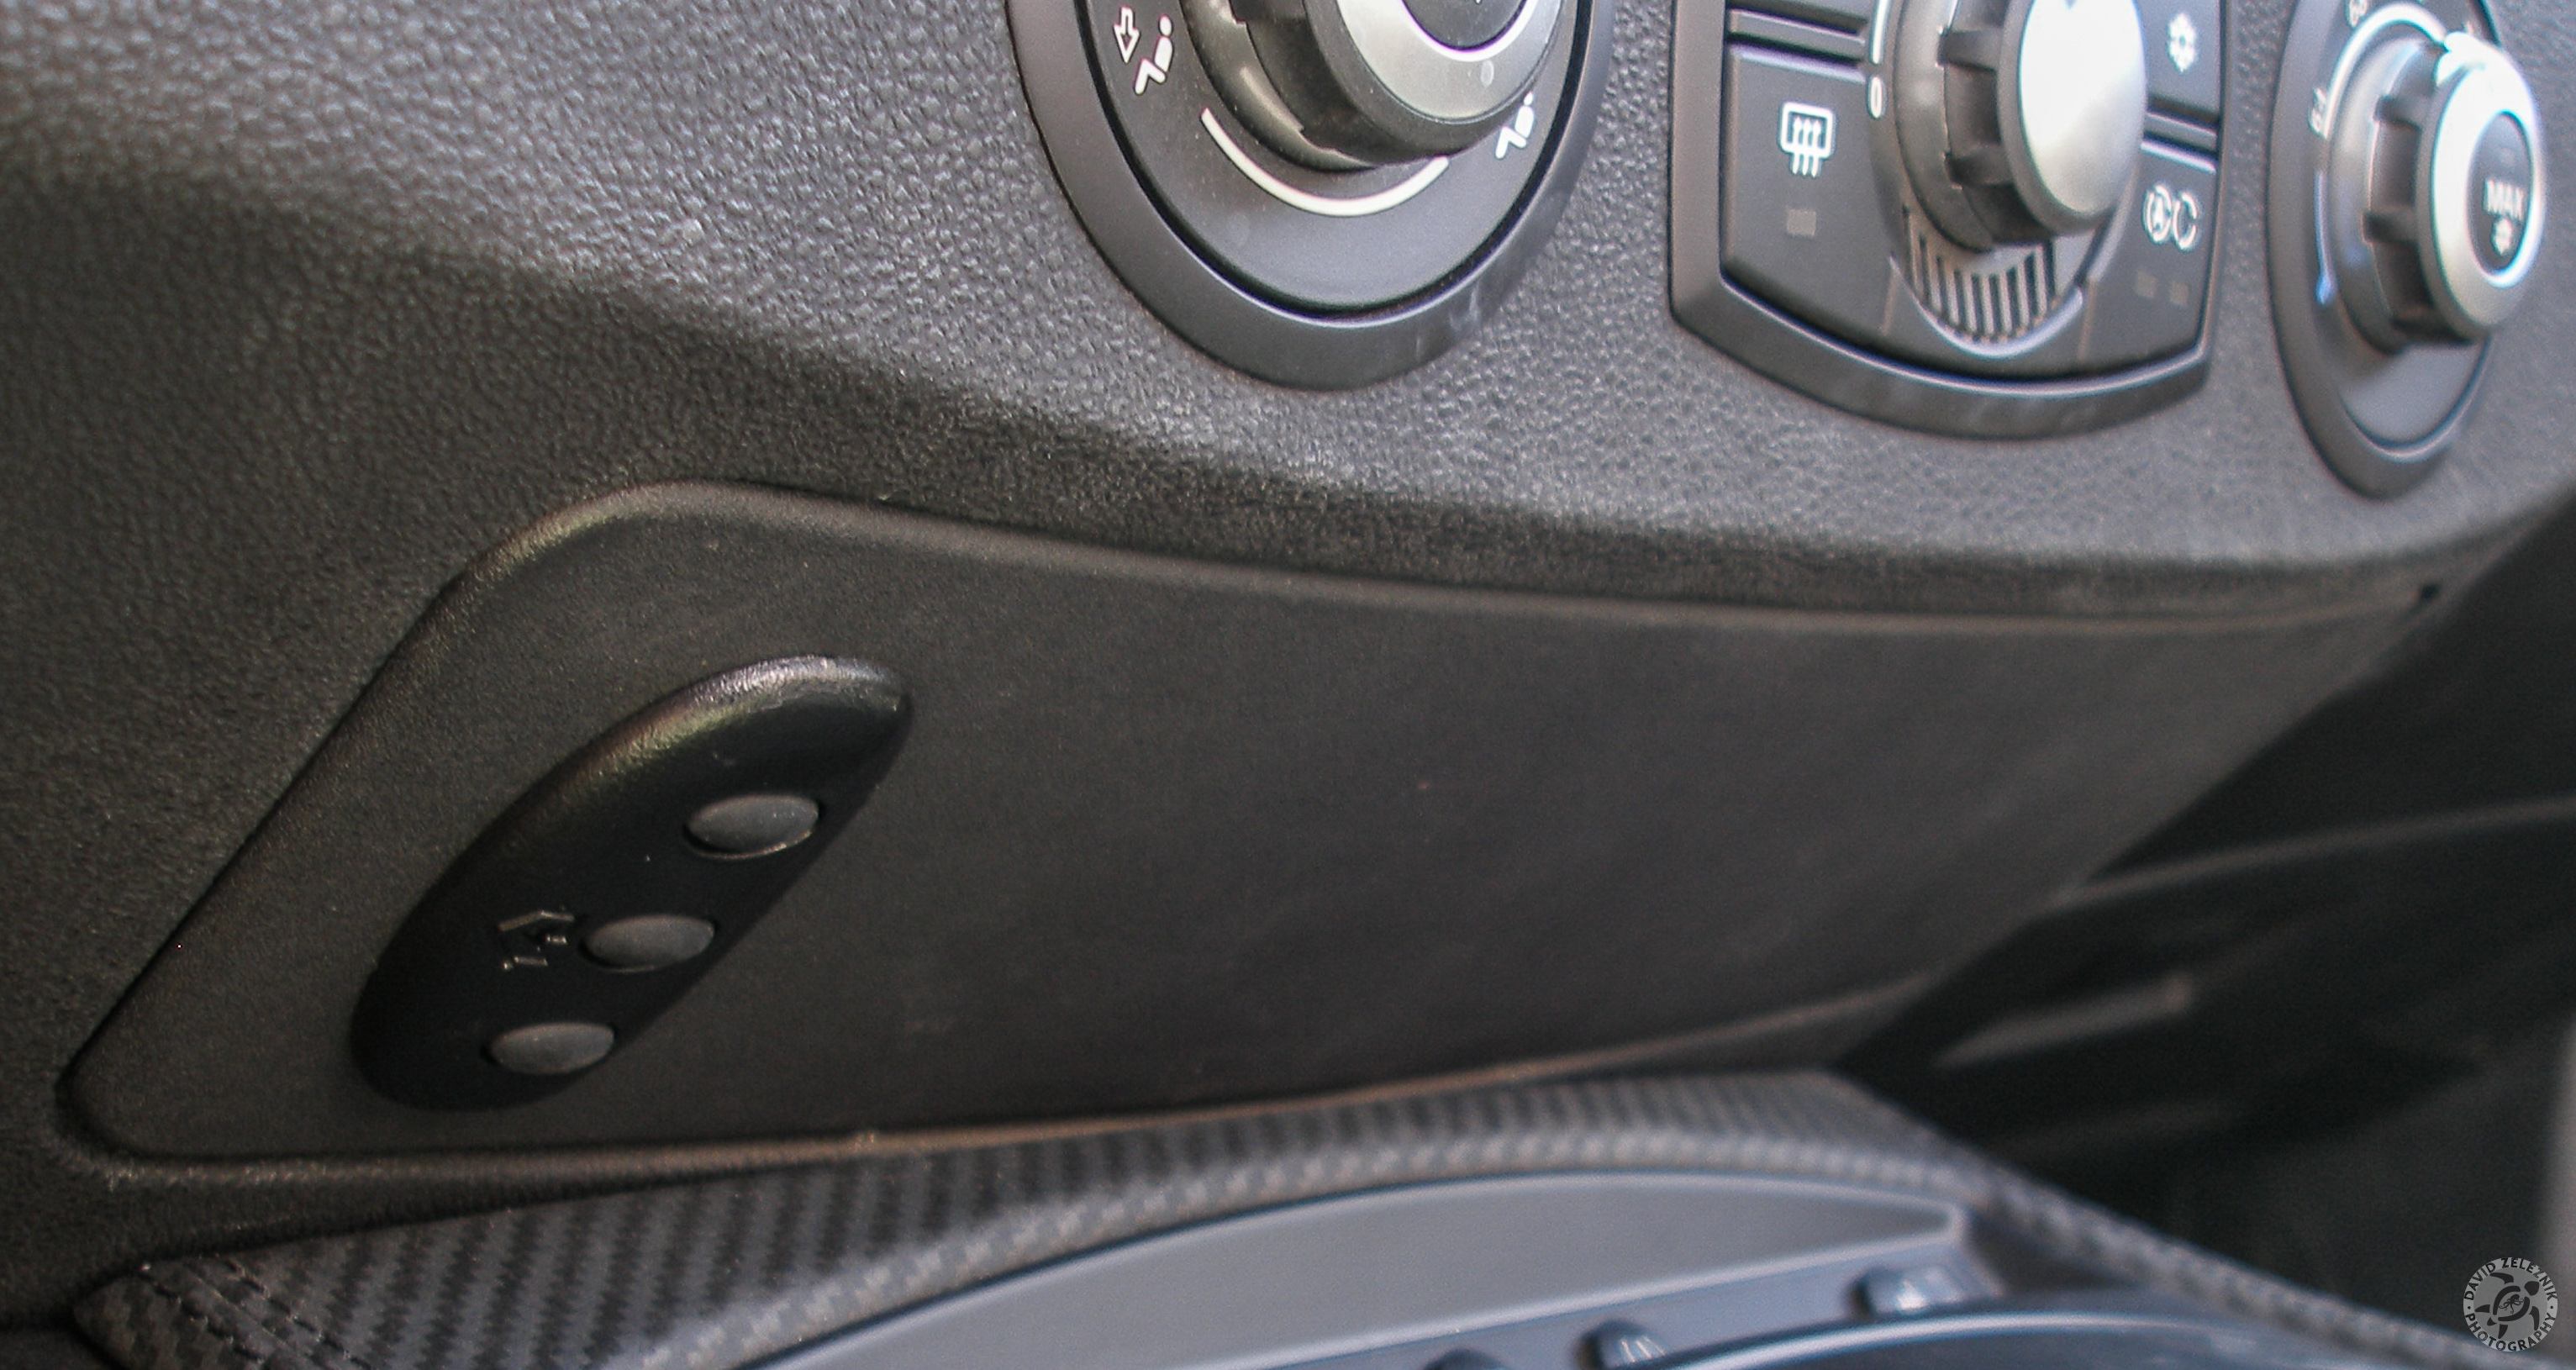
14 Here's a pic of the final install. Approx $35 out of pocket and several hours of diy labor (mostly trying to figure out what the hell I was doing), I am happy!


Homelink Garage Door Opener