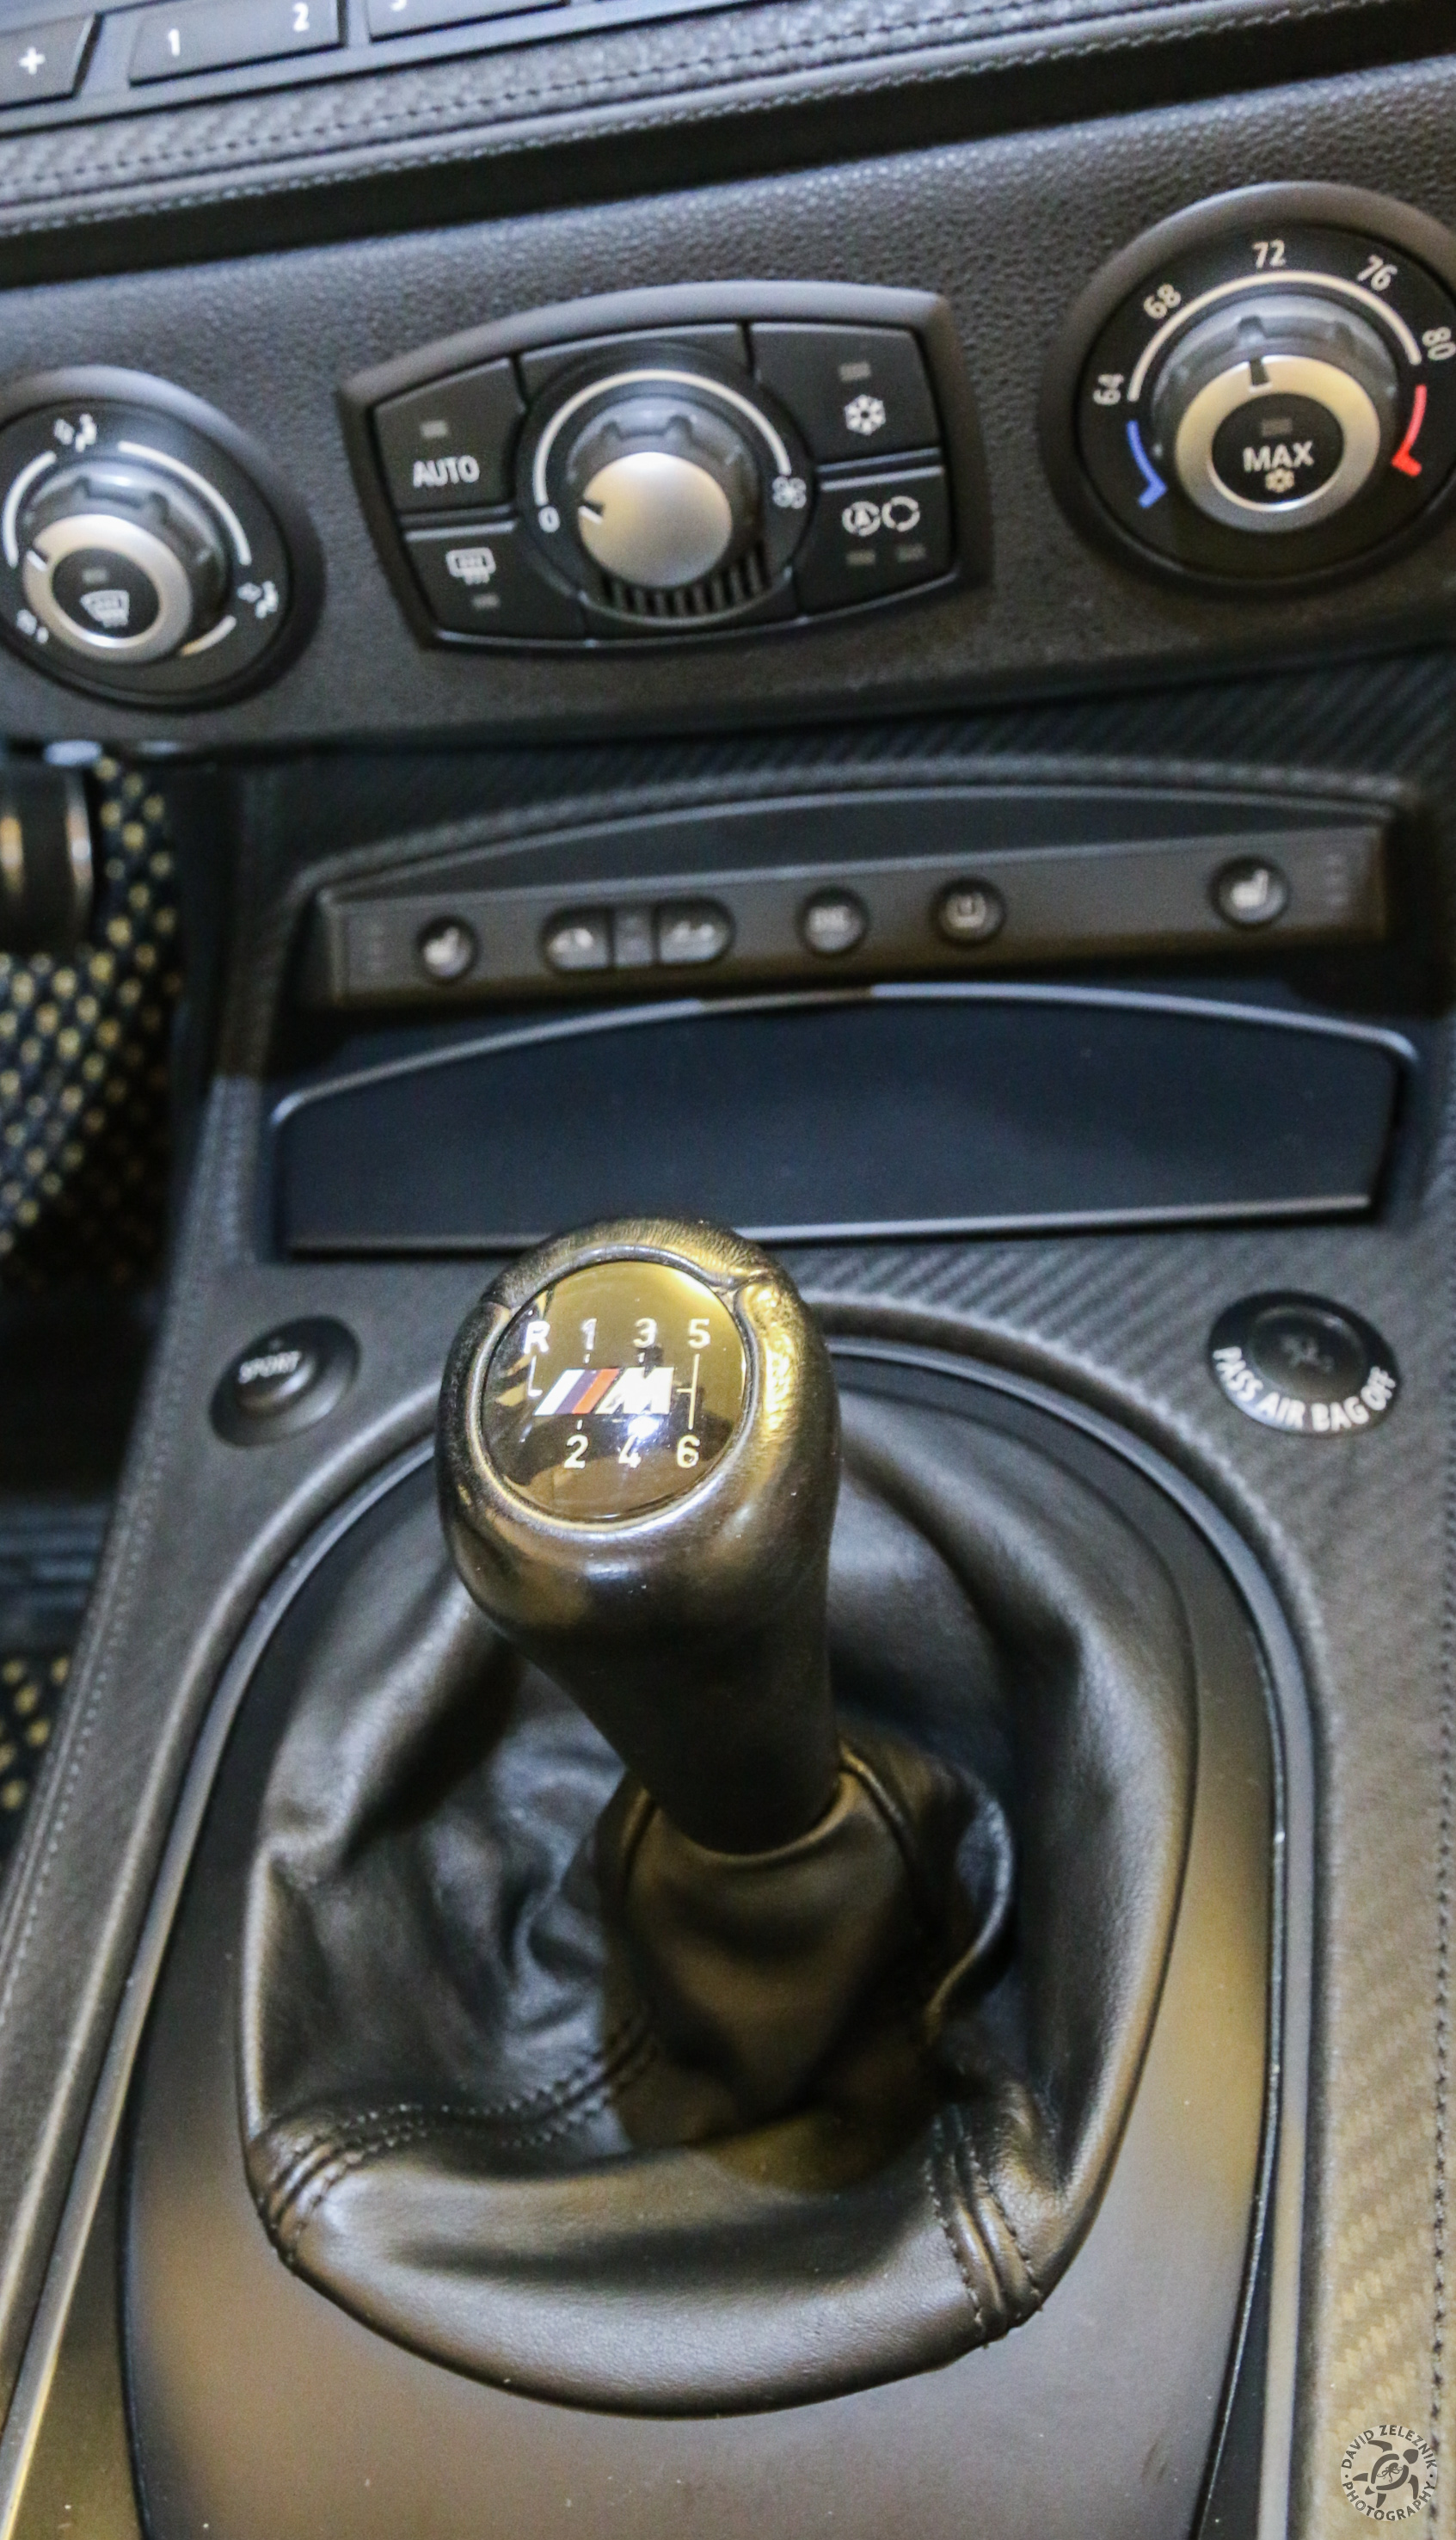
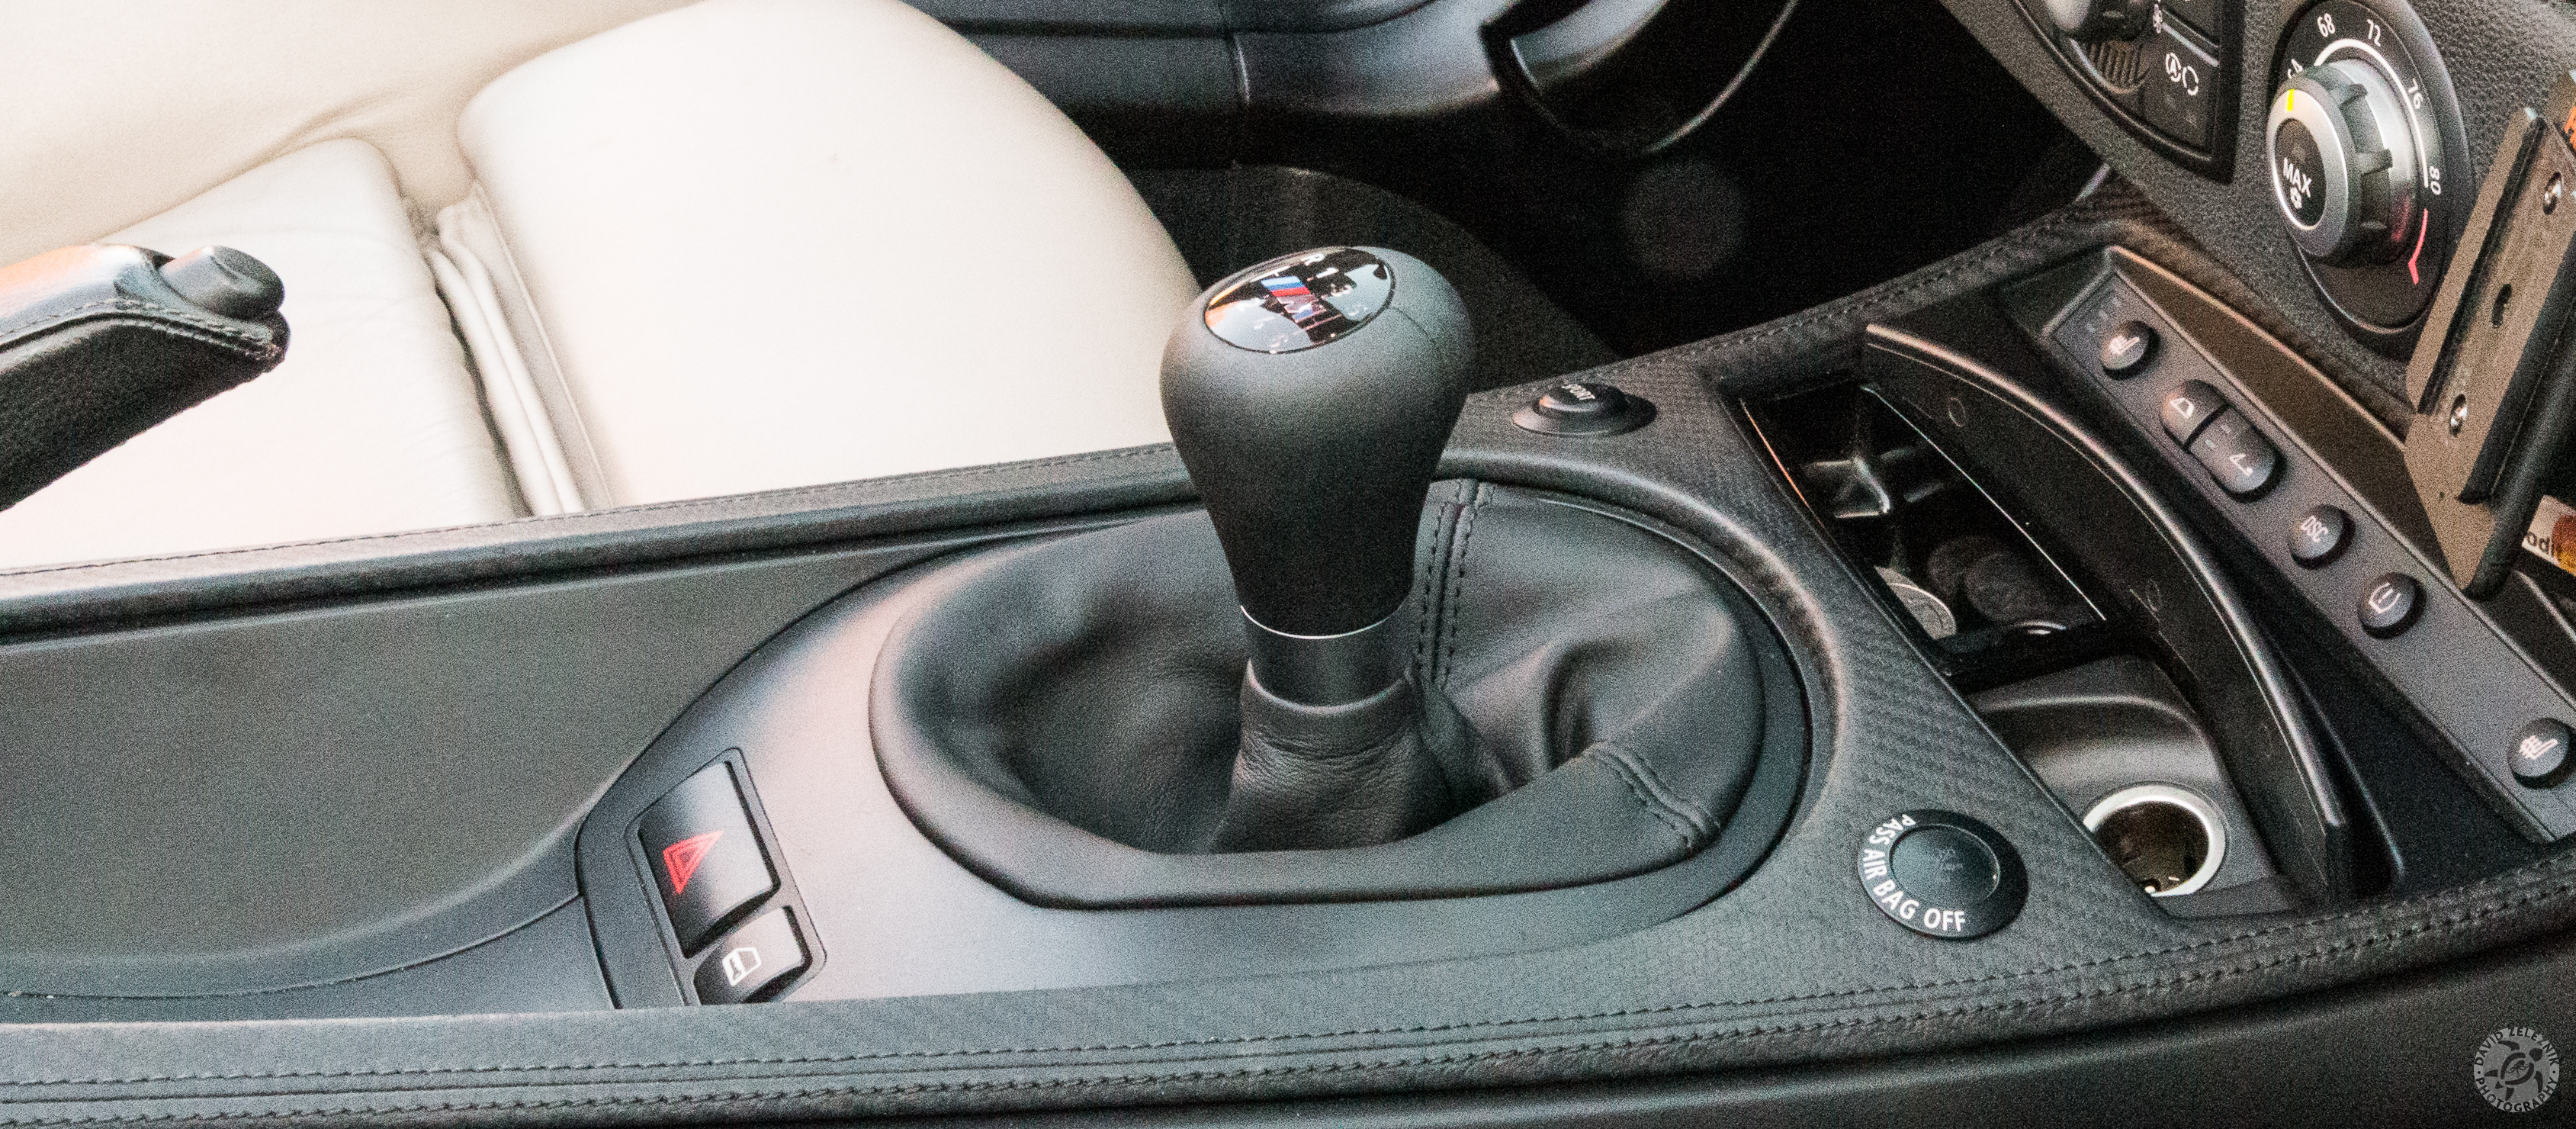
1 This is the stock Z4M shift knob. The goal is to replace it with the knob and boot from the F10 M5. This will provide shorter quicker throws and the slightly…
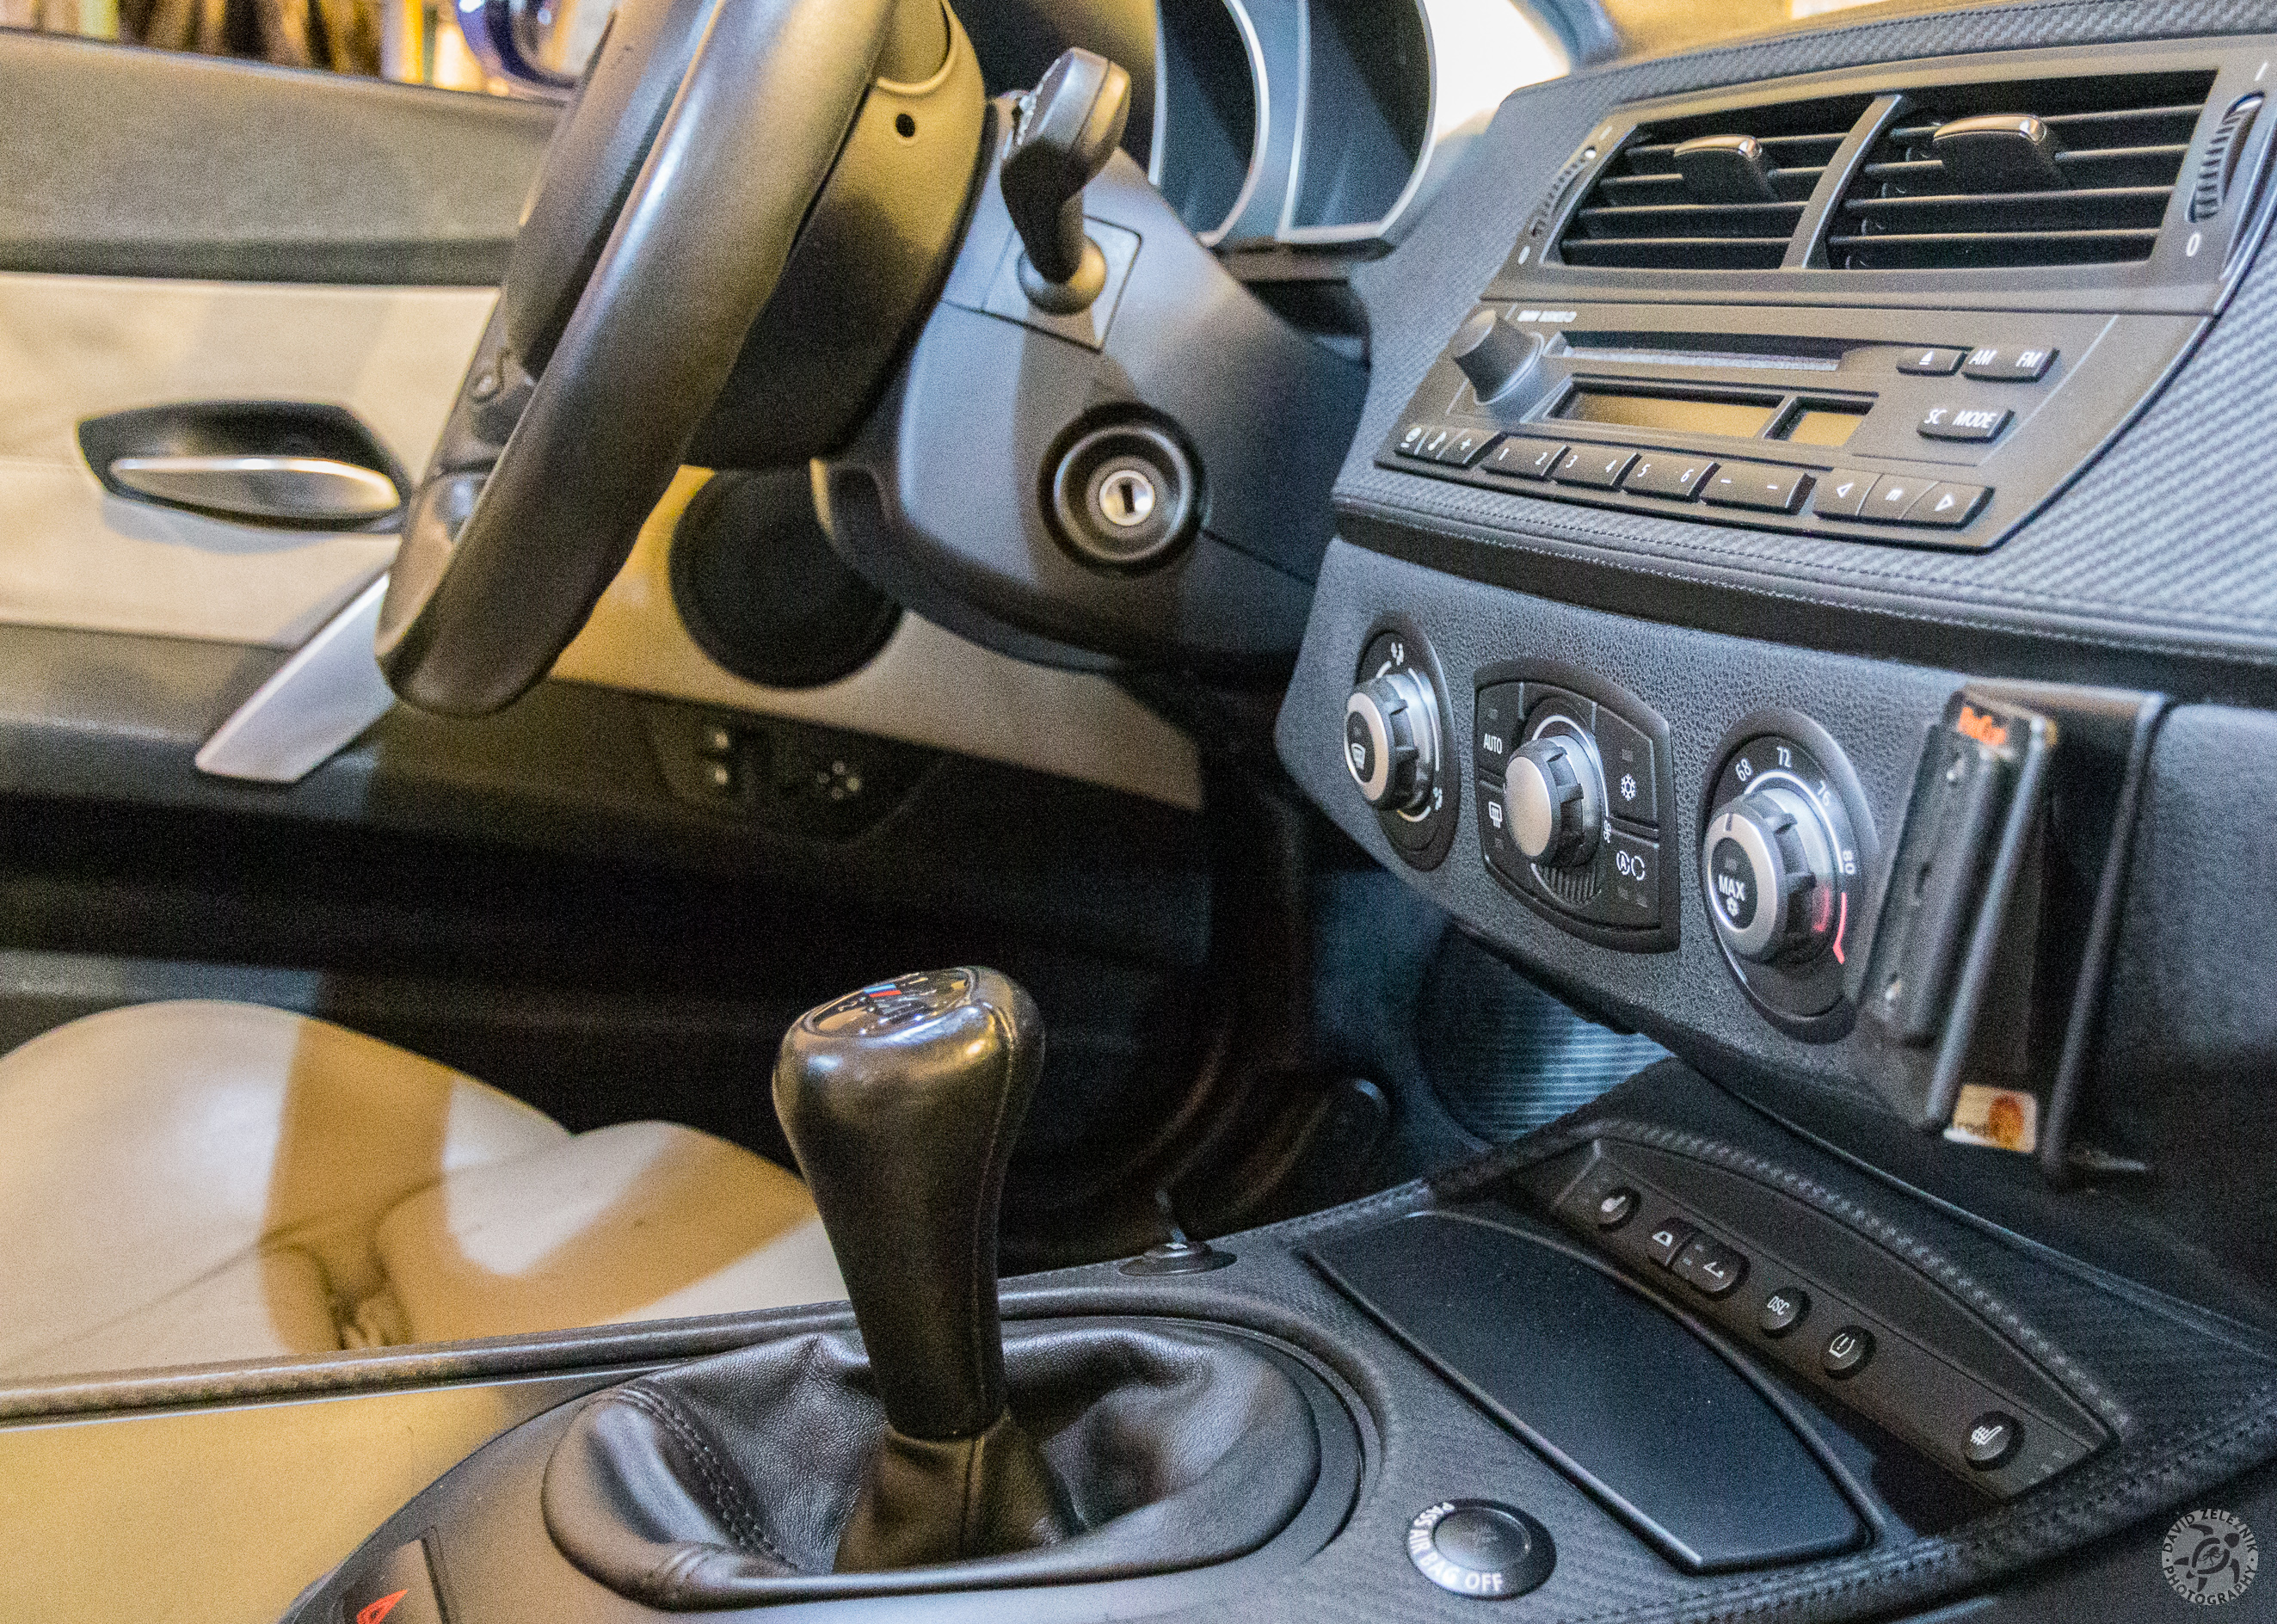
2 The stock shift knob from above
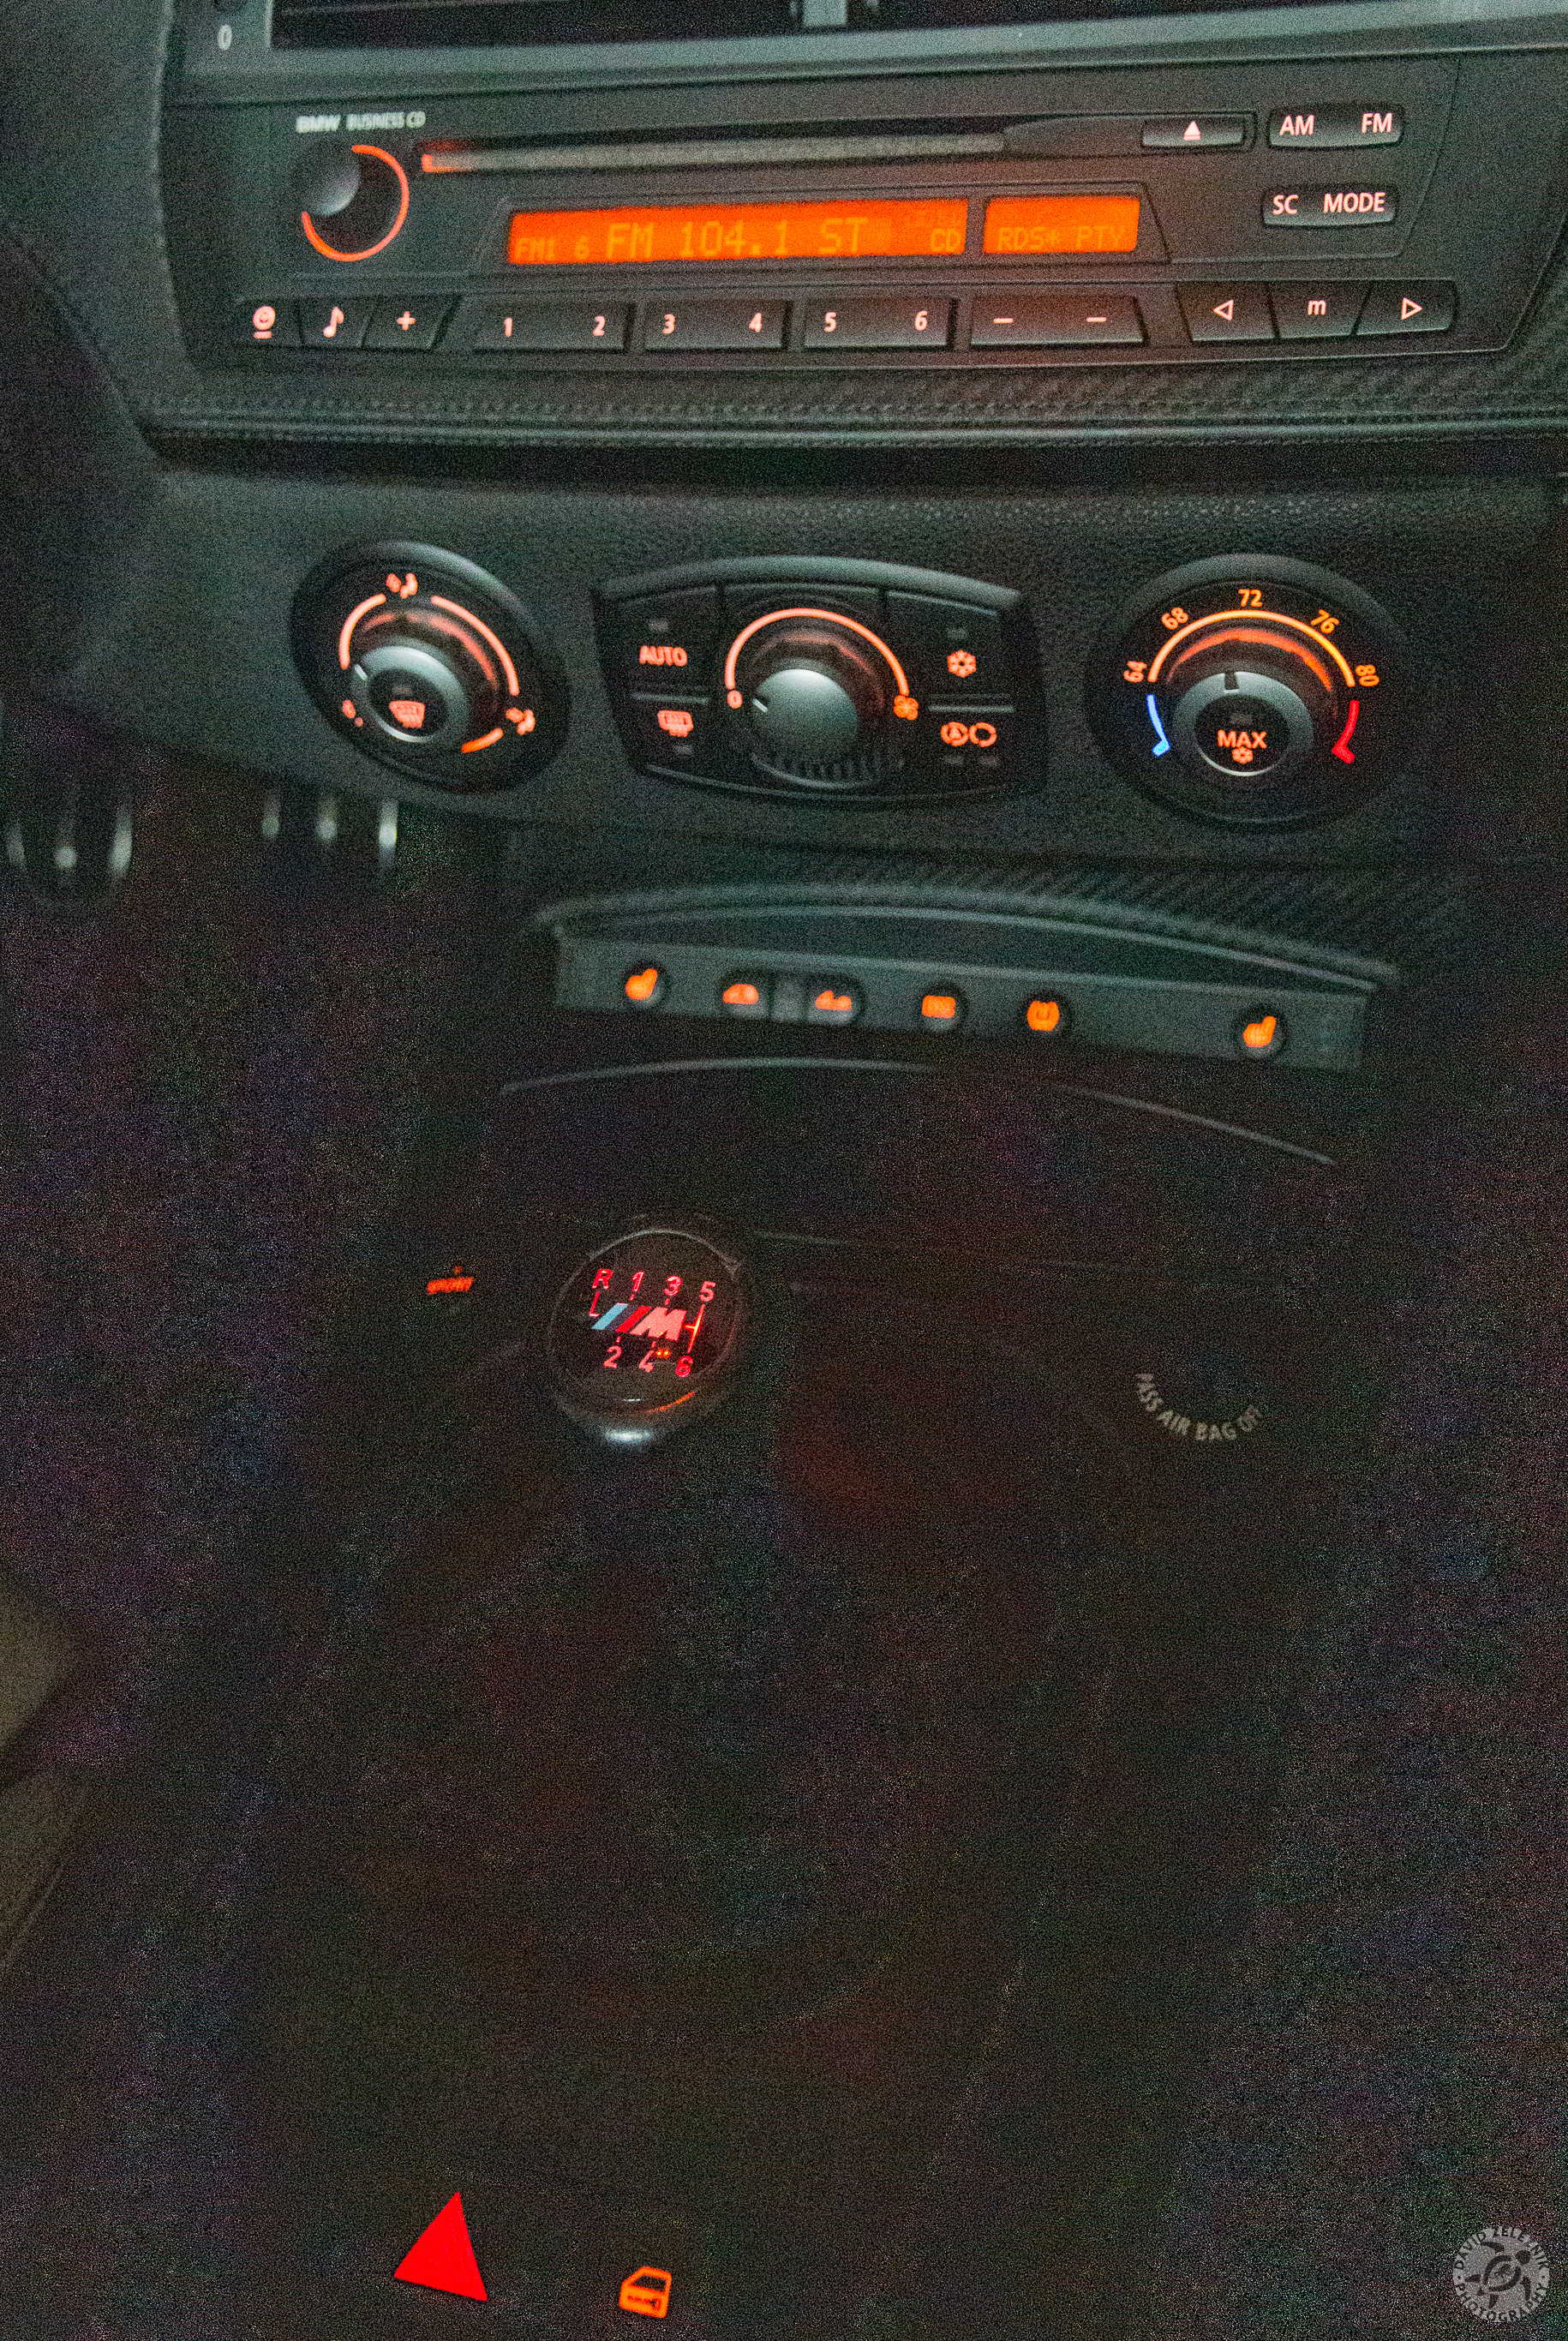
3 The Z4M's stock shift knob illuminated at night. Although hard to tell from this photo, the LED color is rather reddish compared to the amber control lighting…
4 The first step is to pop up the shift boot. It is simply latched into place at the four corners and can be easily pried up with a nylon trim tool or something…

5 Next, disconnect the cable that illuminates the shift knob.
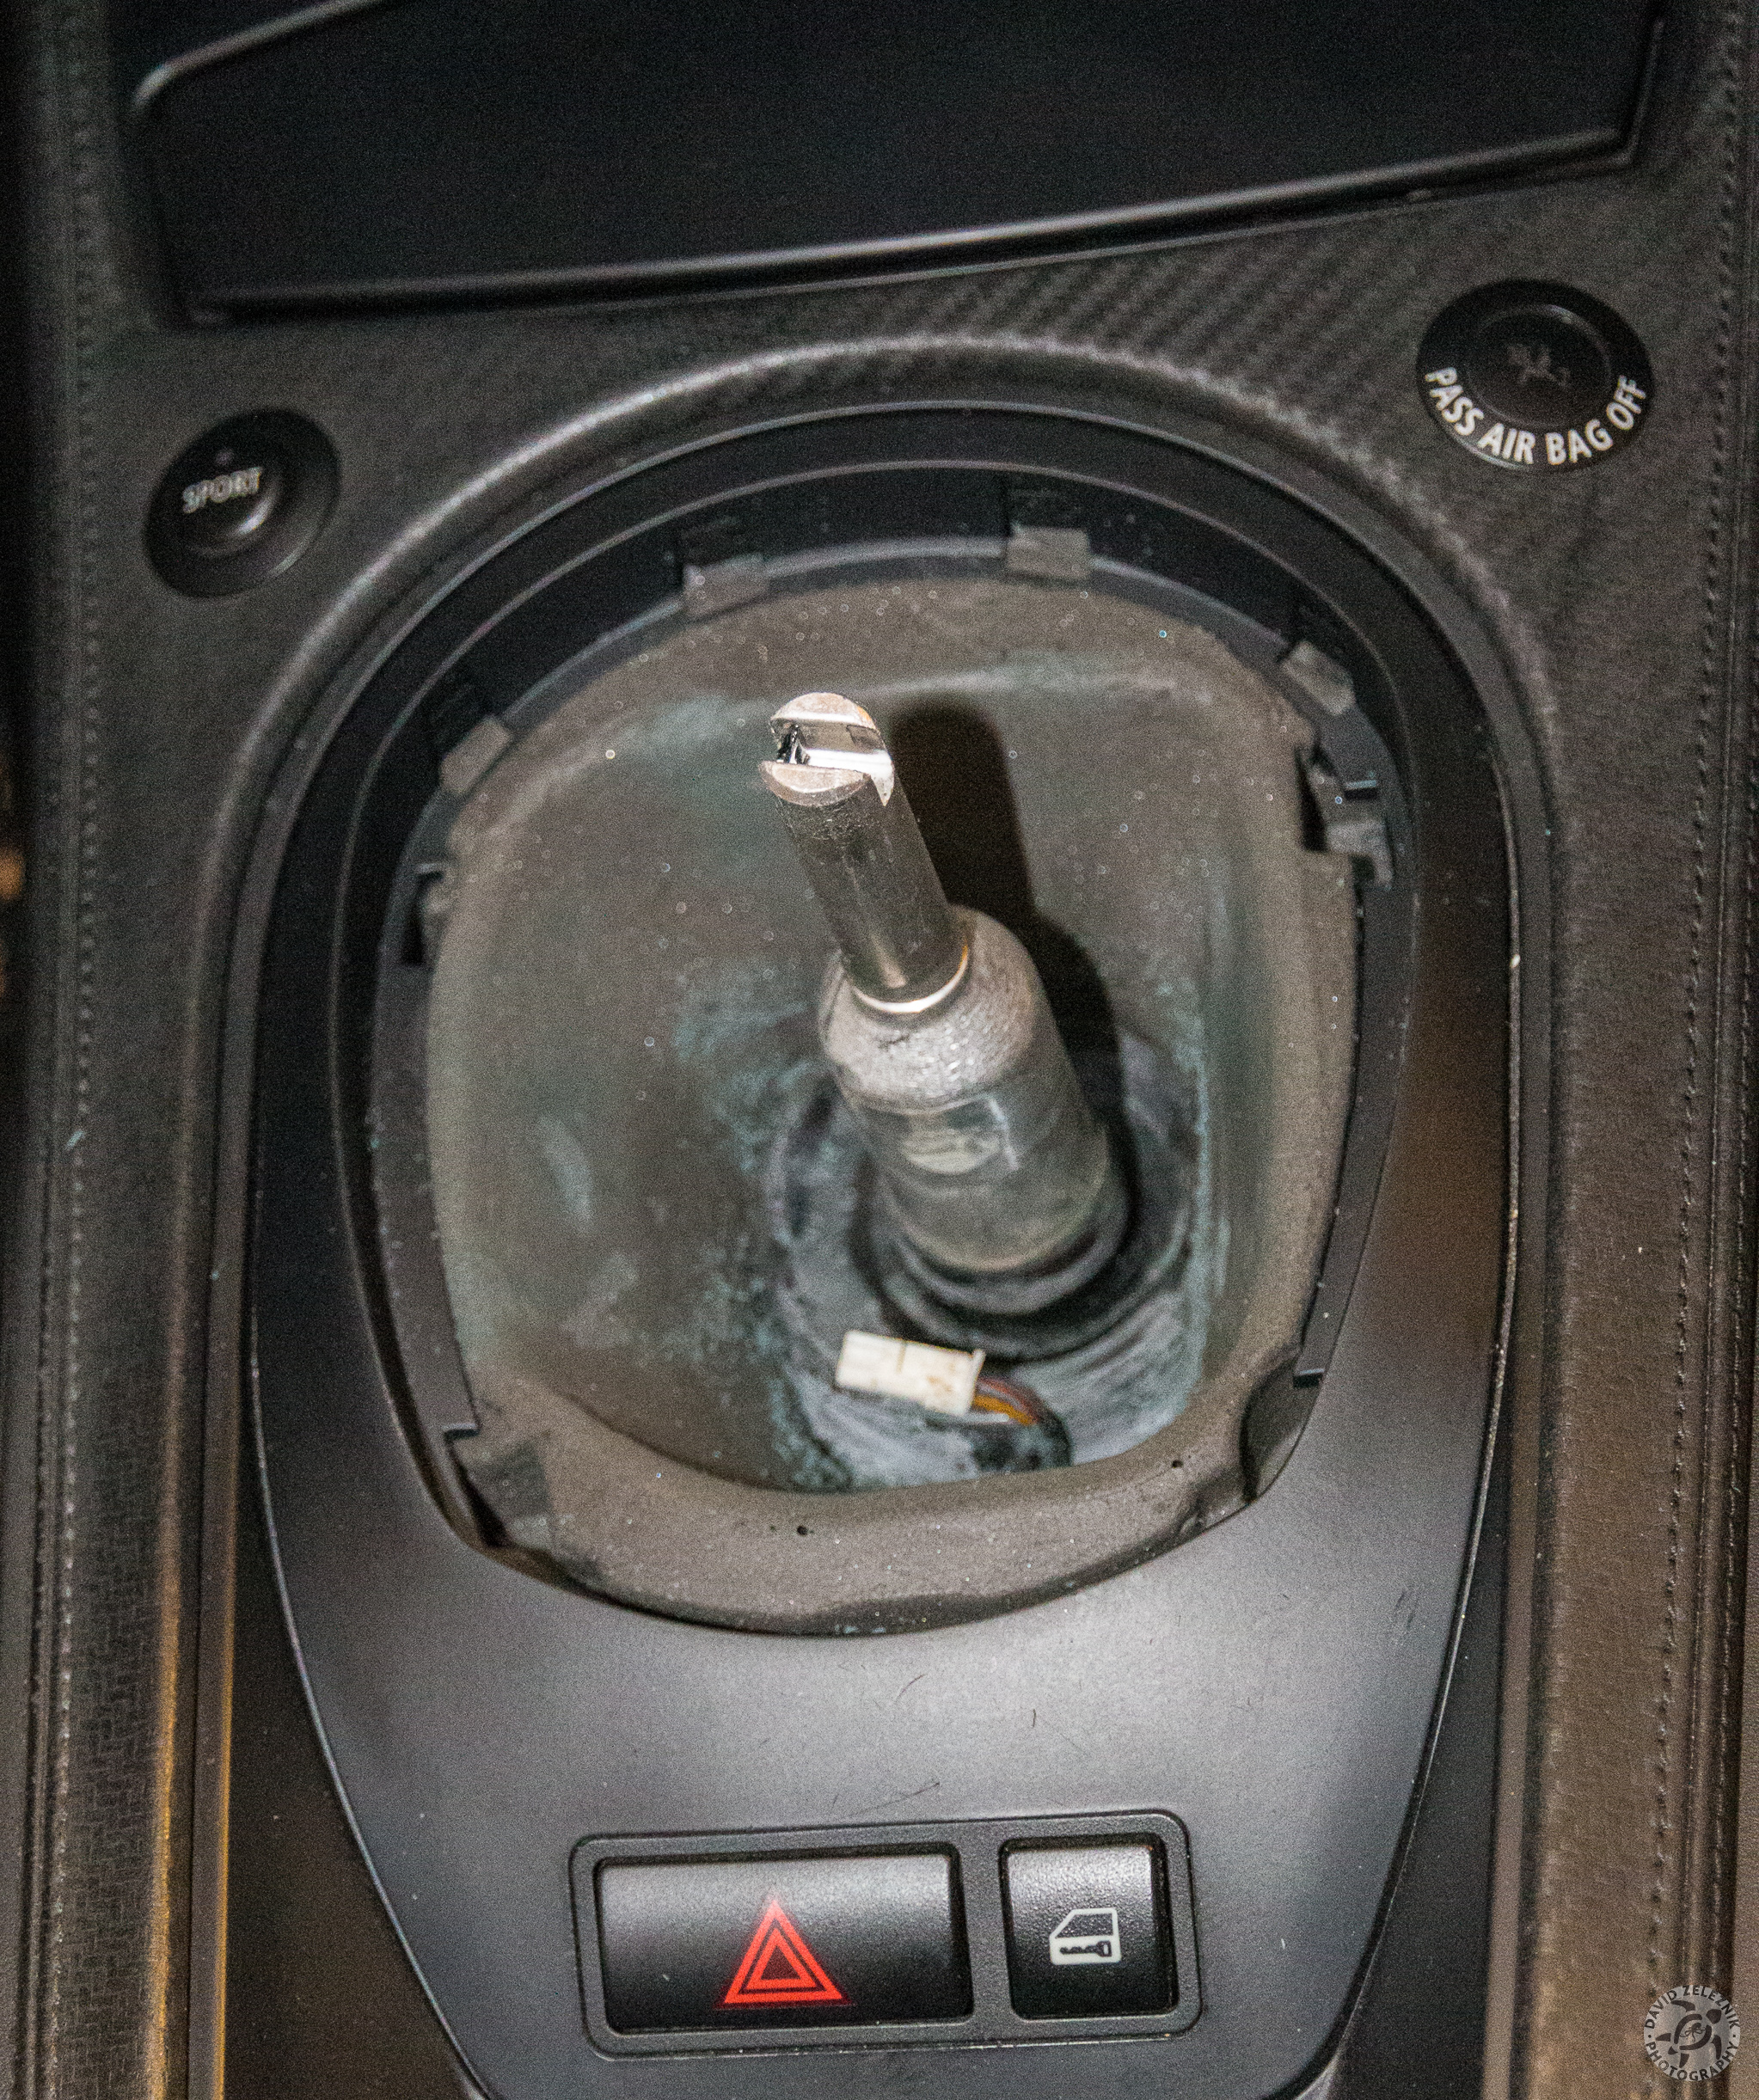
6 Finally, remove the knob completely by giving a hard yank on it. I found it easiest to put it into 2nd or 4th gear first.
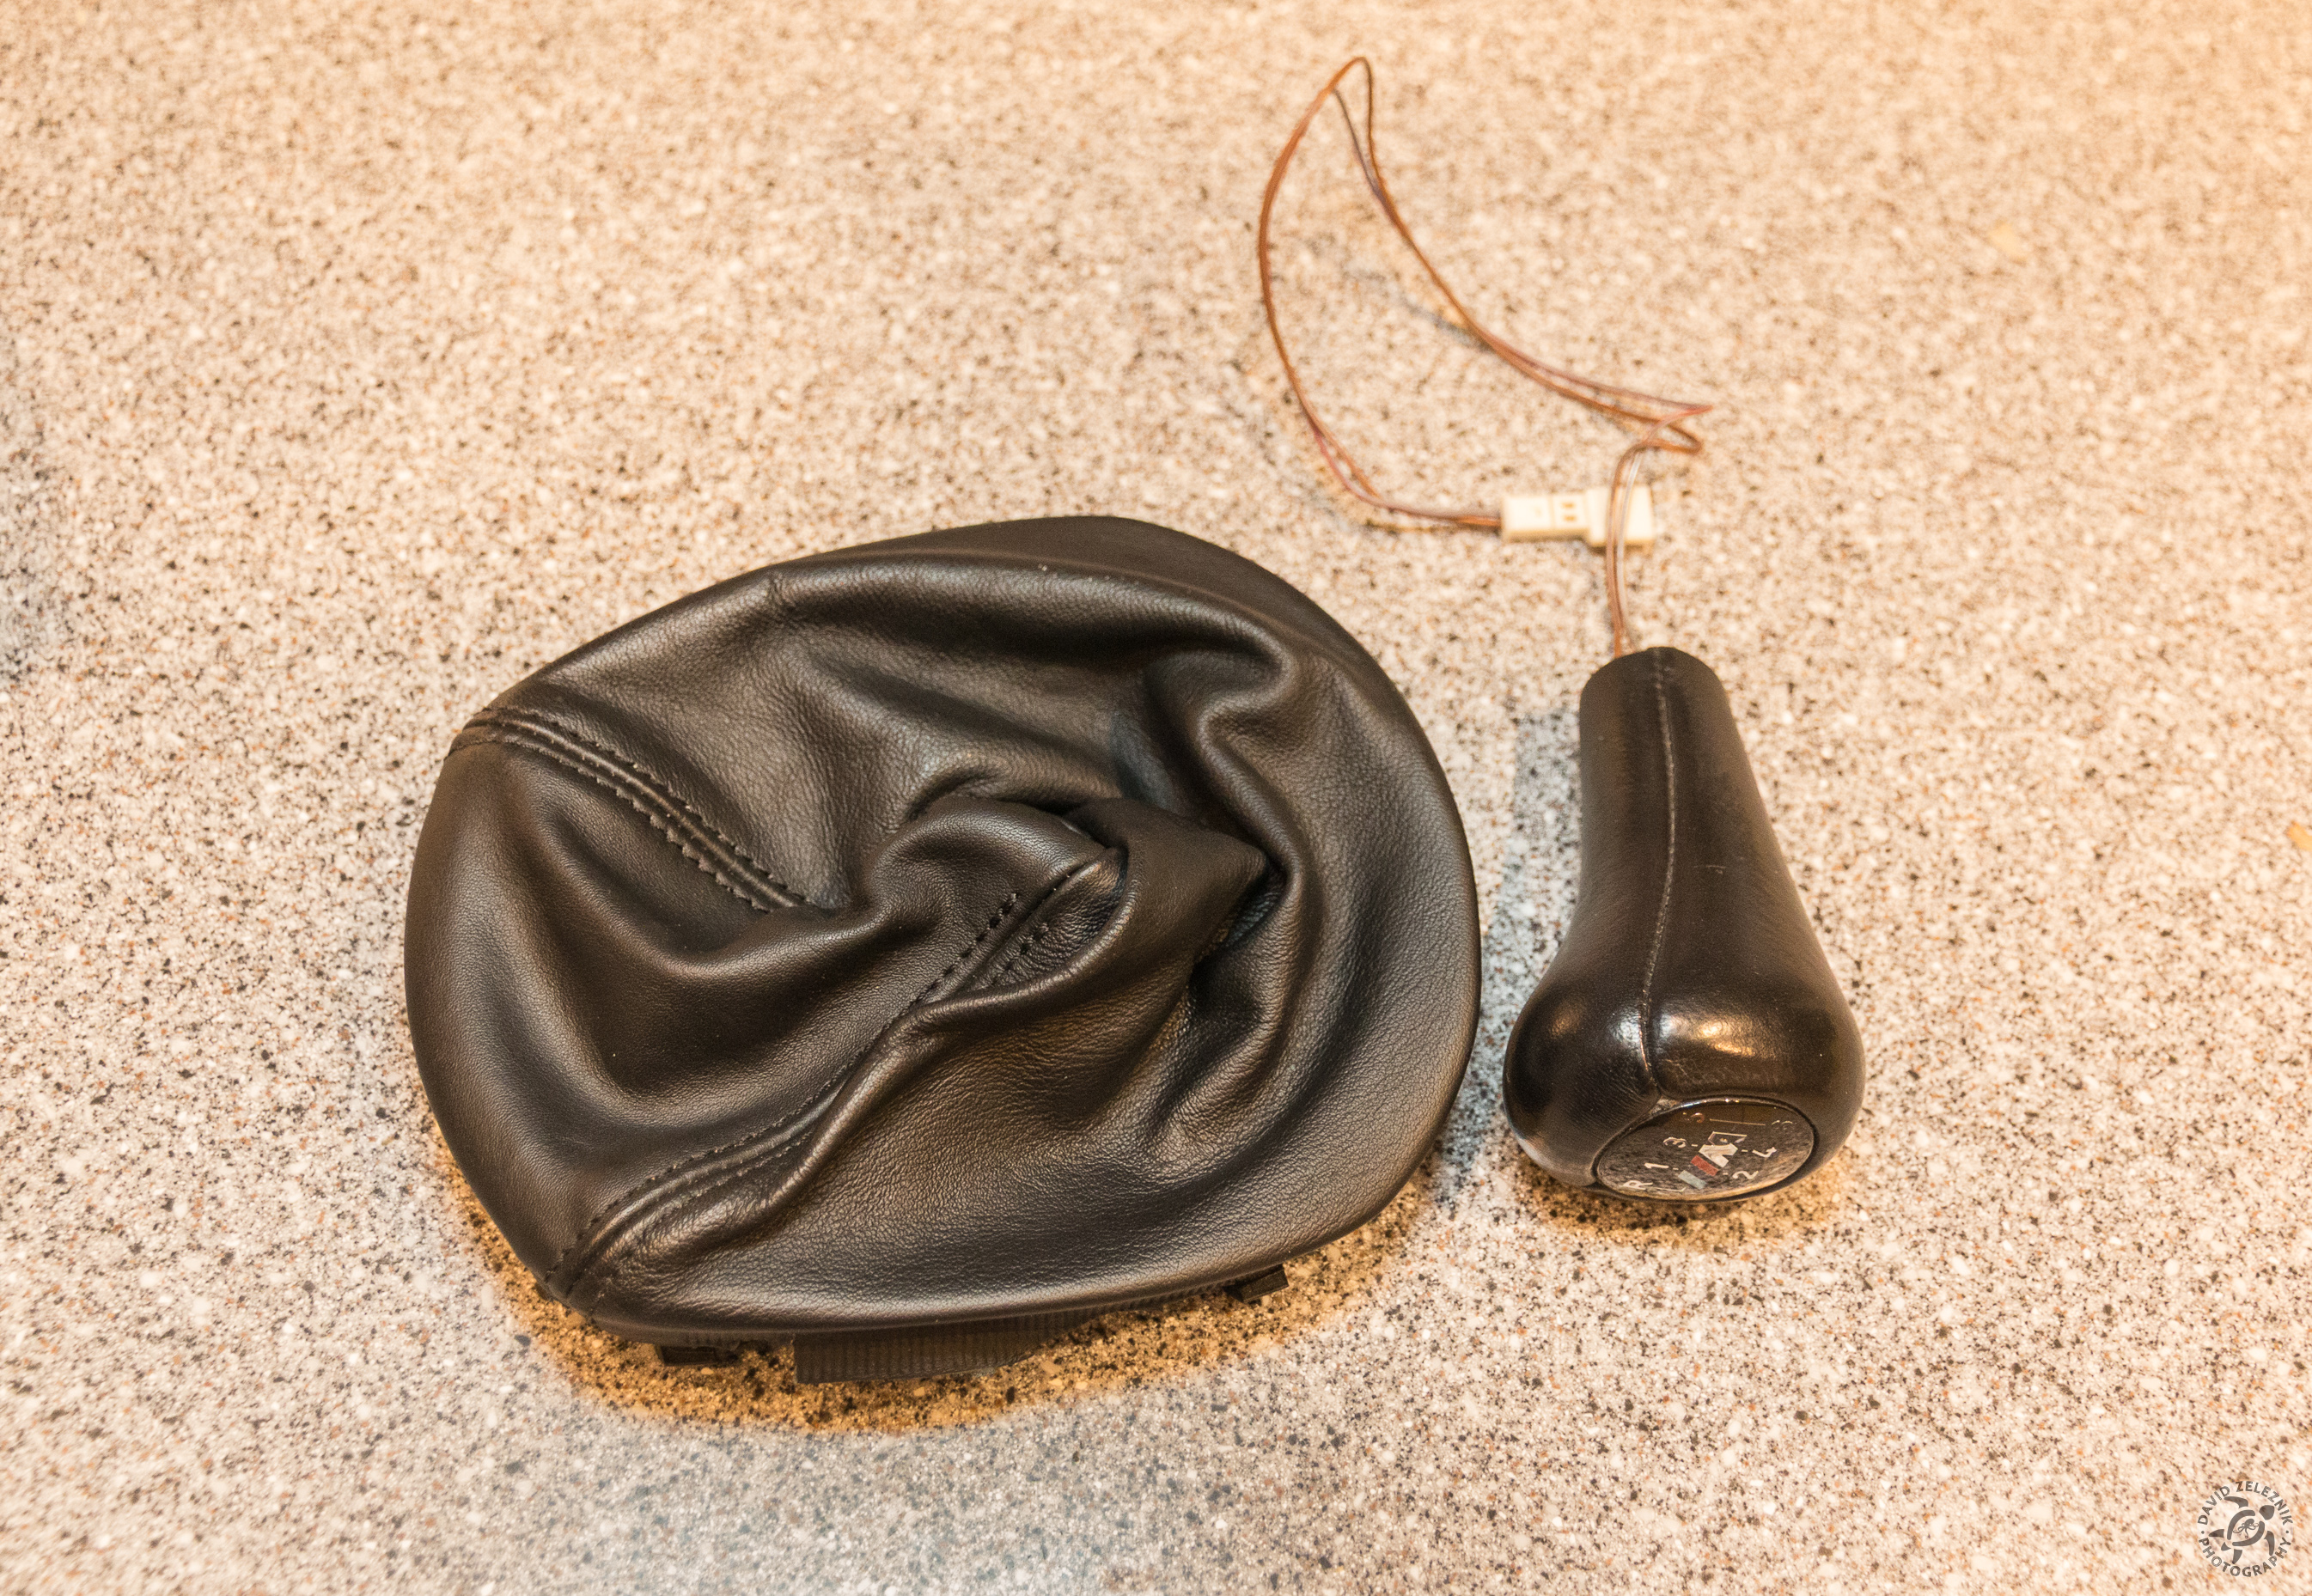
7 Here is the stock shift knob and boot removed from the car. We will need to reuse the plastic rim from the stock boot with the new shift knob since the shape of…
8 The stock boot is glued rather securely to the plastic rim. We will have no use for the old boot, so there is no concern about damaging the leather while…
9 This is the shift knob and boot from the F10 M5. I purchased mine from Tischer BMW . Notice how in this case the boot is stapled to the plastic rim.
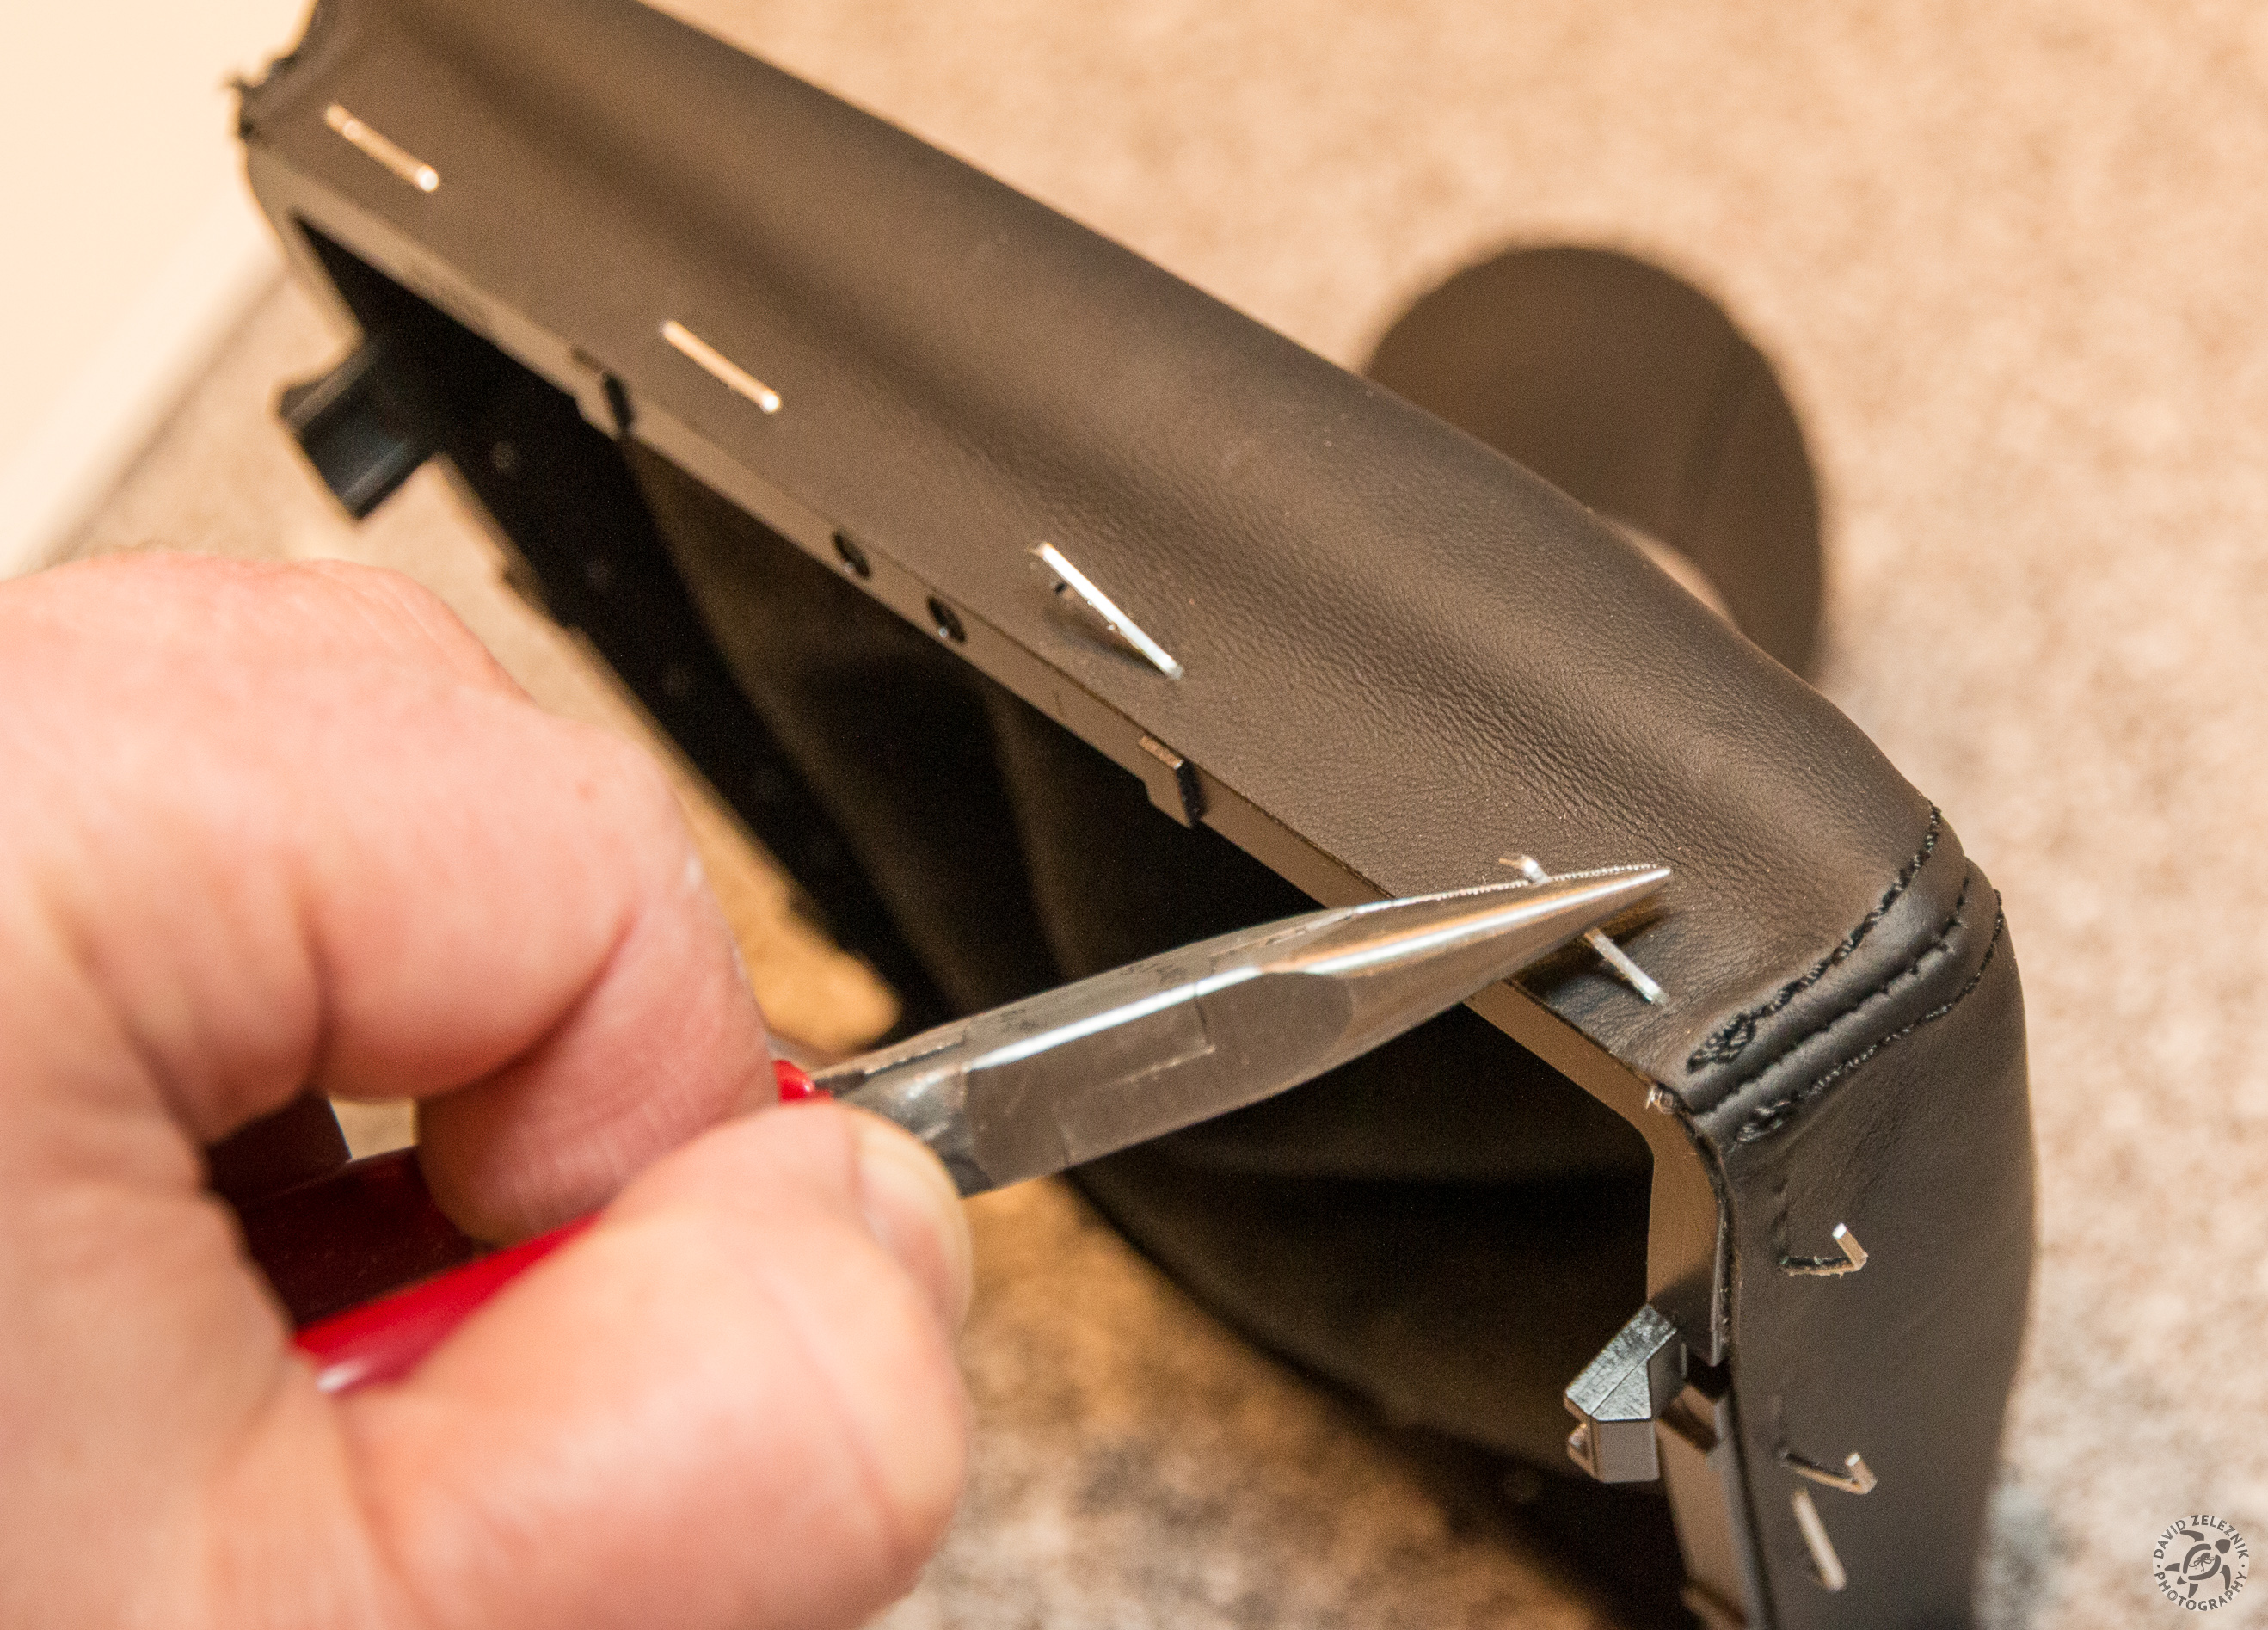
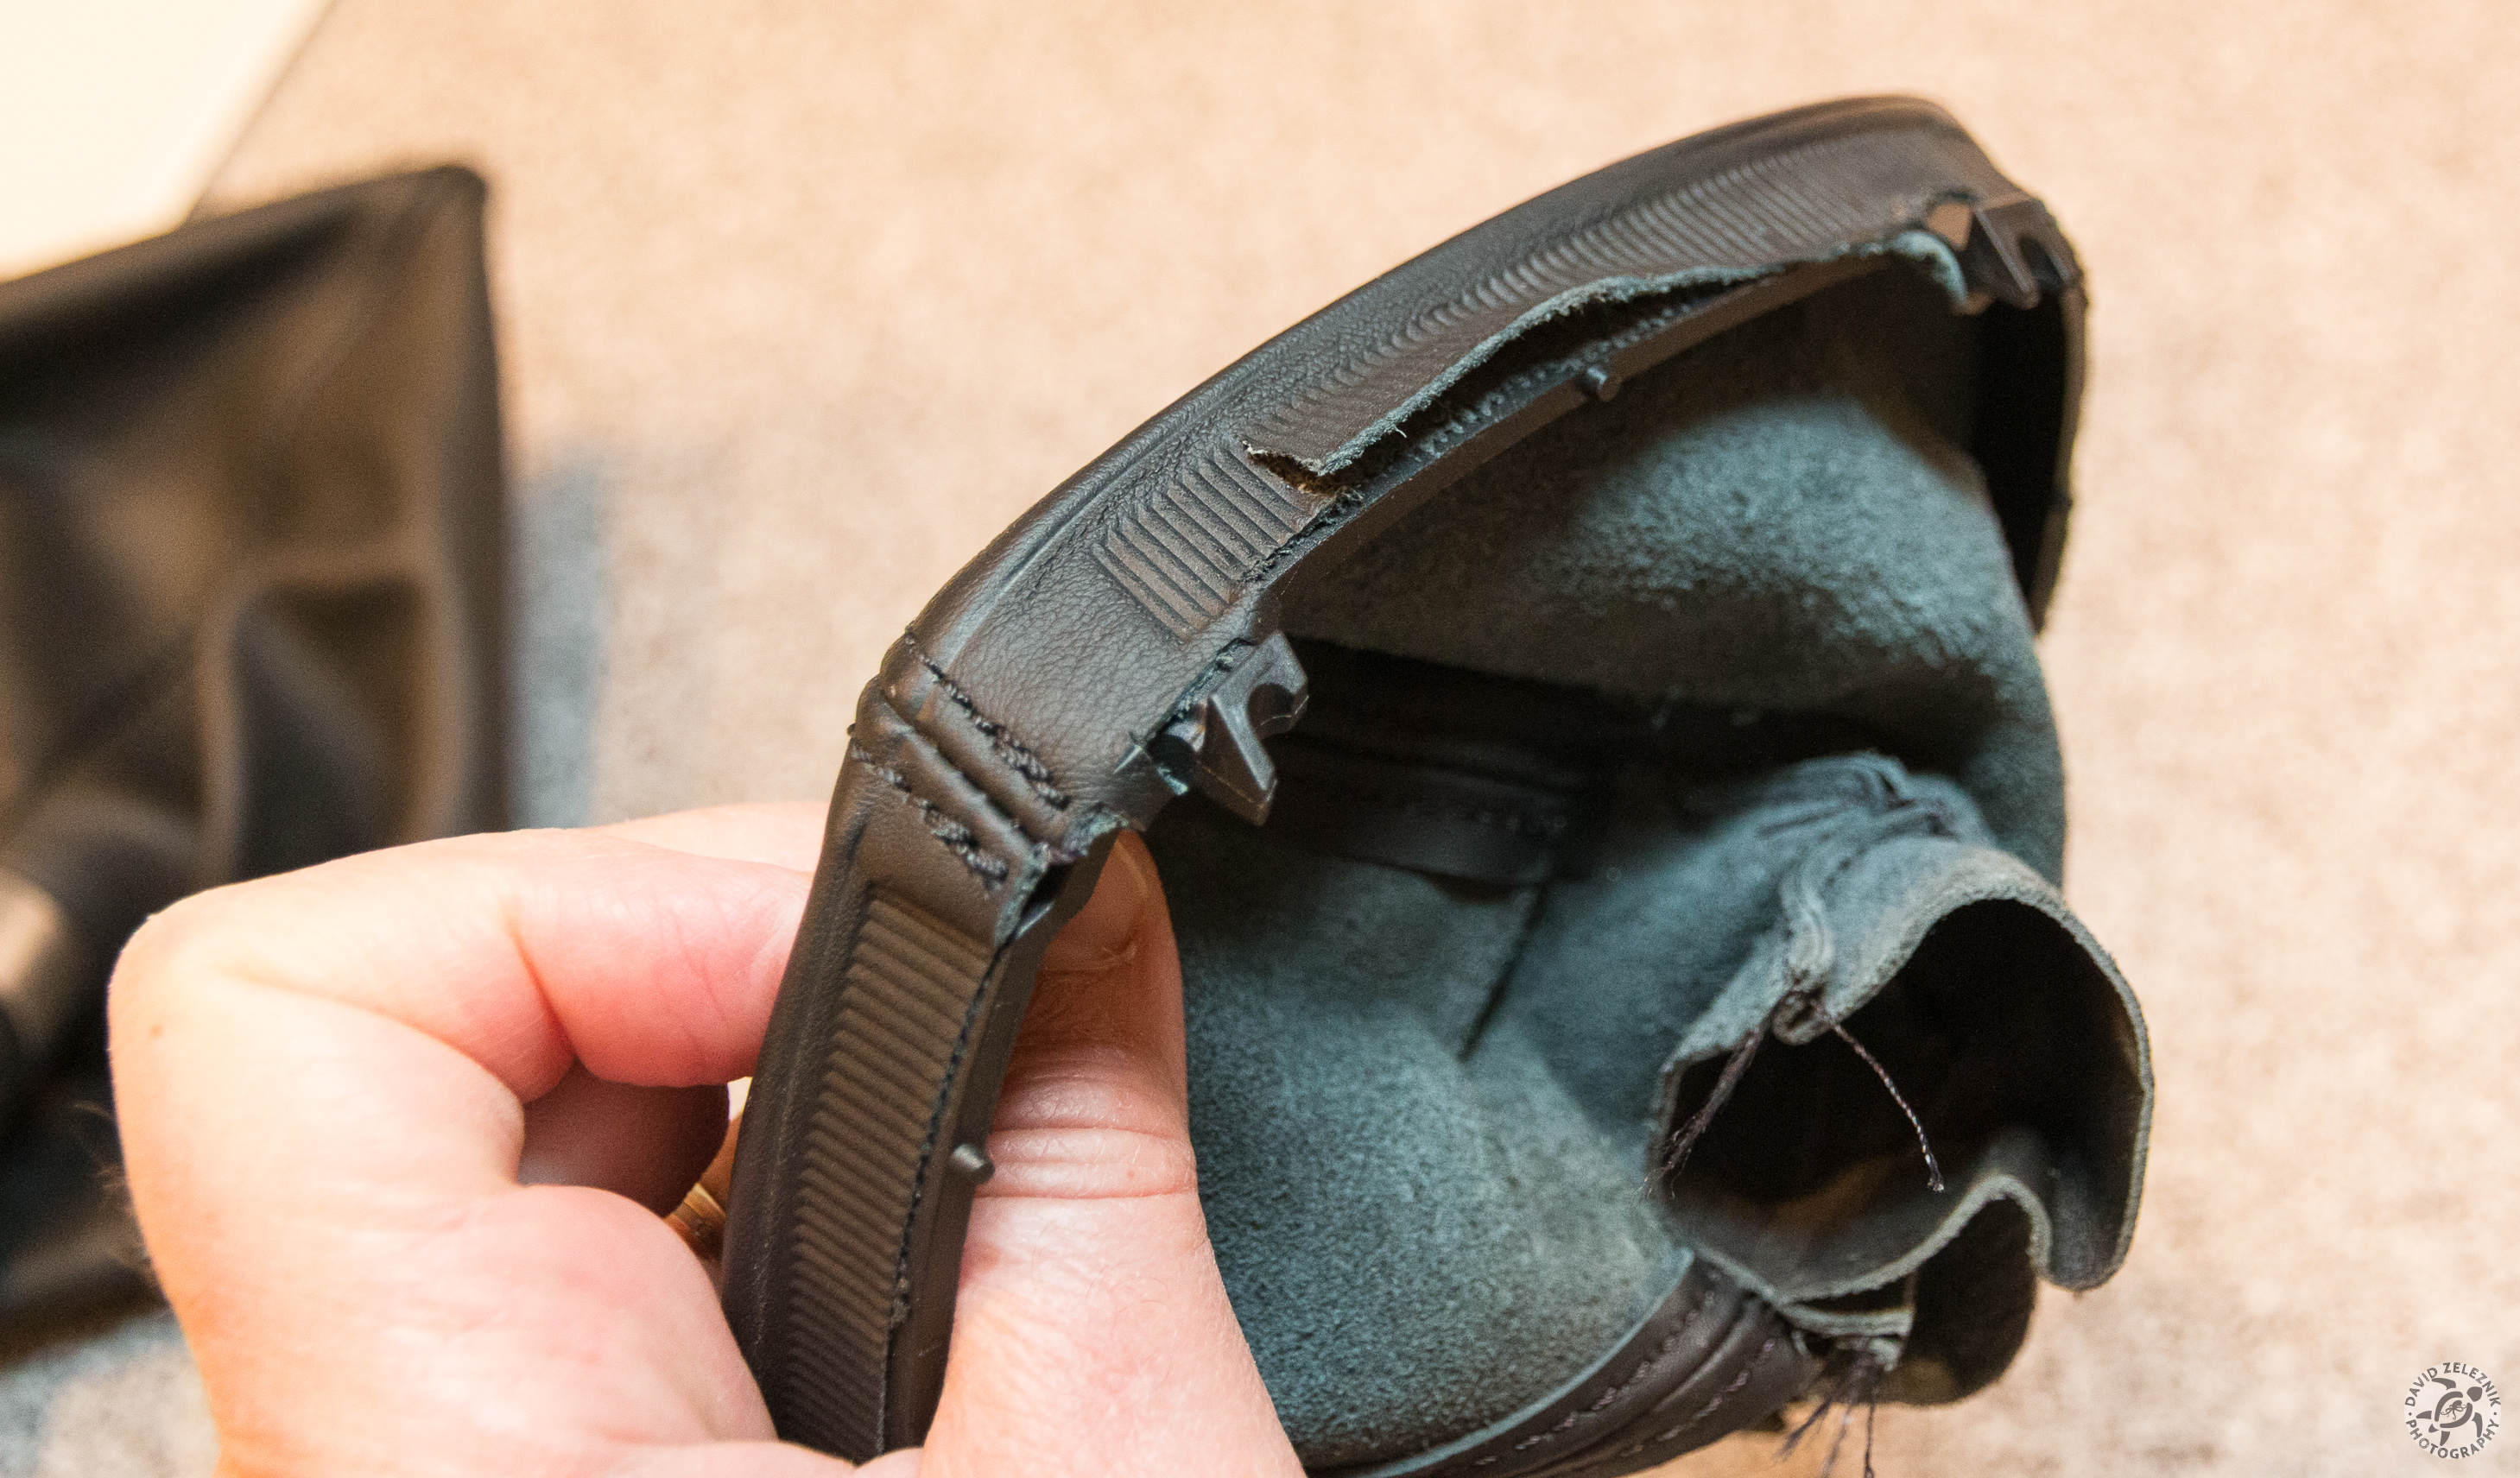
10 This picture gives you an idea of the trapezoidal shape of the F10 boot vs. the more rounded egg shape of the Z4. It is very easy to separate the M5 boot from…
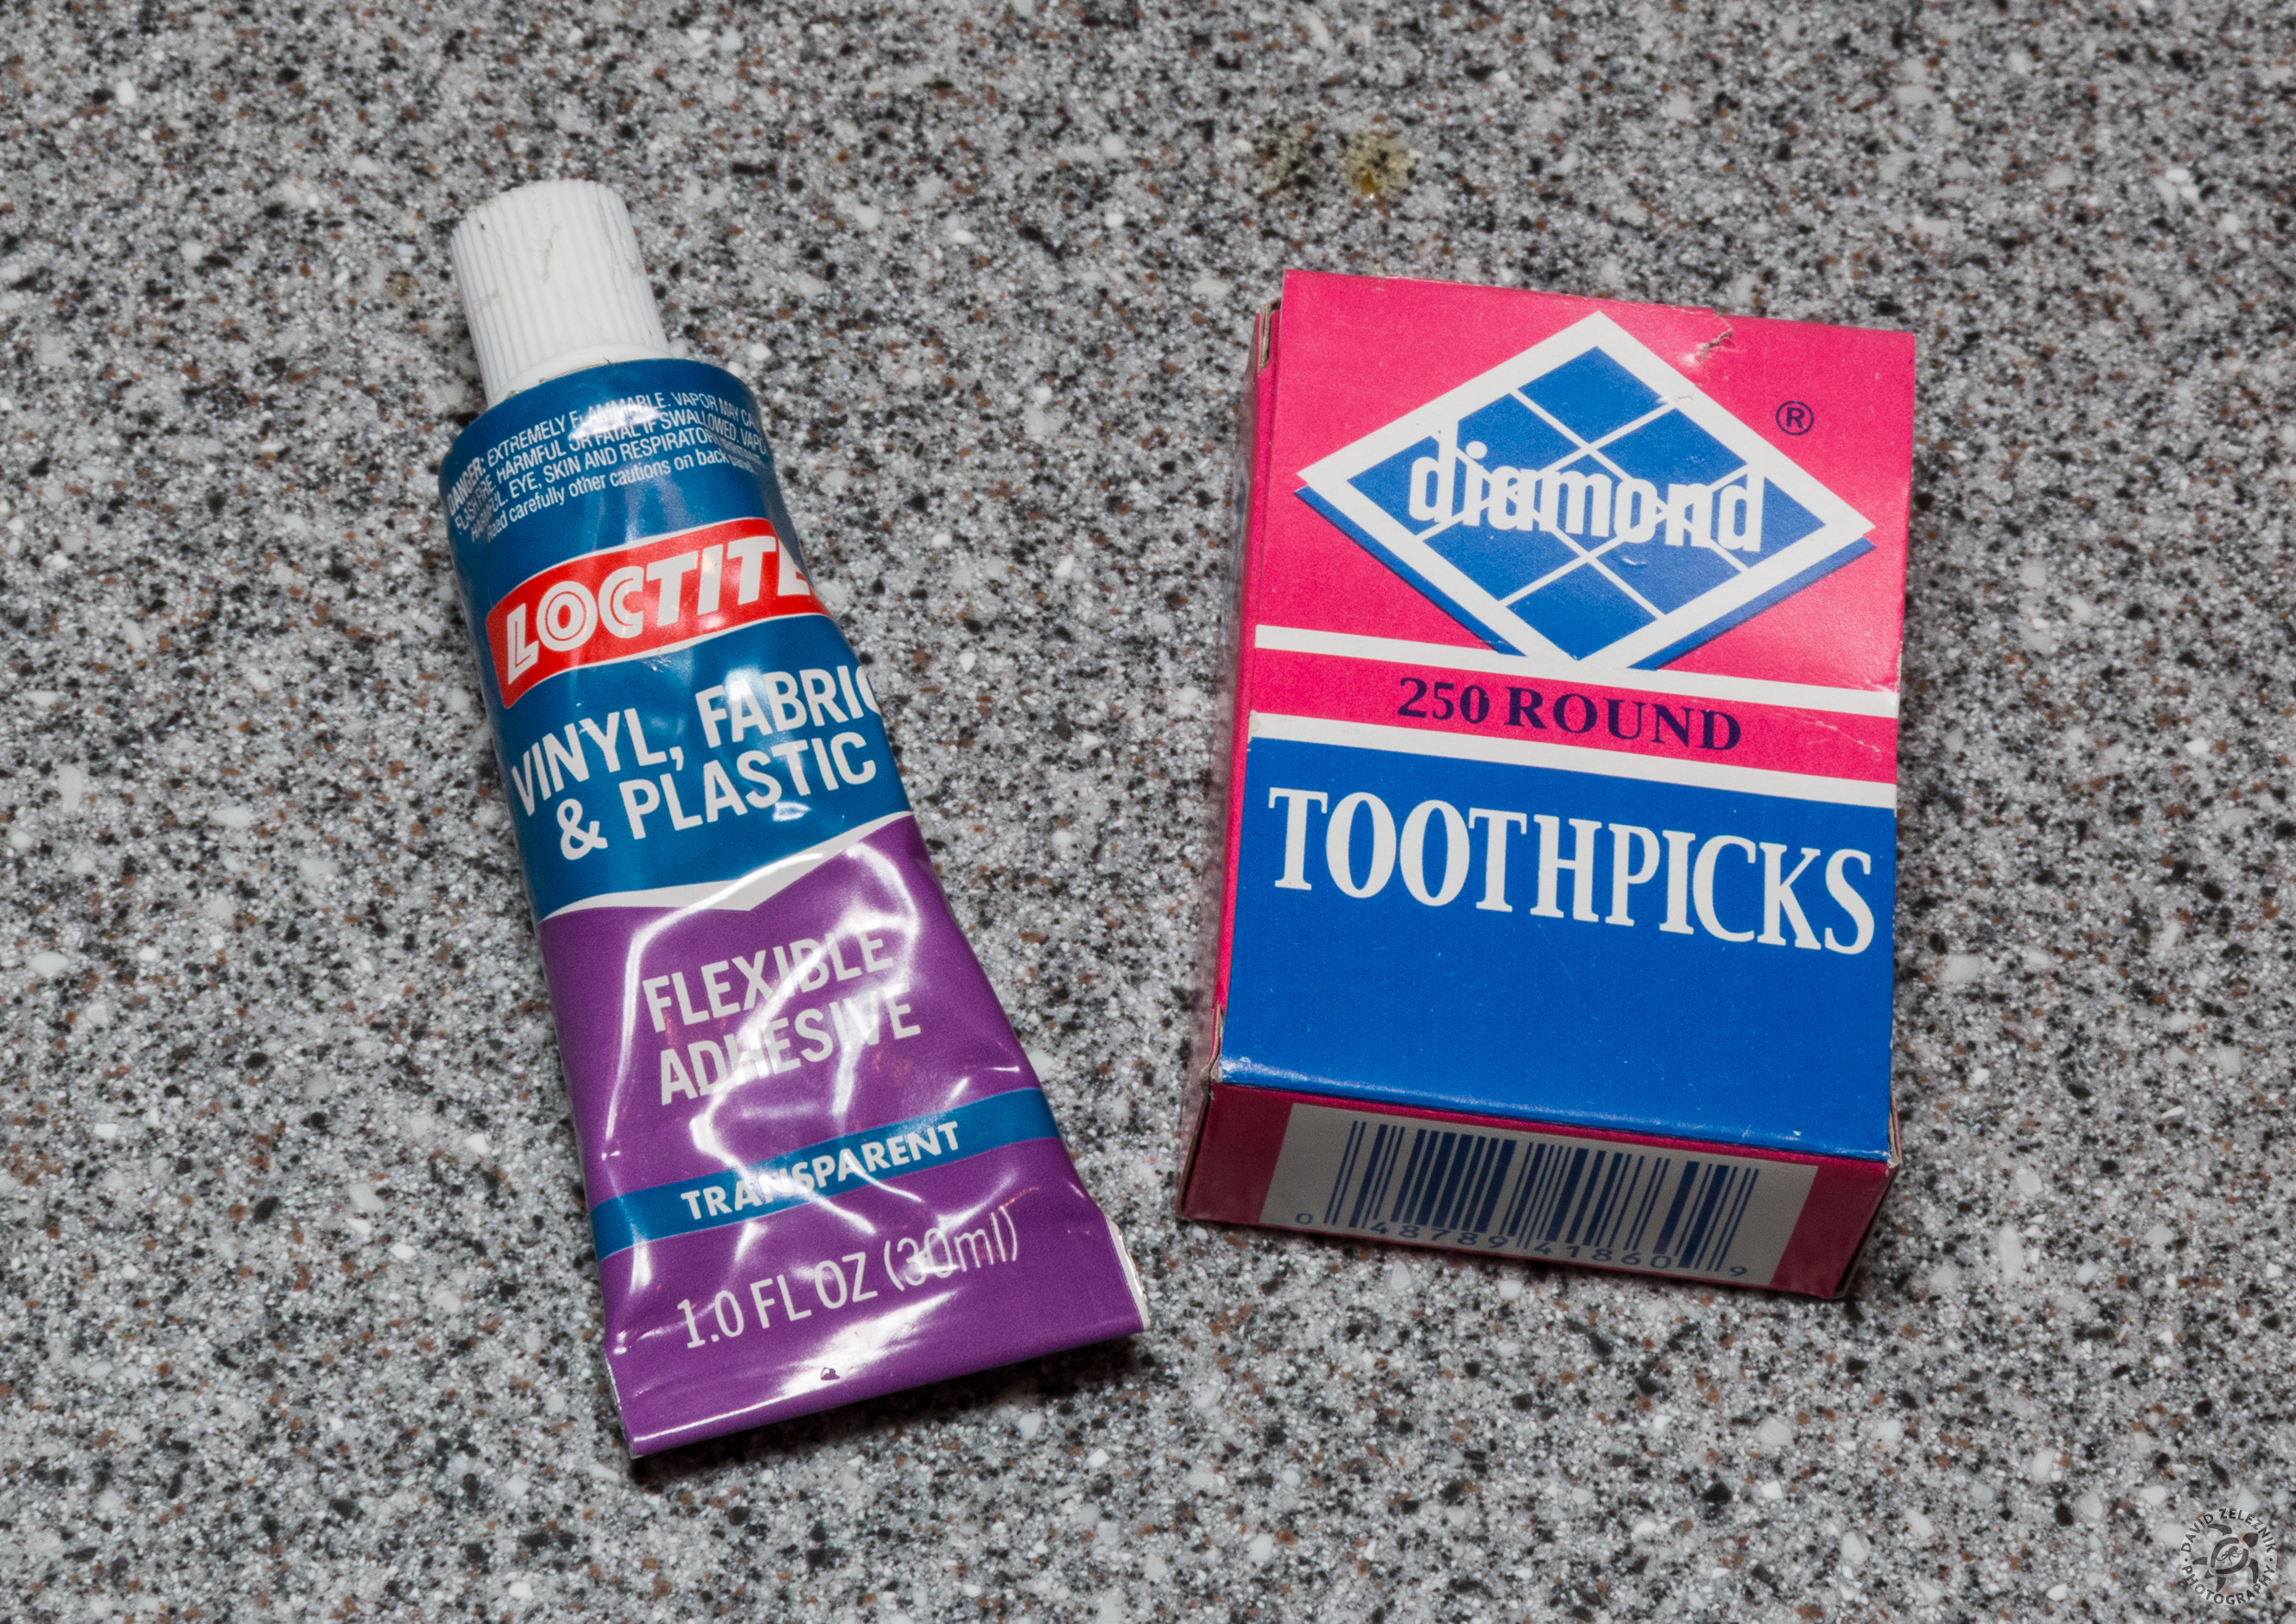
11 You might think that you could simply staple the M5 boot to the Z4's plastic rim, but you would be wrong. Instead, glue's the thing and here is what I used. It…
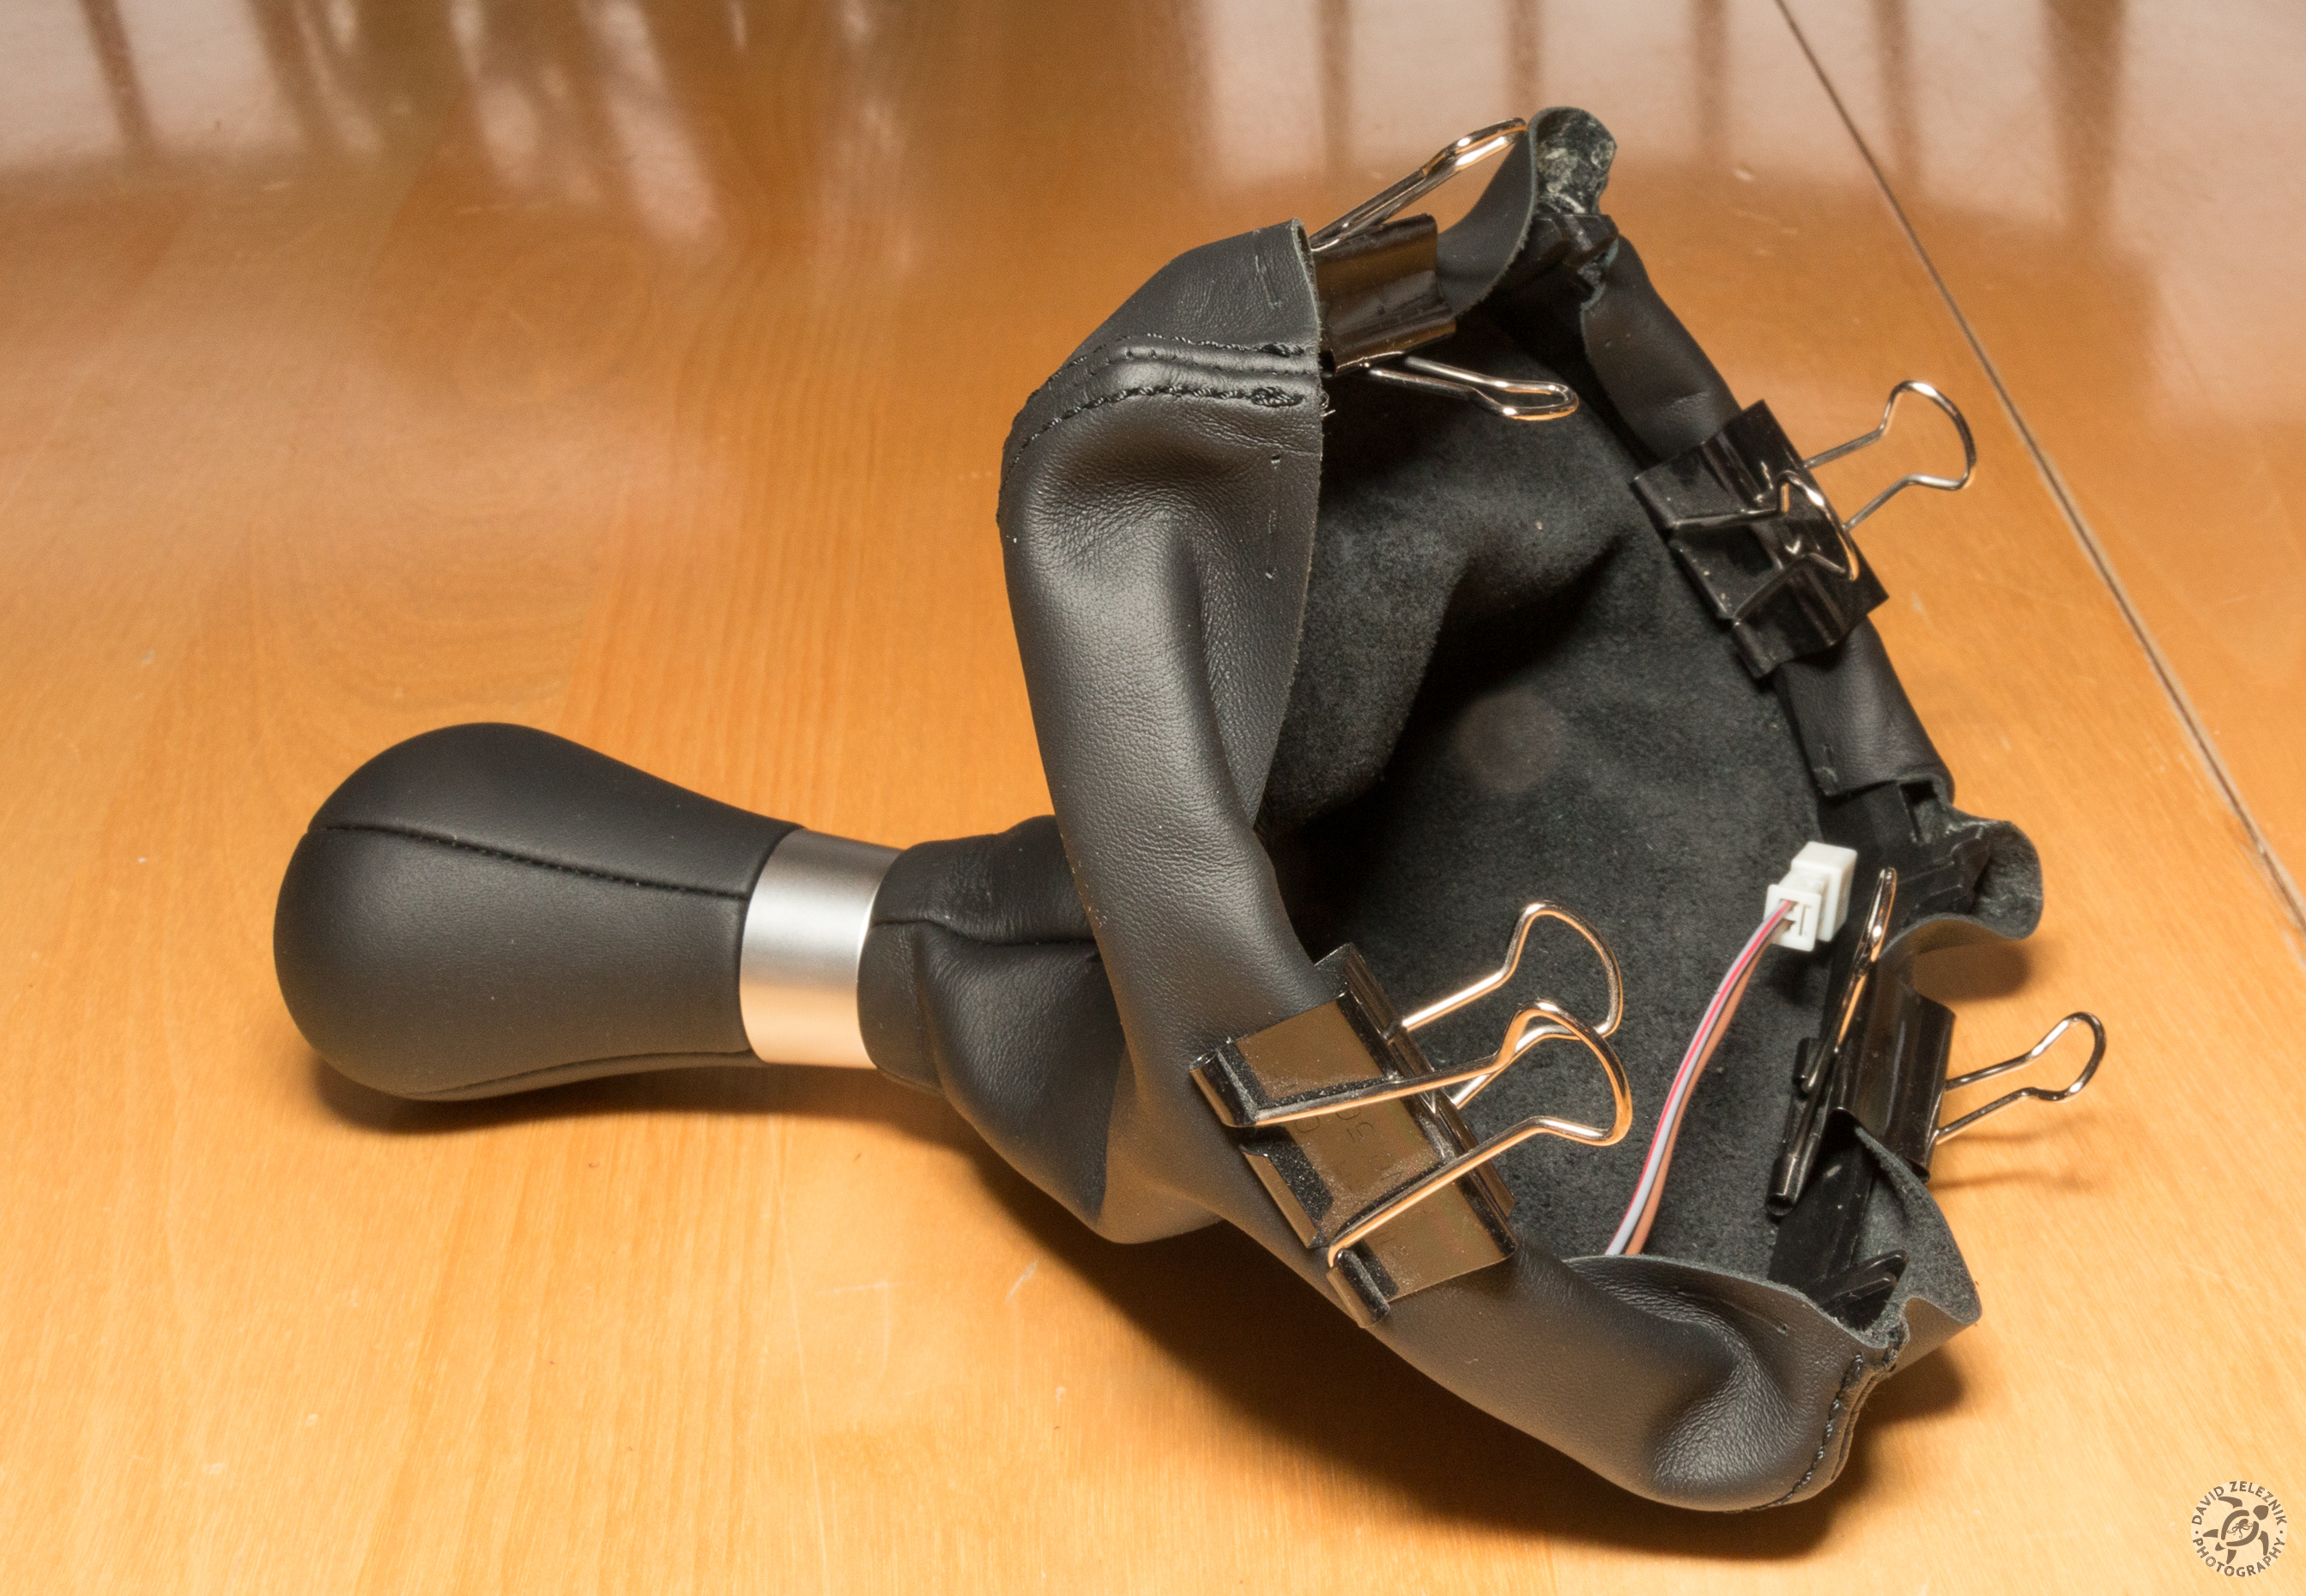
12 I went slowly around the M5 boot and incrementally glued it to the Z4's plastic rim. I used binder clamps from my office to hold things in place for the 30…
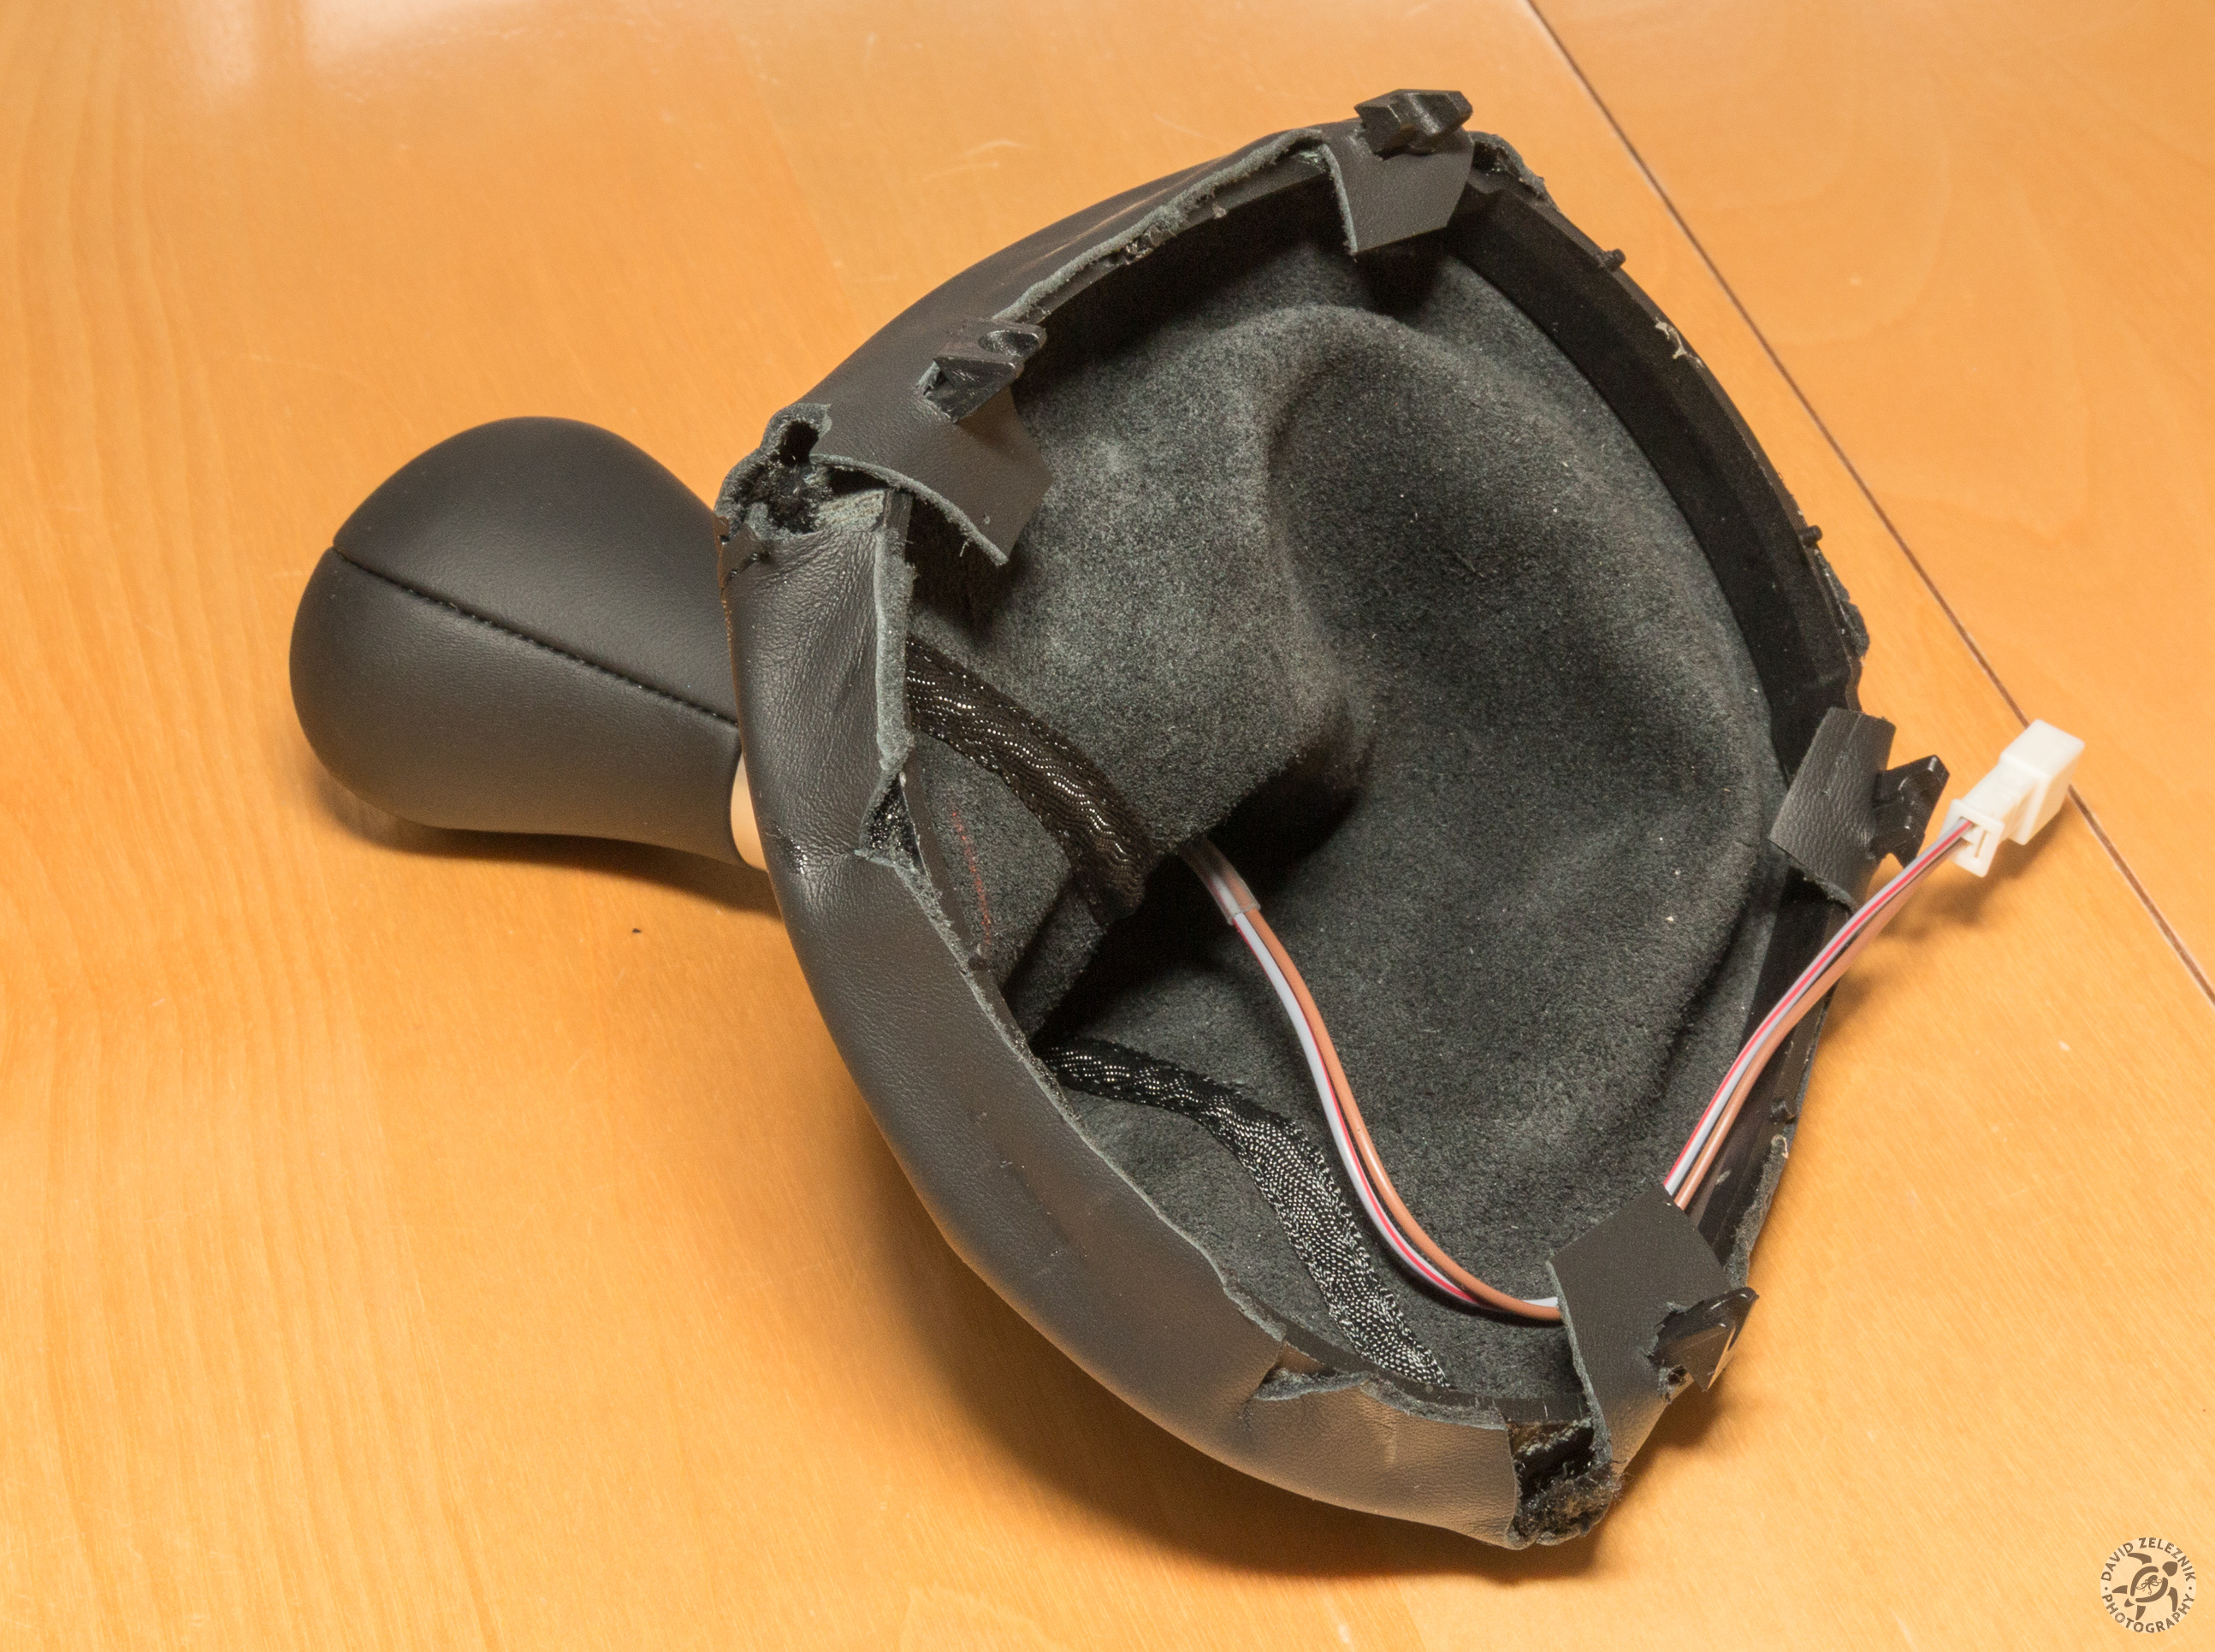
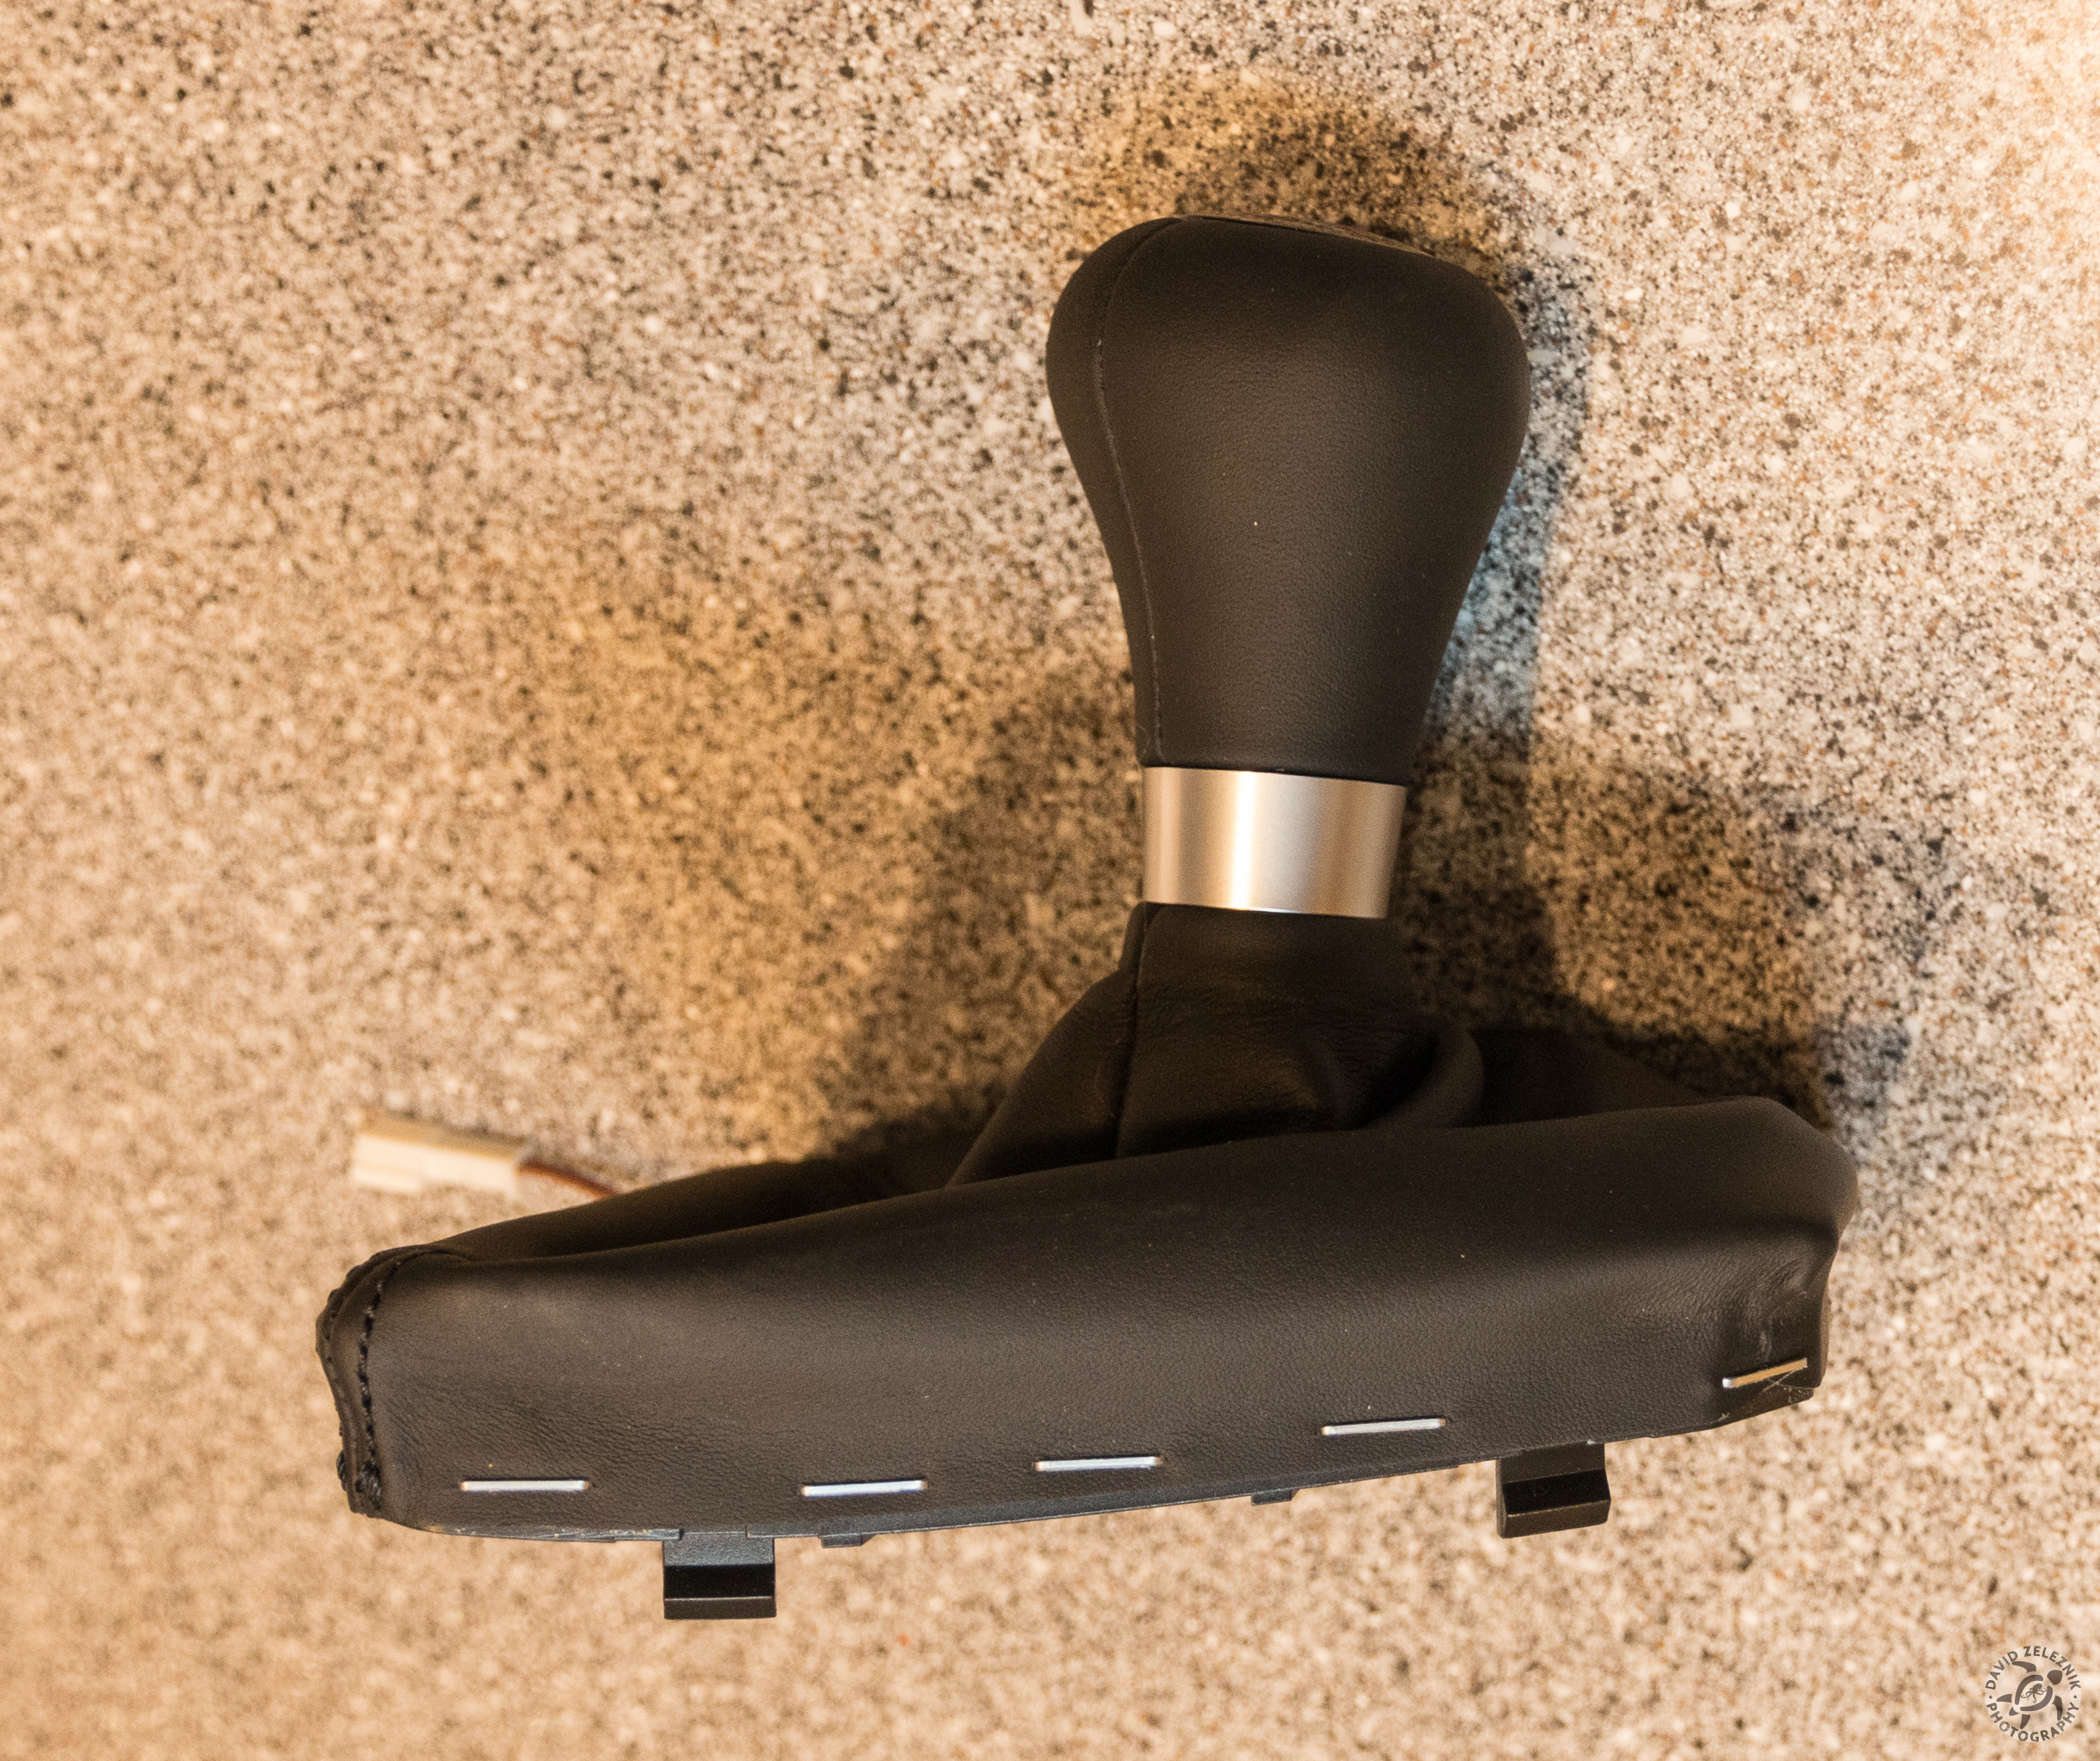
13 Once the boot was glued solidly completely around the rim, I trimmed the excess leather and created slotted tabs to fit over the rim latches.
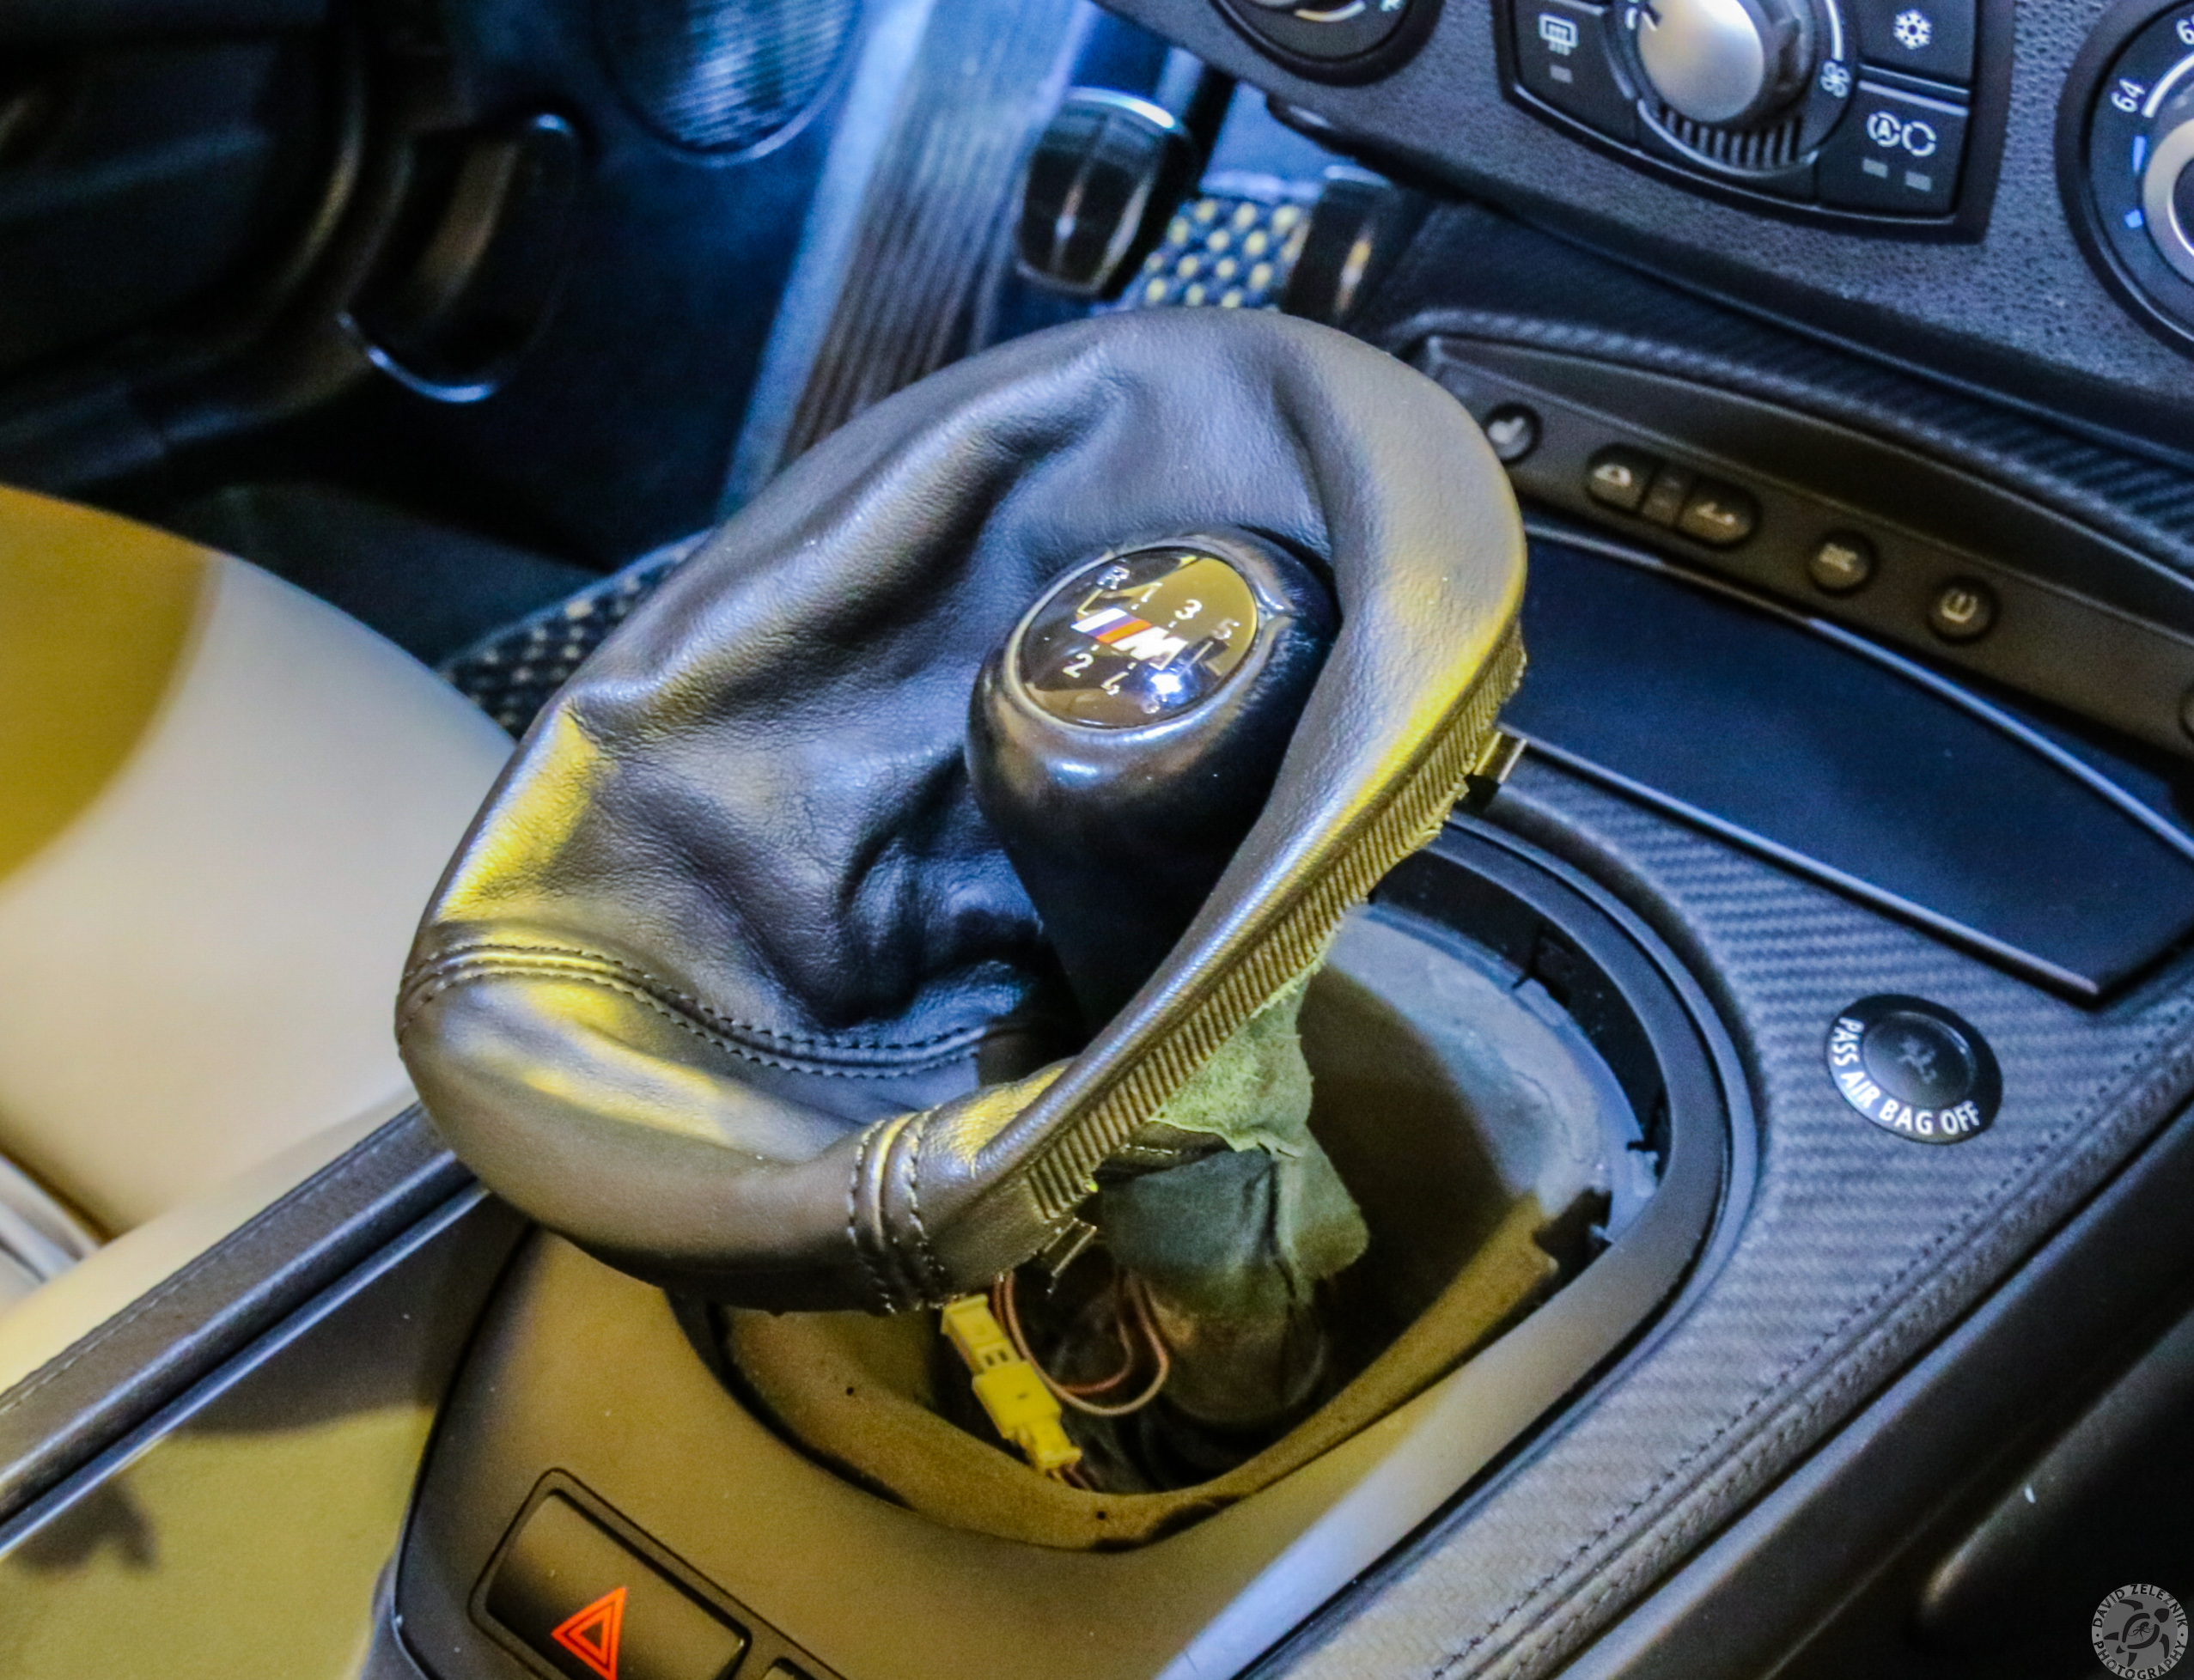
14 The final step was connecting the illumination cable, pressing the knob until it clicked solidly onto the shift lever, and then pressing the boot rim into place…
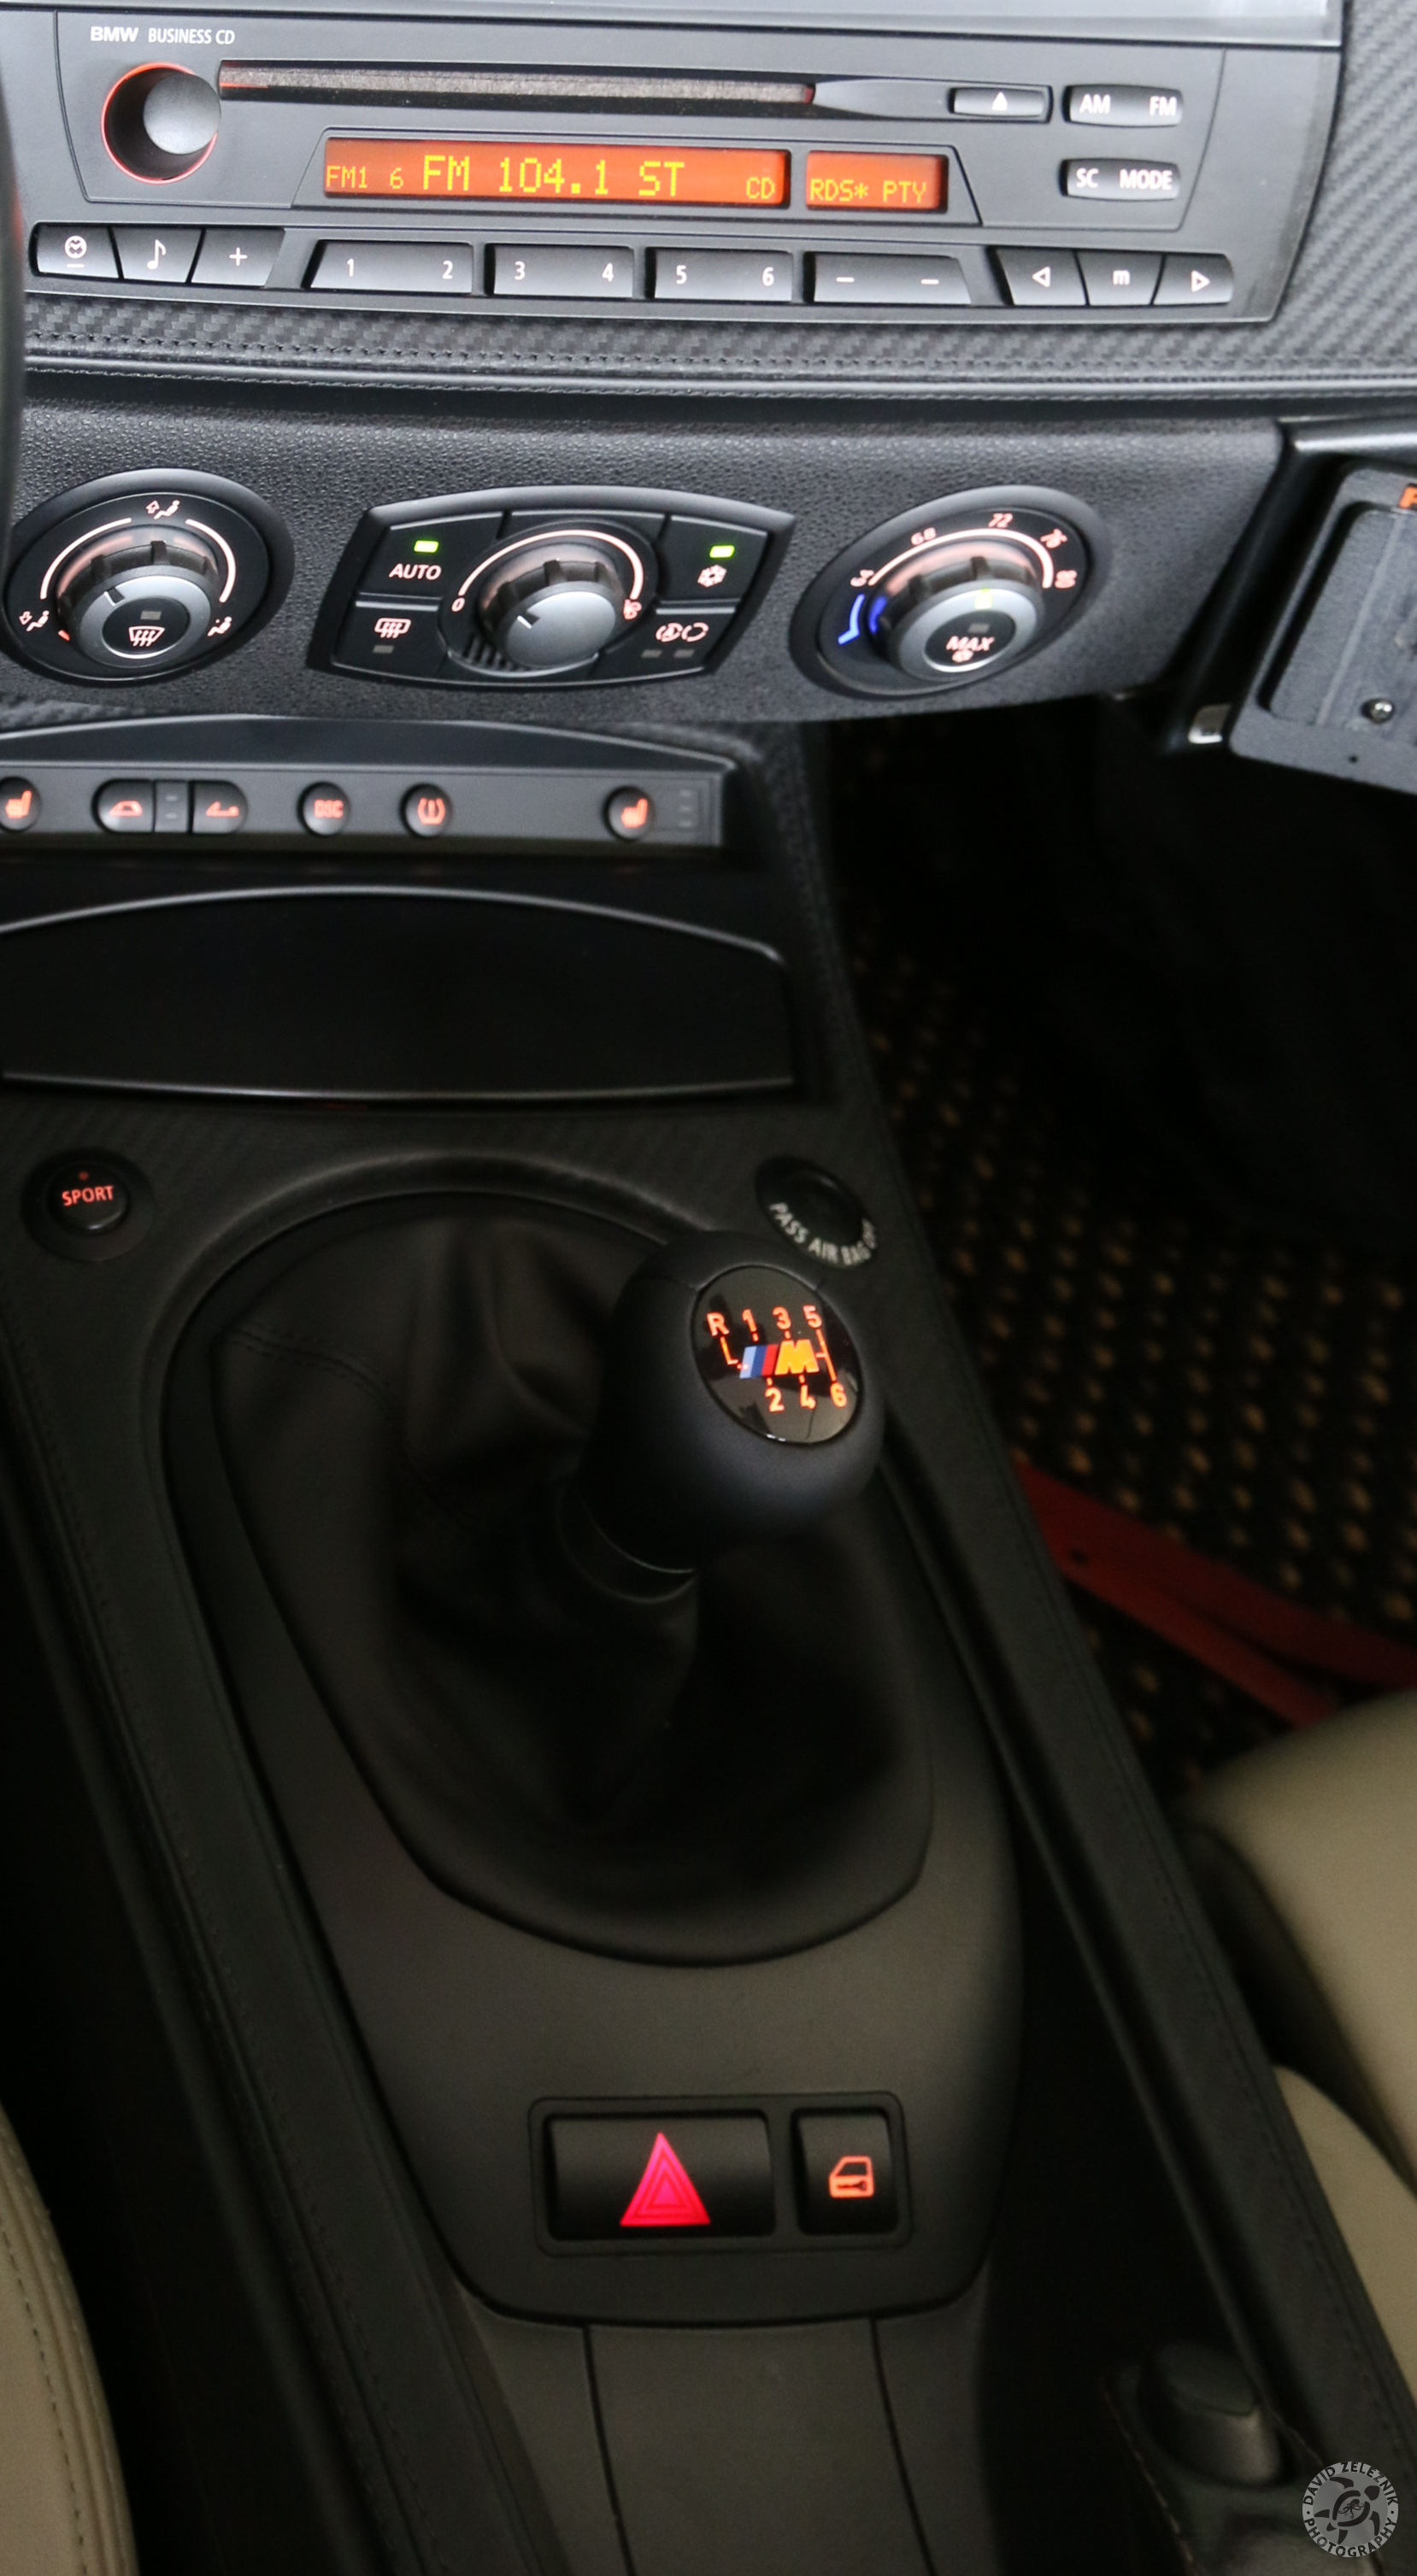
15 The illumination of the M5 shift knob is more even and also matches the amber color of the instrumentation better.

16 Here you can see the shorter throw of the M5 shift knob at the bottom vs. the taller stock shift knob above. The M5 knob is also weighted heavier so that some…


M5 Shift Knob