StrongStrut-001 The Strong-Strut arrived impeccably packed. When I opened the wrapping, the light hitting the chrome took my breath away in a manner that hadn't happened since...
1 The Strong-Strut arrived impeccably packed. When I opened the wrapping, the light hitting the chrome took my breath away in a manner that hadn't happened since I went to the dealer to take delivery of my Z3. As I inspected closely, I realized what an awesome piece of craftsmanship the strut brace was. The welding and chrome job were flawless, the instructions were truly professional, and I was amazed how a "simple" bar of steel could be so gorgeous.
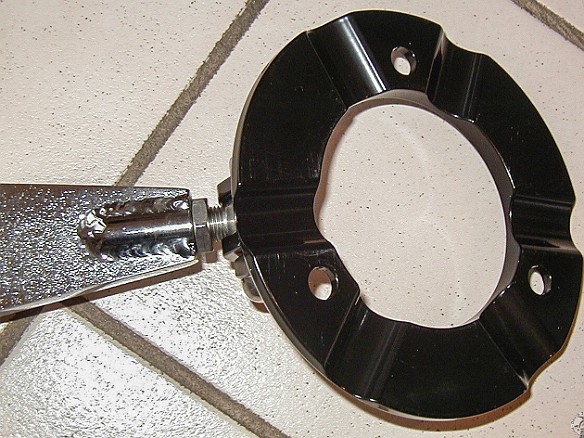
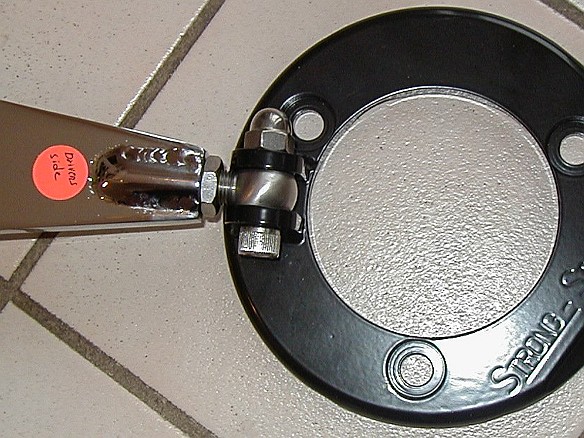
StrongStrut-002 Here is a close-up of the driver's side mounting plate
2 Here is a close-up of the driver's side mounting plate
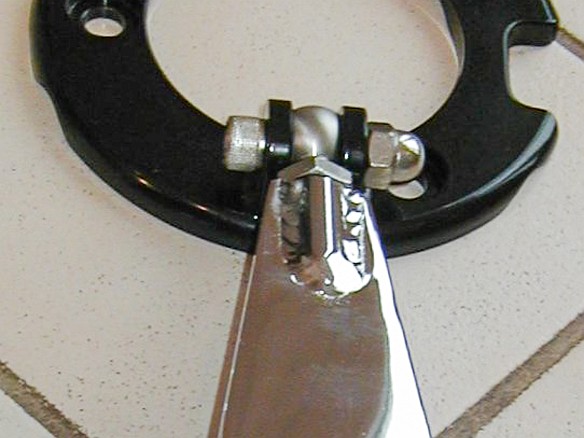
StrongStrut-003 Here is a close-up of the driver's side mounting plate
3 Here is a close-up of the driver's side mounting plate
StrongStrut-004 Here is the underside of the driver's side mounting plate. You can see the machine contours that match the ridges on the shock towers.
4 Here is the underside of the driver's side mounting plate. You can see the machine contours that match the ridges on the shock towers.
StrongStrut-006 This is the passenger side mounting plate, showing the notch cut out for the grounding lug.
5 This is the passenger side mounting plate, showing the notch cut out for the grounding lug.
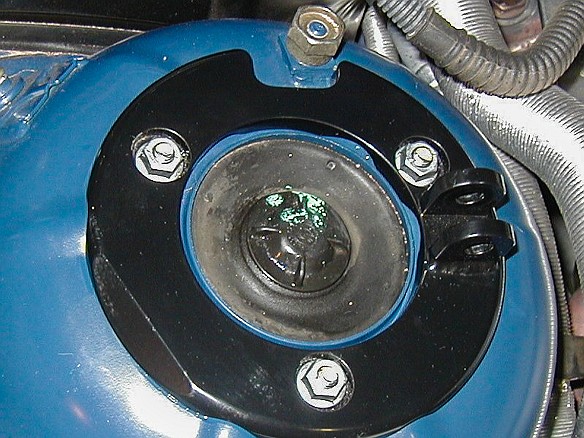
StrongStrut-007 The plates are first bolted onto the shock towers.
6 The plates are first bolted onto the shock towers.
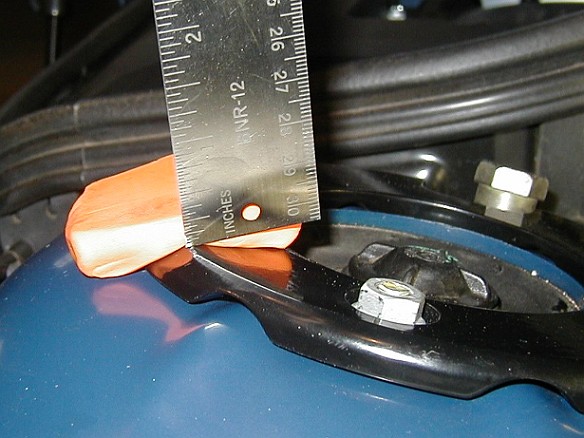
StrongStrut-009 Using the piece of modeling clay provided, the hood is closed so that sufficient clearance can be verified
7 Using the piece of modeling clay provided, the hood is closed so that sufficient clearance can be verified
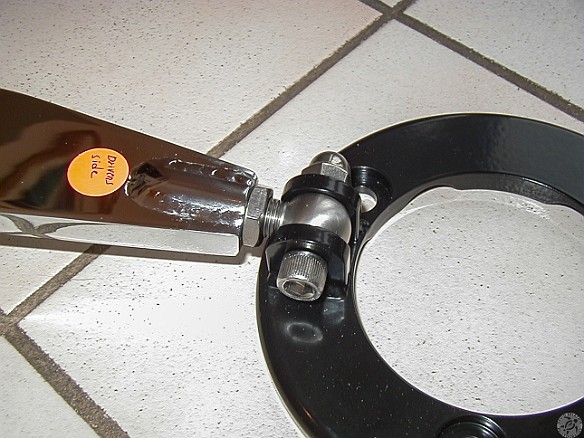
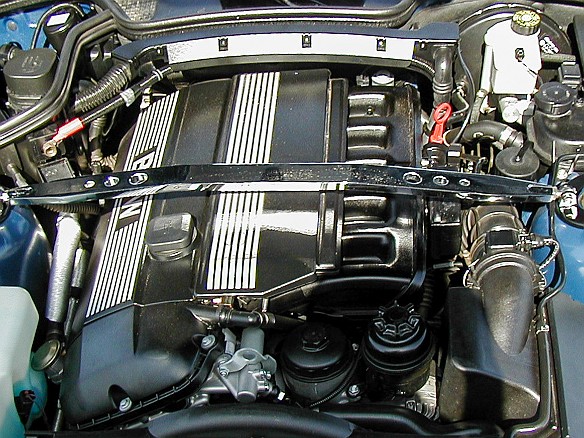
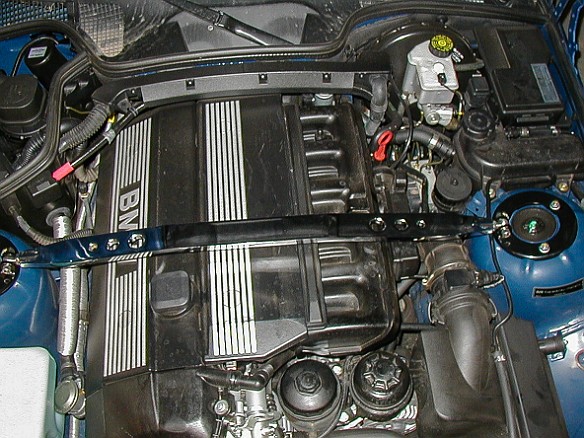
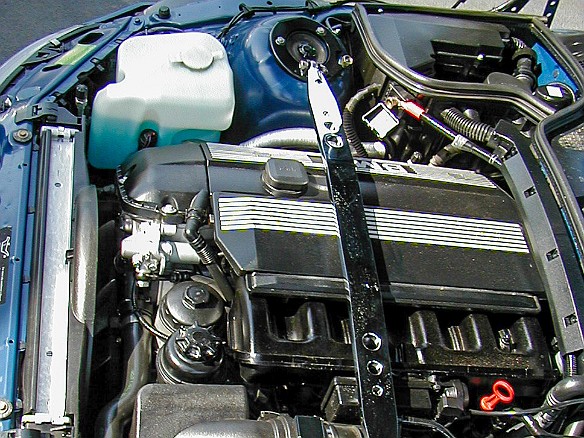
StrongStrut-012 The final step is to bolt the chrome strut to the mounting plates, providing greatly improved chassis torsional rigidity.
8 The final step is to bolt the chrome strut to the mounting plates, providing greatly improved chassis torsional rigidity.
StrongStrut-013
9
StrongStrut-015
10